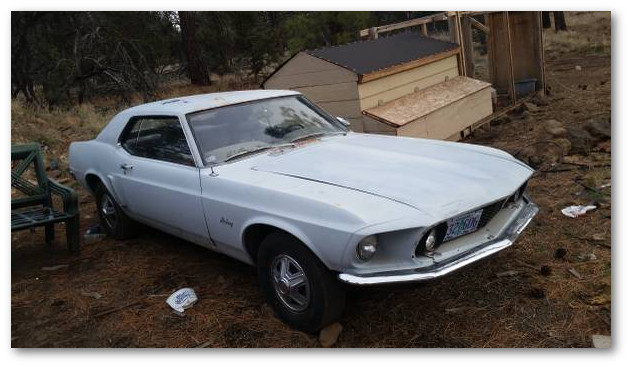
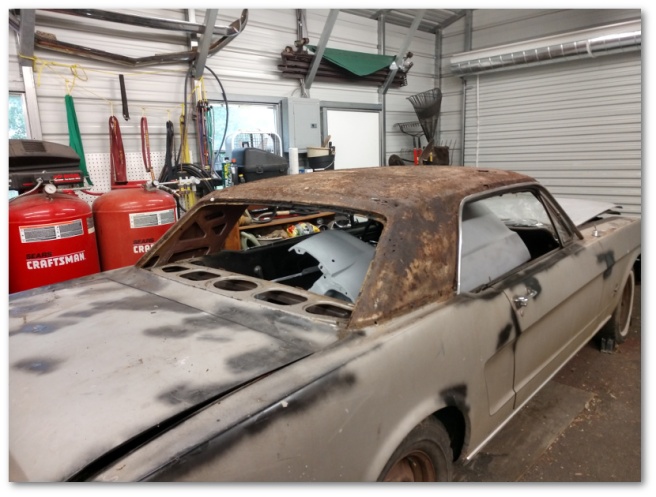
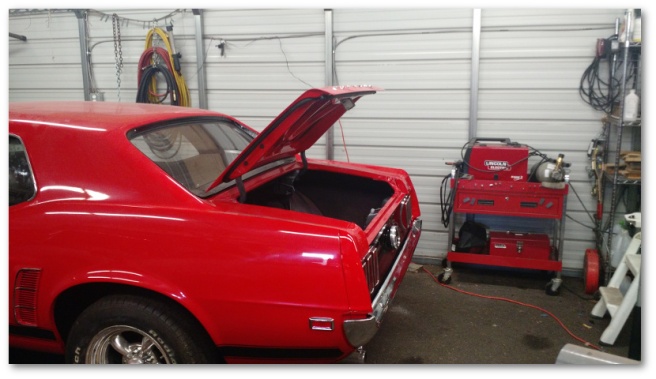
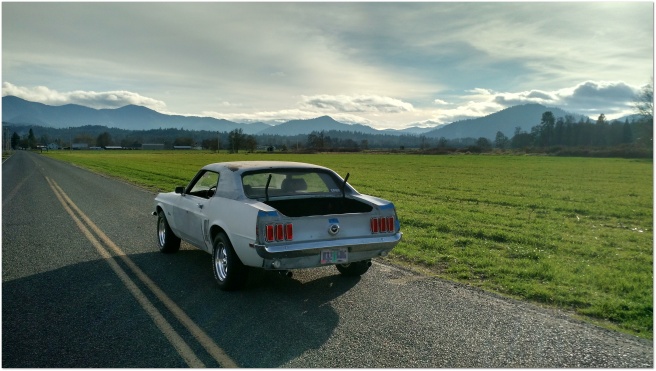
When the Mustang came home from getting painted, I pessimistically thought it would take me upwards of a year to get her all put back together.
That estimate has since been terrifyingly replaced with holy crap, I’m almost done here!
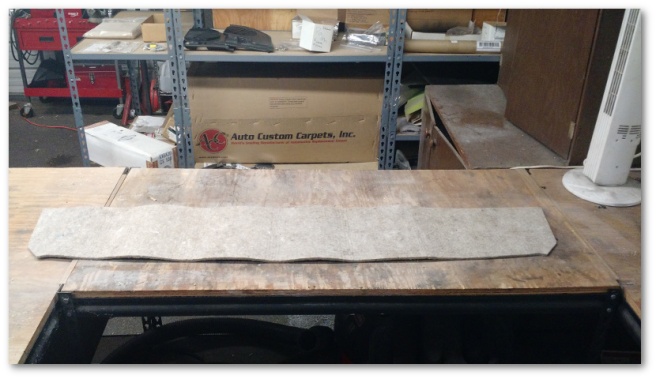
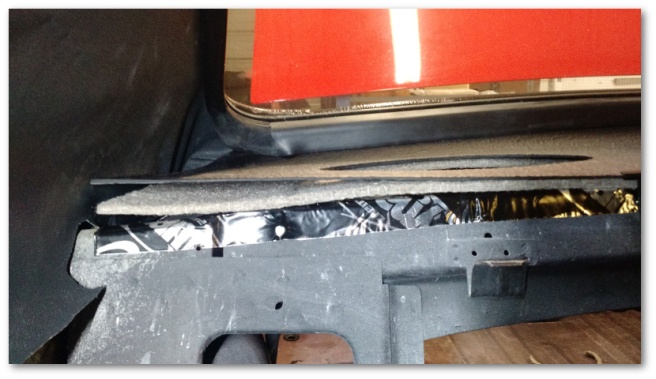
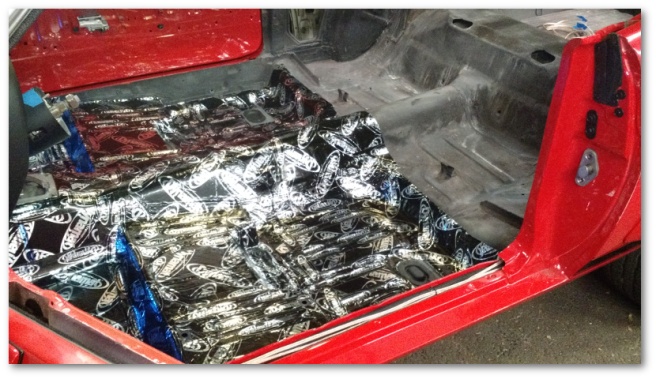
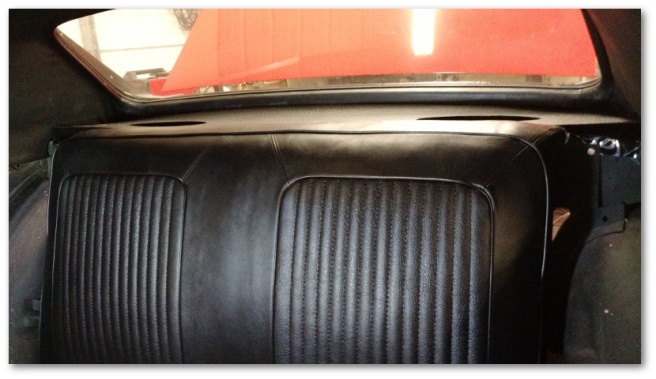
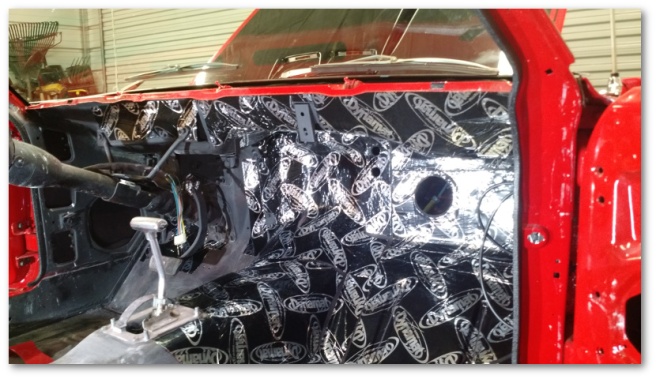
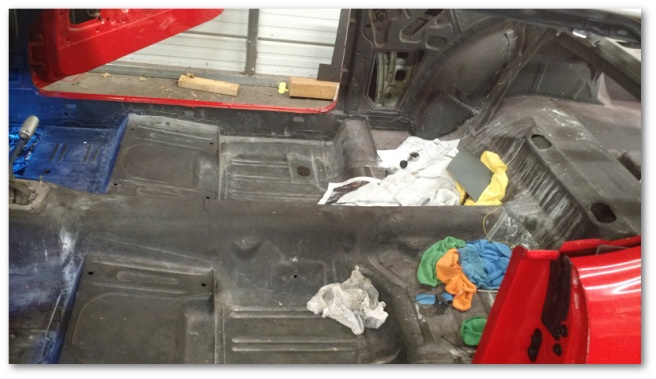
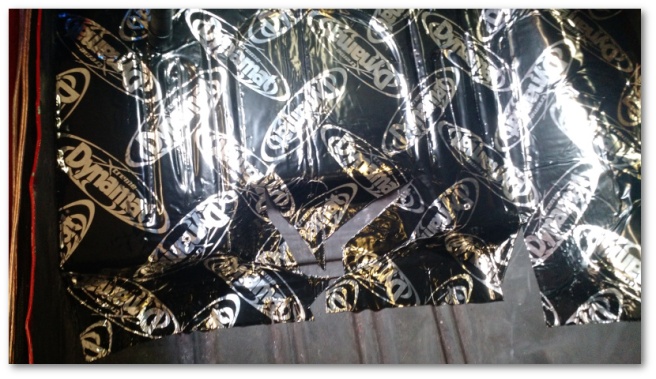
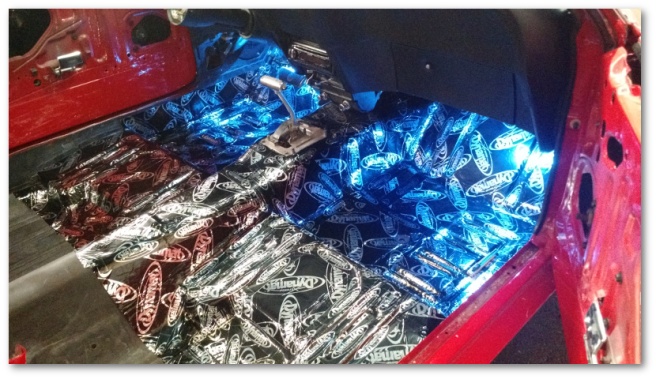
This last weekend saw the final bits of preparation for the carpet to be installed. I pulled out my carpet underlayment kit and got it all installed in the car:
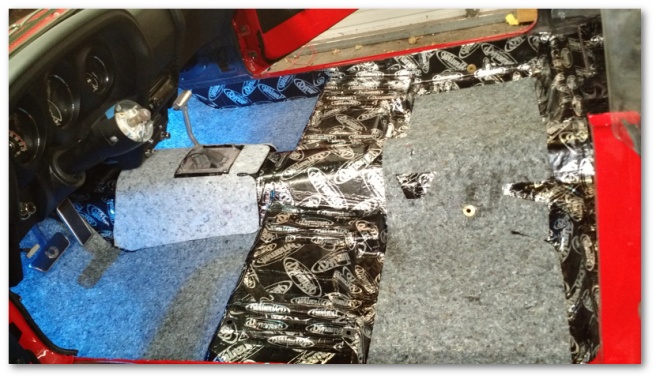
The underlayment has two sides: a Jute padding like you see in the picture above and a black, tar-based side. The instructions say either side can go down, but in practice, you need to put the side down that corresponds with the cuts to fit the floor pan of the car. This meant that most of the padding went black-side down. The lone exception to this rule was the underlayment that went over the rear seat area.
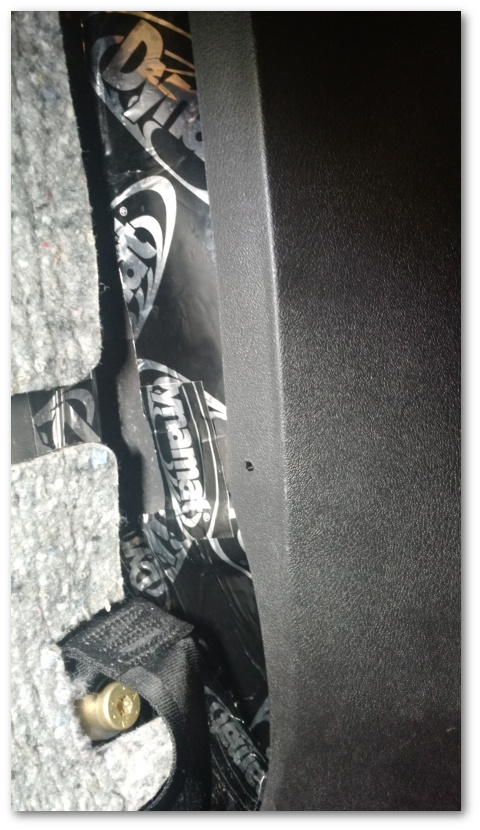
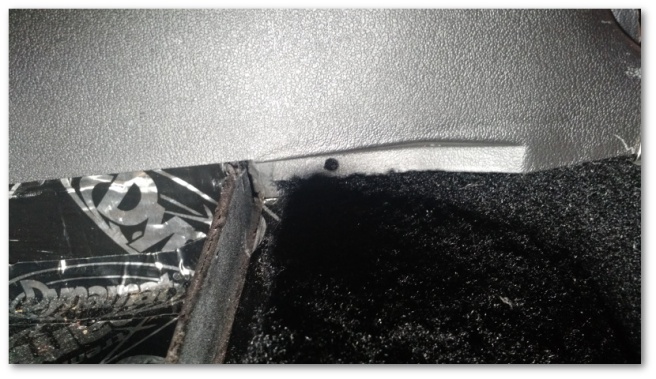
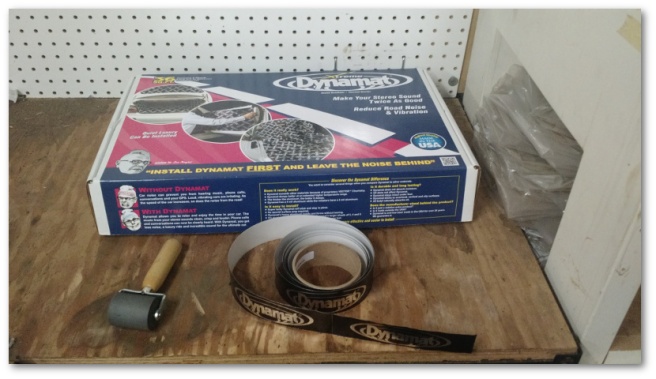
To keep the underlayment in place, I used small pieces of strip caulk:

that attached to the Dynamat and held the underlayment in place.
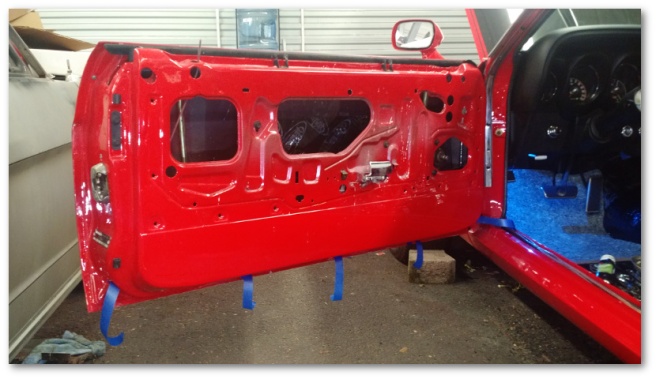
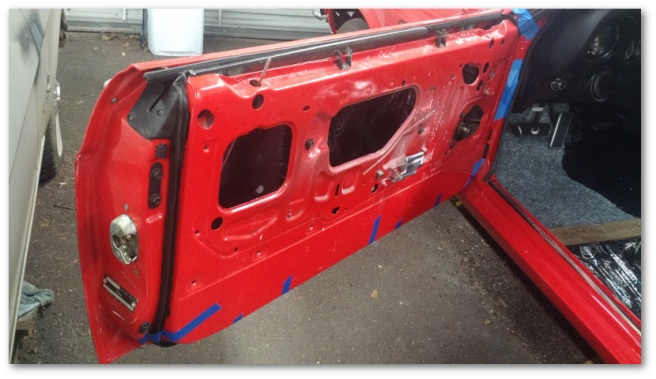
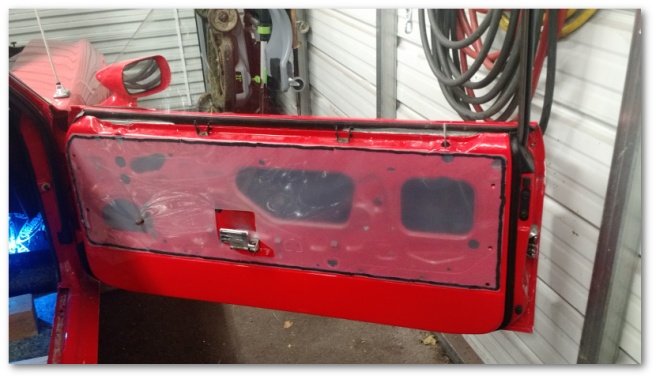
With the underlayment installed, it was time to move on to dressing the doors:

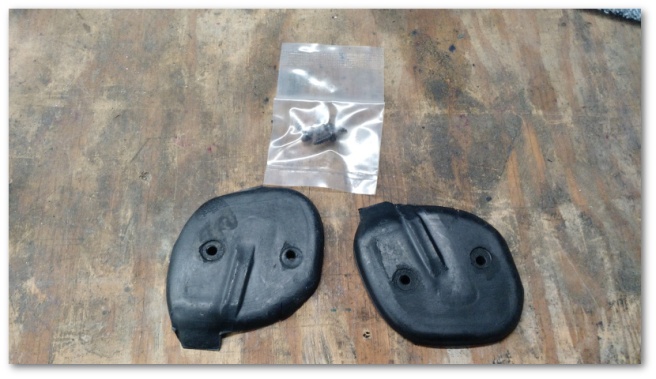
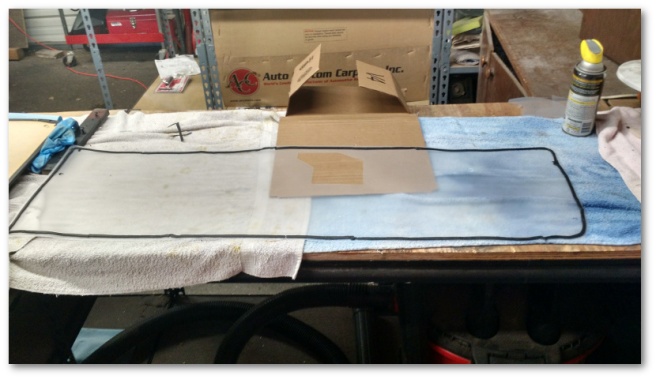
I started with the water shield which is a moisture barrier between the door and the door panel. These are simple pieces of plastic with pre-marked areas to cut out for your window crank, arm rest brackets and so on.
The water shields are installed by applying strip caulk to the back side and then simply placing them directly onto the door and rear quarter trim panel areas:
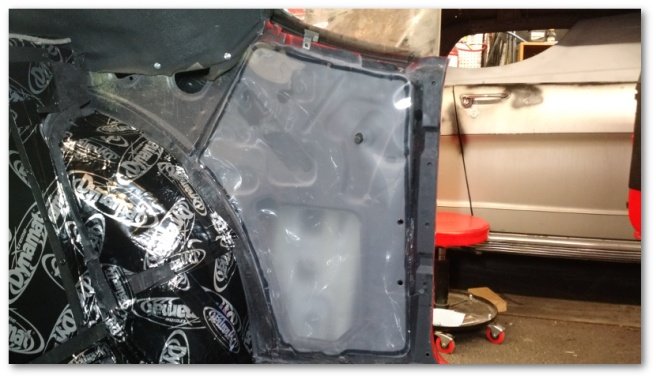
Finished with that easy task, I moved on to the some-assembly-required door panel. As you can see in the image above, the vinyl on the door panel is pre-installed, but not pre-cut in any area except for the window crank. It’s left as an exercise for the installer to cut the vinyl in the areas indicated:
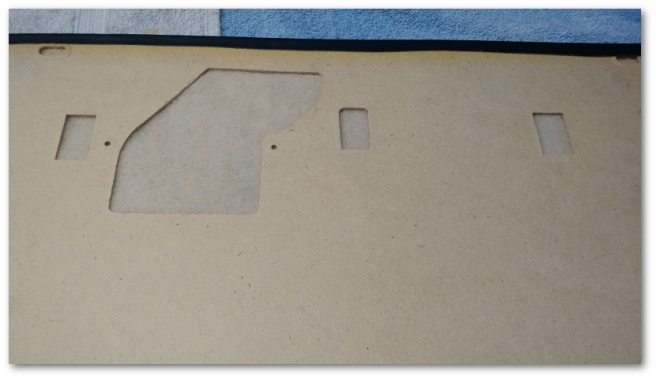
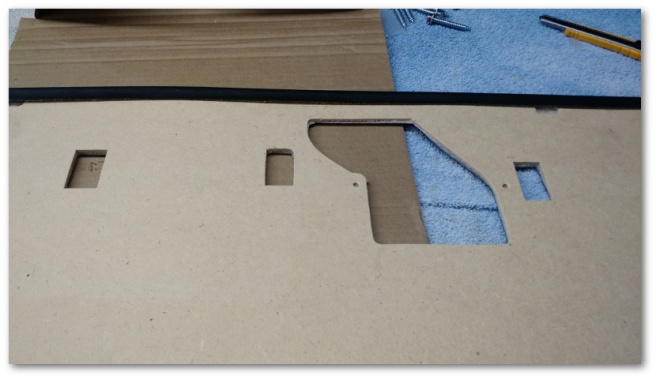
In some cases, the backer board itself needs to be cut out such as for the mirror adjustment bezel:
After careful cutting with a brand-new razor blade, I was ready to start dressing the quarter panel.
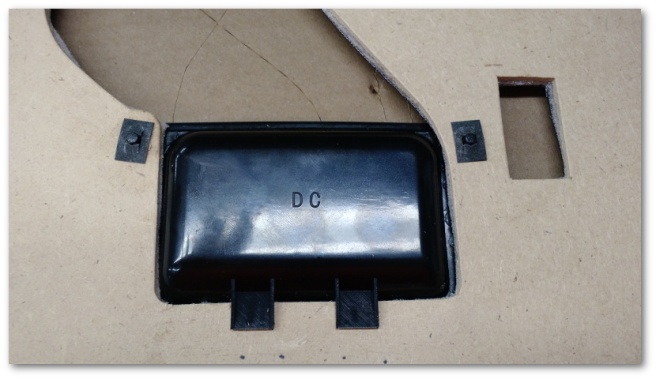
I started with the door panel cup:

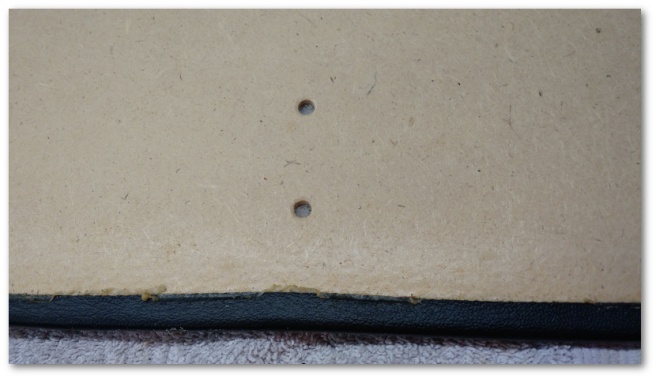
This cup installed over the arm rest area in the area where your hand is when you’re using the door handle. It installs on to the door panel using two studs on the back of the cup that fit (sorta) into two pre-cut holes in the backer board:
Next, I installed the little Mustang emblems that go in the upper middle of the door panel:
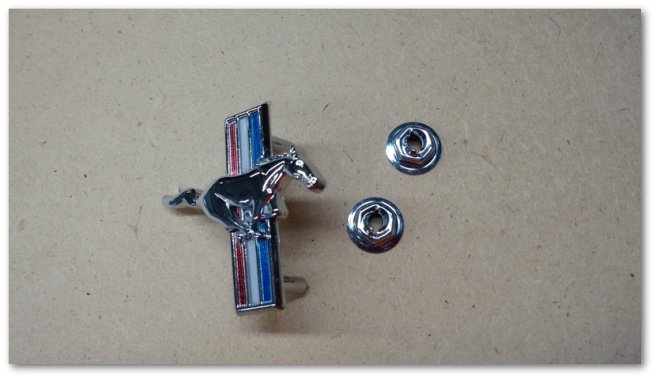
These lined up perfectly and were an easy install.
The remote mirror bezel proved to be somewhat of a challenge:
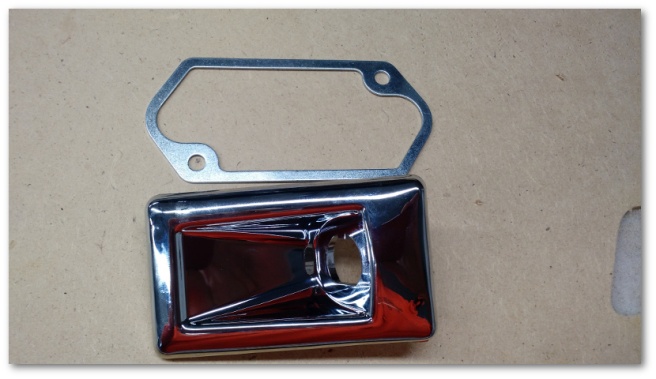
Installing it into the door panel was easy…

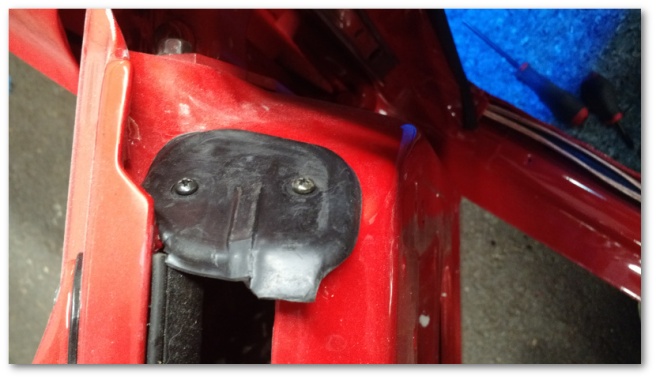
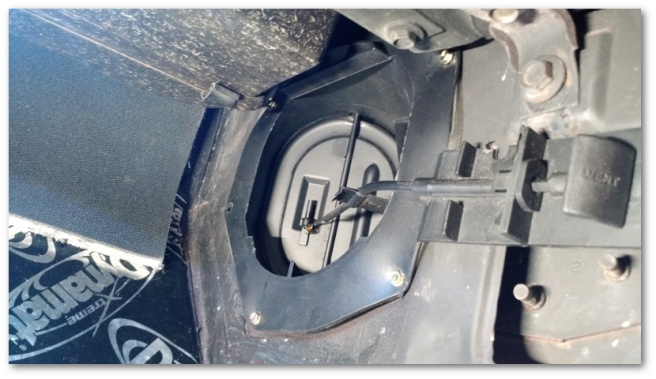
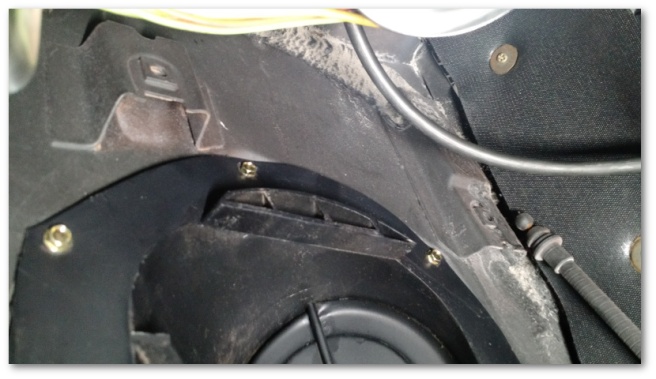
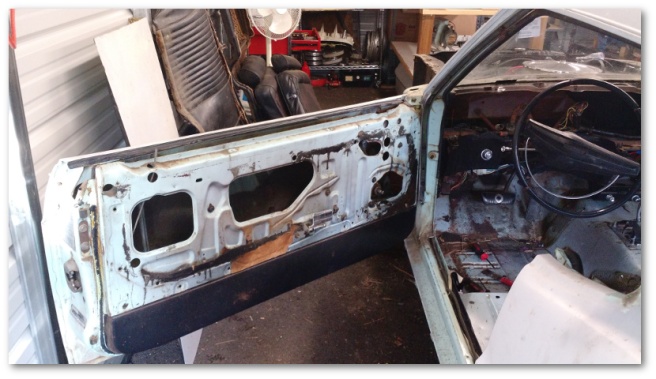
…but when it was installed, I was unable to get the mirror wand and control cables aligned with the bezel for them to be attached. Eventually, I simply installed the bezel onto the car first and then squeezed the front of the bezel through the mounting hole and attached it after the fact:
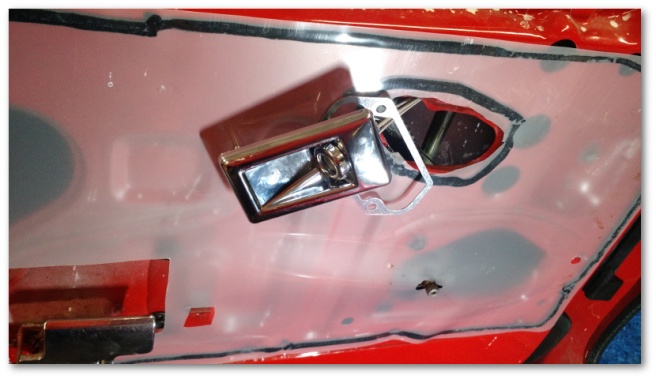
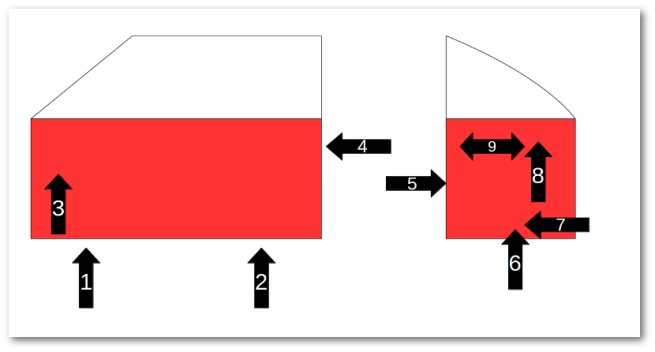
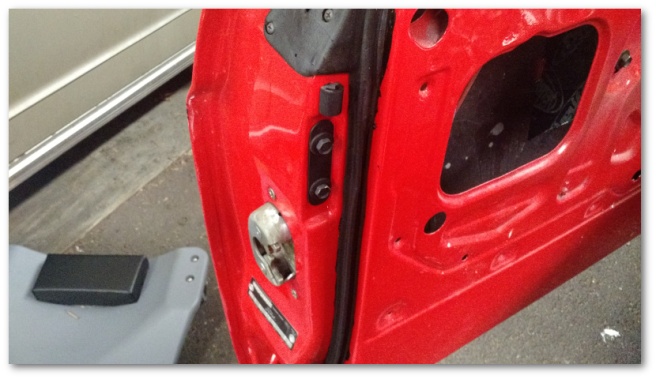
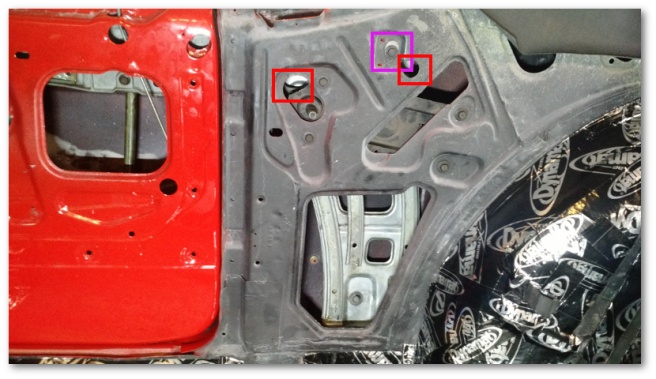
In the picture above, you can see the mirror’s control wires coming down from the top of the door. The wires need to be routed from the mirror, around the front of the door and across the top of the door frame to avoid interfering with the window. Theres a spot on the inner structure of the door that has a hole used to attach a remote cable clip that holds these cables in place. Unfortunately, my car did not come with remote mirrors so I did not have that clip. I couldn’t find anywhere to buy one either.
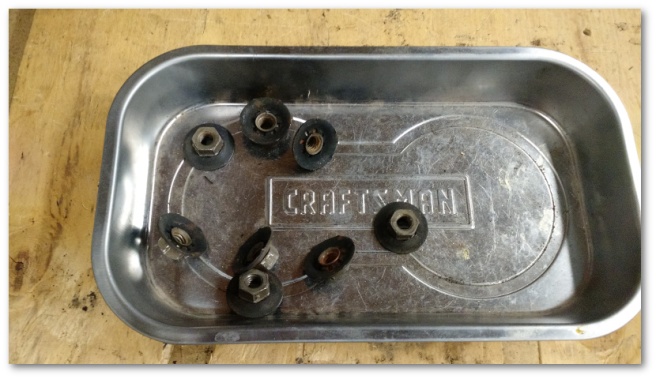
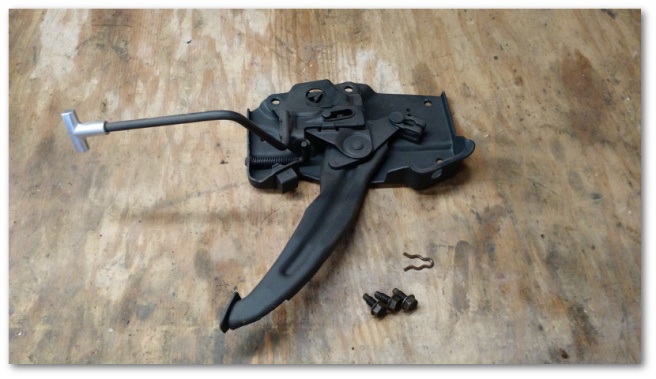
What’s an engineer to do in situations like this? Raid the left-over parts bin and improvise, of course!
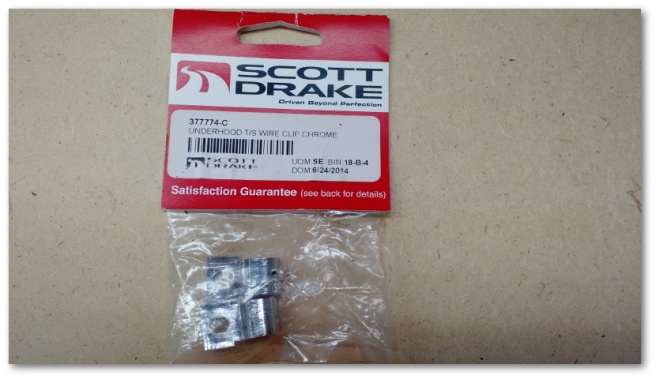
I had a couple of Scott Drake chrome wire clips left over from when I installed my hood scoop wiring:
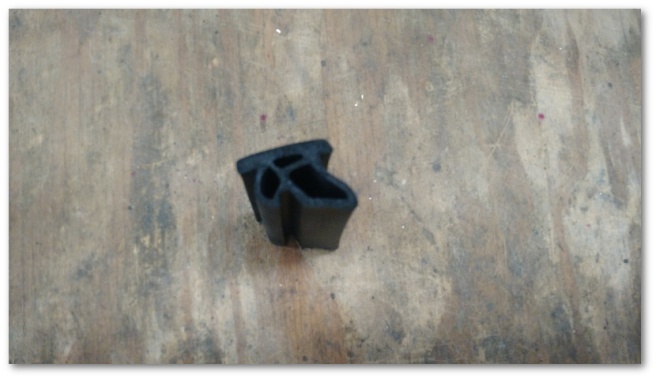
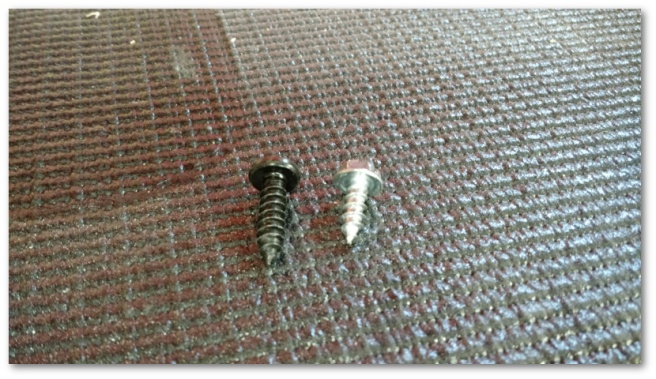
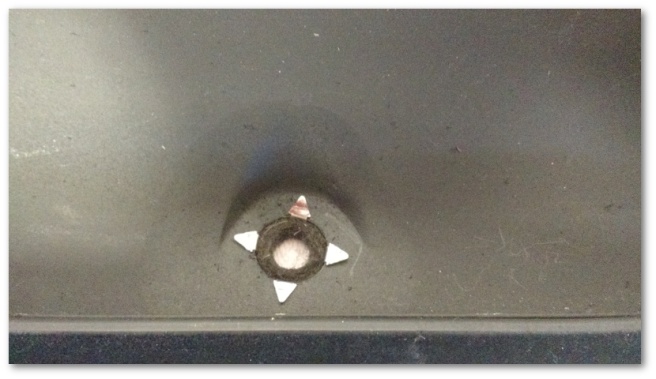
These clips were about the right size to contain the control wires, but they didn’t have any way to allow a screw to hold them in place on the inner door frame. To fix that, I grabbed an extra u-nut from the box I purchased a while back while installing the dash.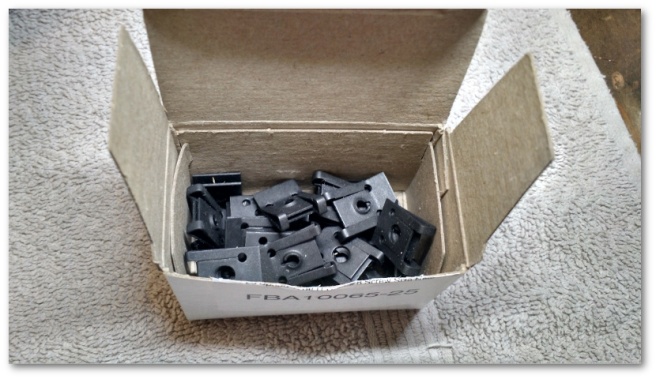
Lastly, I grabbed an extra weatherstrip channel screw to complete the family portrait:
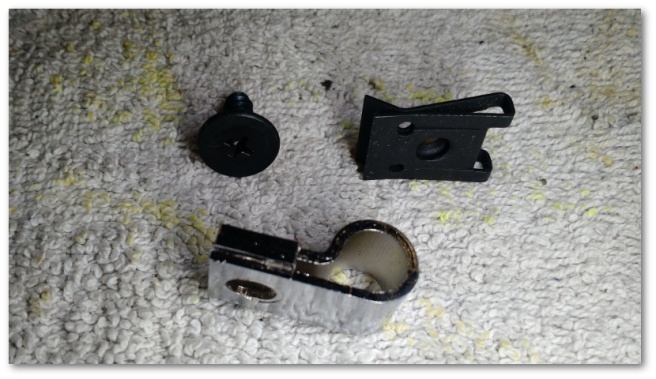
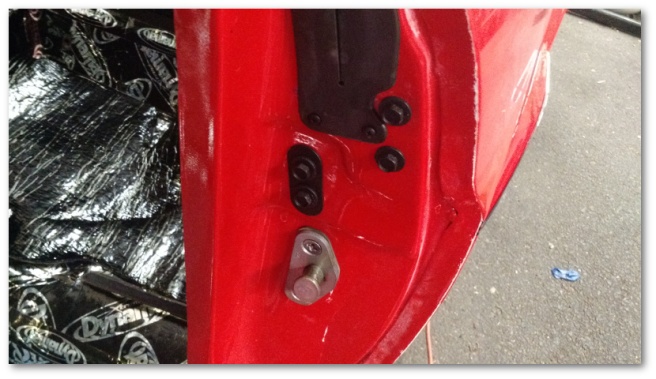
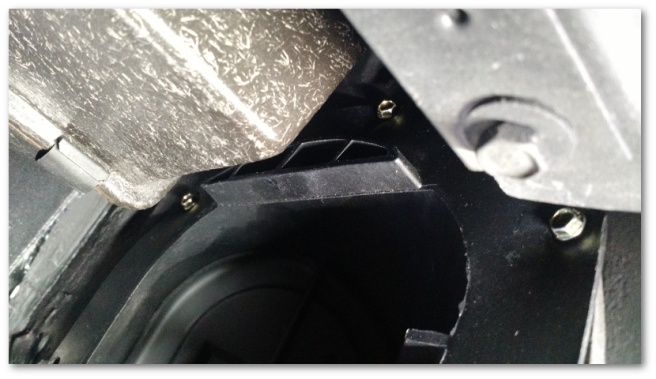
When fit together, everything seemed to work perfectly and I was plenty happy with my improvisational skills:

With the mirror cable and bezel sorted, I installed the door panel clips into the backer board and installed the panel onto the door:
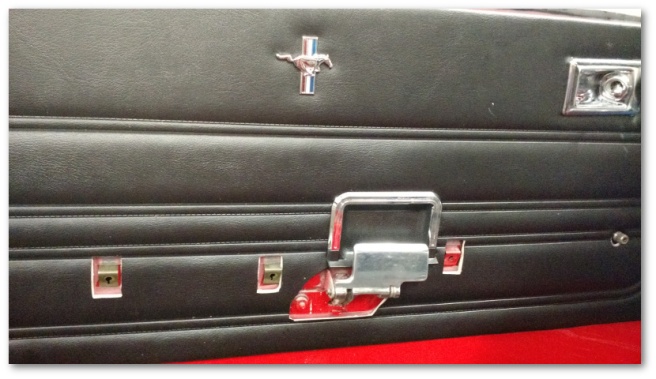
With the door panel installed, I then moved on to affixing everything that goes over it. I started with the arm rest:
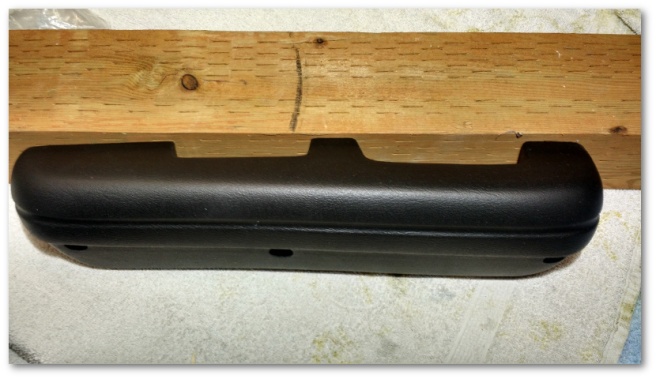
which attaches to the door through the three holes and brackets you see in the images above.
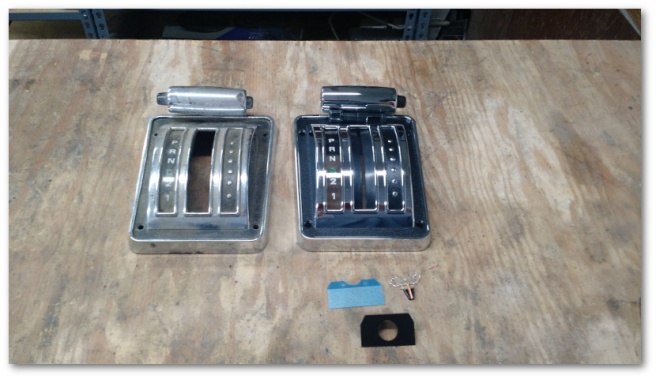
After the arm rest was installed, I cleaned and re-installed the window cranks:
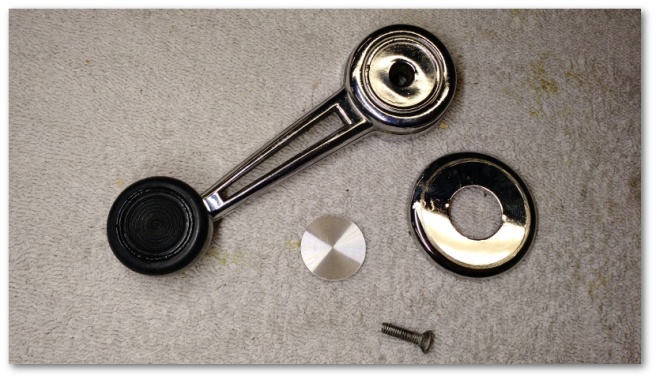
I decided to re-use my original window crank hardware even though it’s not as perfectly nice as I would like. I’ve spent enough money on the car already and these are easy to replace later at any time. The only new item I used was the little sticker that covers the screw holding everything in place.
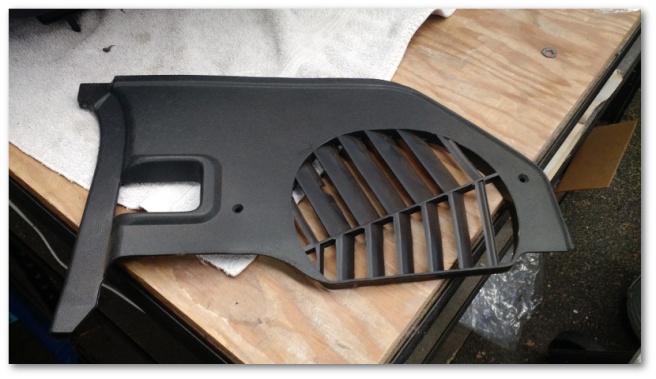
The last piece of the puzzle was the upper door panel trim:
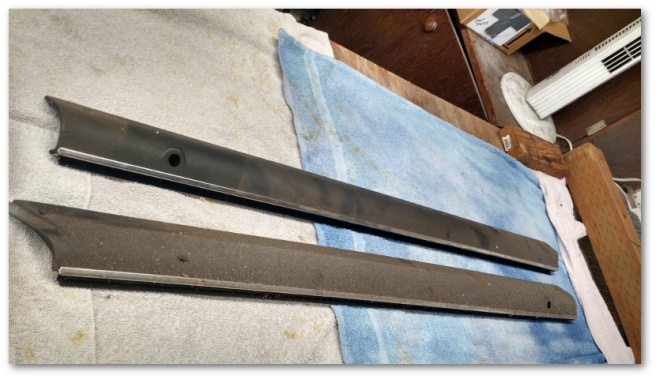
I’m…a little ticked at myself here as far as these pieces are concerned. Since I restored them a year and a half ago, they’ve just sat on a shelf under my workbench – uncovered and exposed to the elements.
This stupid mistake resulted in re-disgustingified panels that required extensive cleaning:
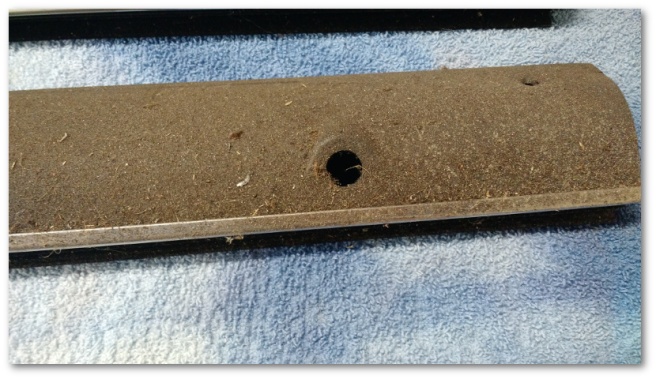
Thankfully, after a non-insignificant amount of elbow grease, the panels cleaned up nicely:
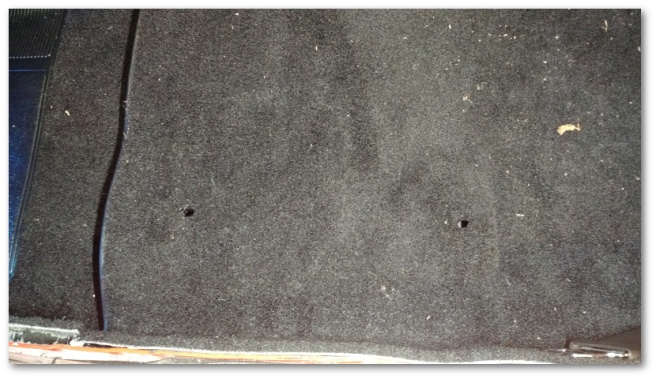
The hole you see above is where the door lock knobs go. Between the door lock knobs and the upper trim panel is space for a grommet. These grommets come in two varieties, the el-cheapo plastic version and a stainless steel version with an anti-noise felt pad.
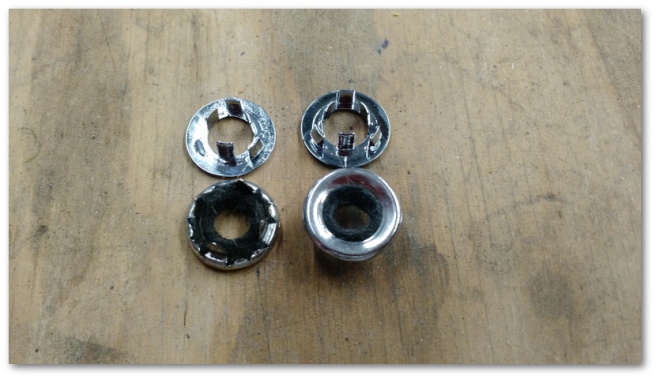
I originally bought the cheap ones.
Don’t buy the cheap ones.
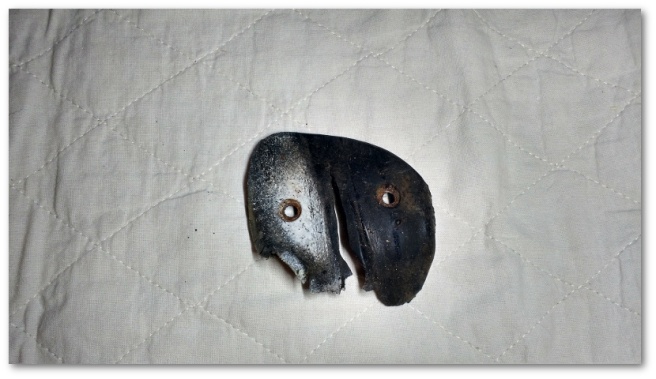
I managed to break the first el-cheapo grommet as I tried to install. As I mentioned, these grommets are plastic and need to have their little tabs compressed in order to seat correctly. When attempting to push the grommet through the hole in the upper trim panel, one of the tabs snapped off – rendering the grommet useless.
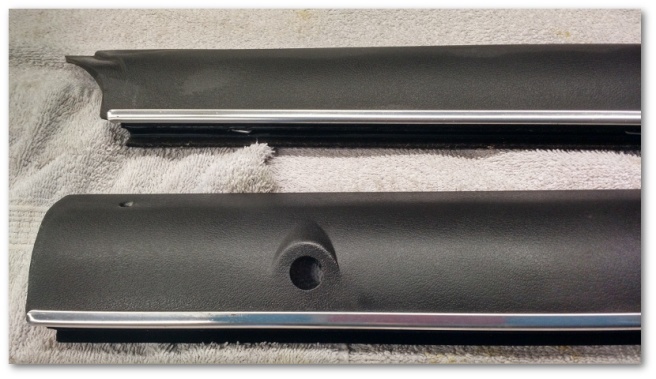
My second attempt with the soon-thereafter-purchased nice stainless steel grommets was much more successful:
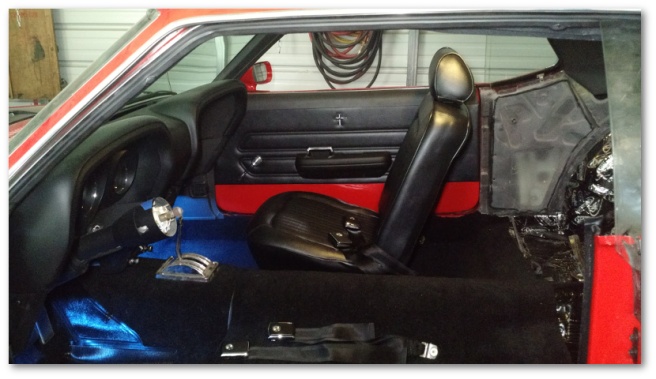
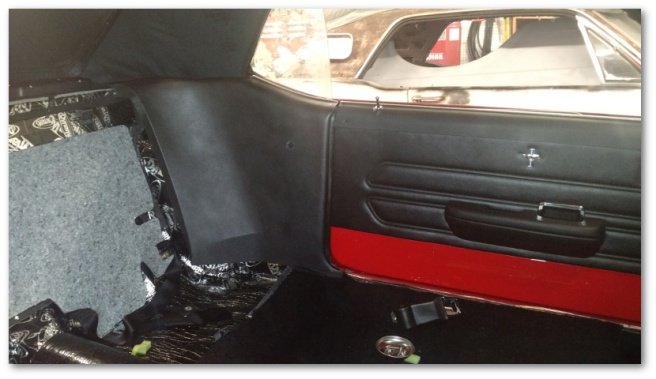
With the grommet installed, it was time to put the trim panel in place, attach the door lock knob and enjoy my now-fully-dressed doors:
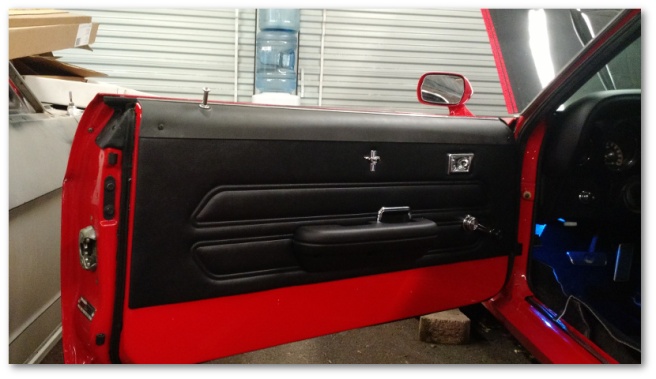
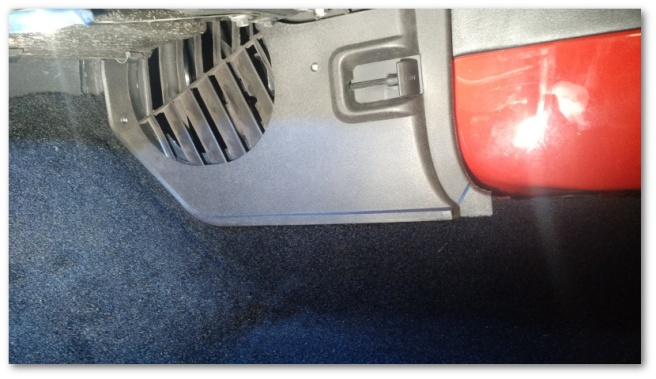
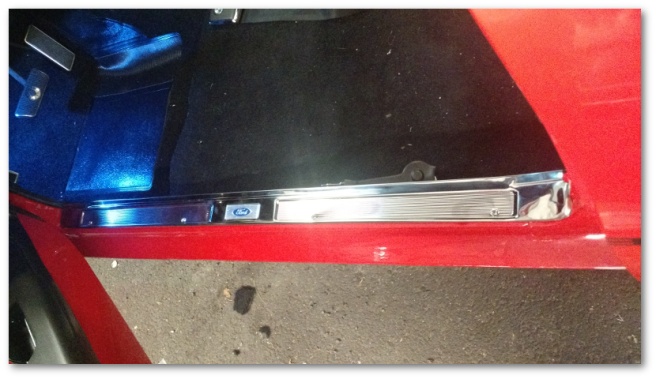
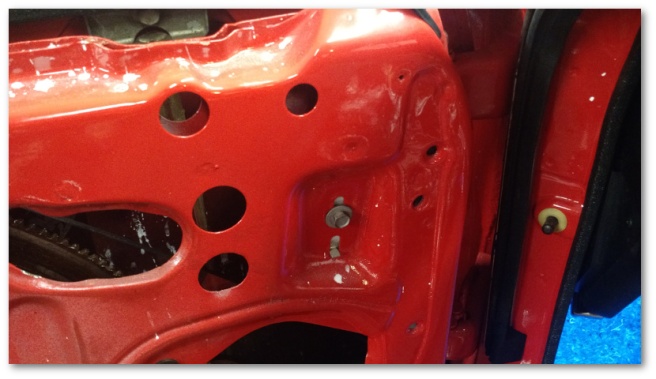
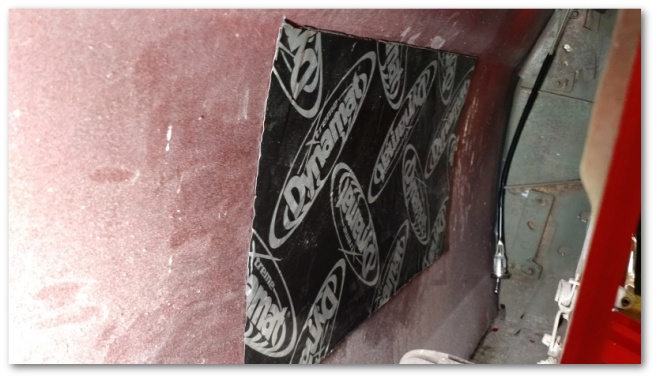
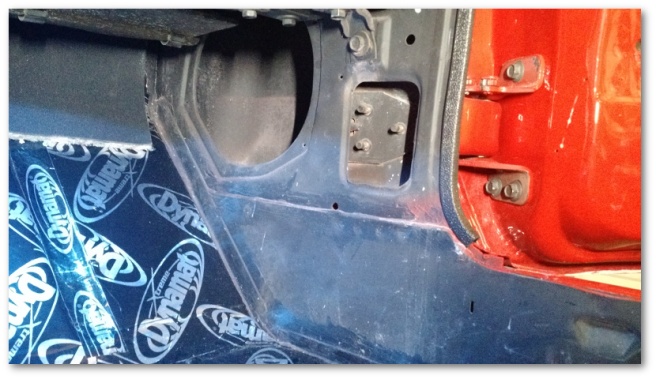
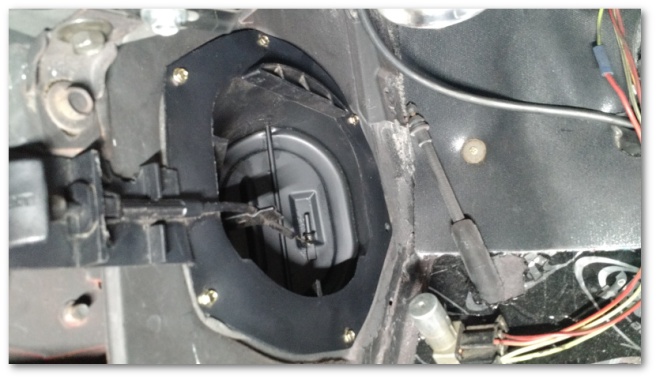
One thing I should point out about the red under the door panel. It’s not supposed to be there. Originally, the bare metal under the door panel was painted interior color. In my case, black:
I chose to leave this body color because I like the look of it better. It’s not “original” but I think it’s a nice custom touch.
With the doors finally dressed, it was time to do the last bit of prep work to lay the carpet.
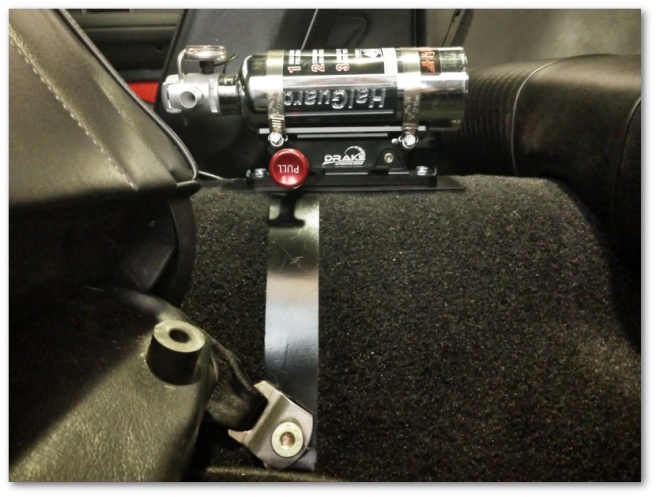
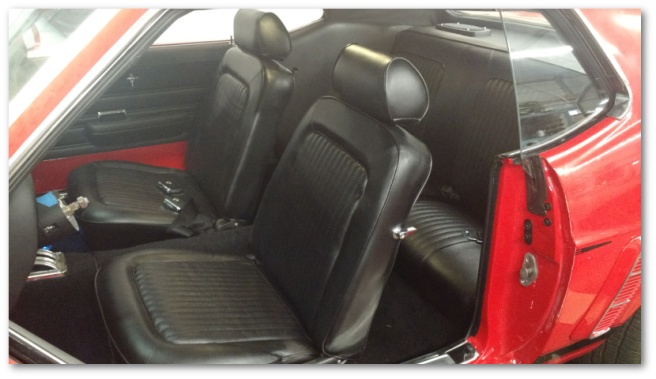
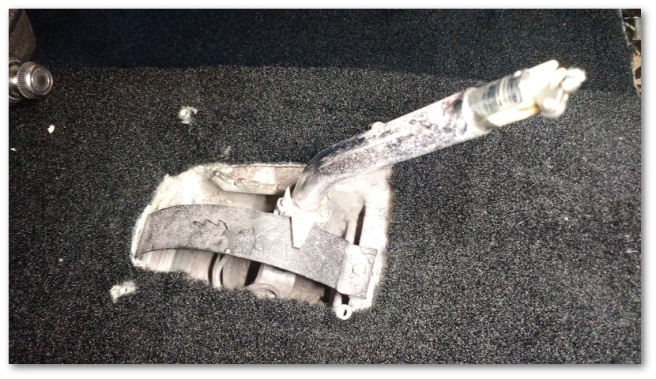
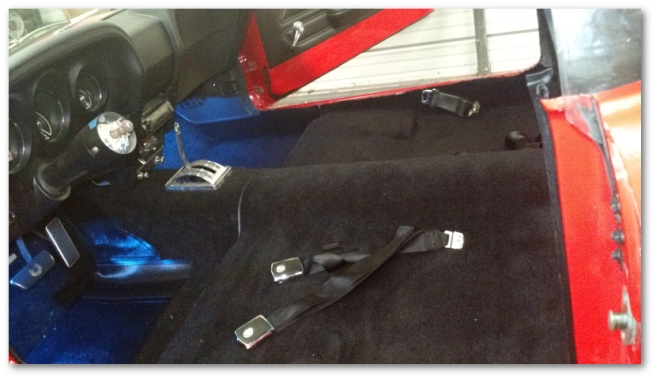
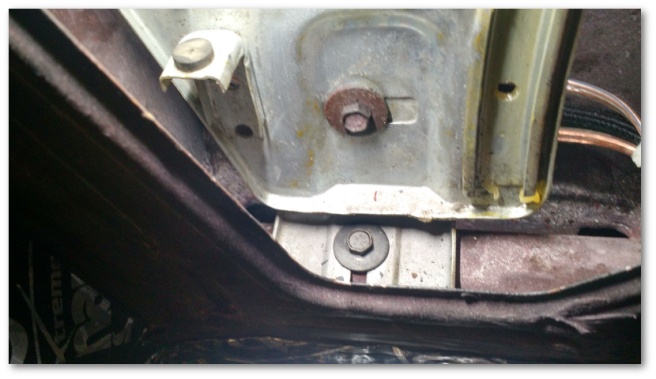
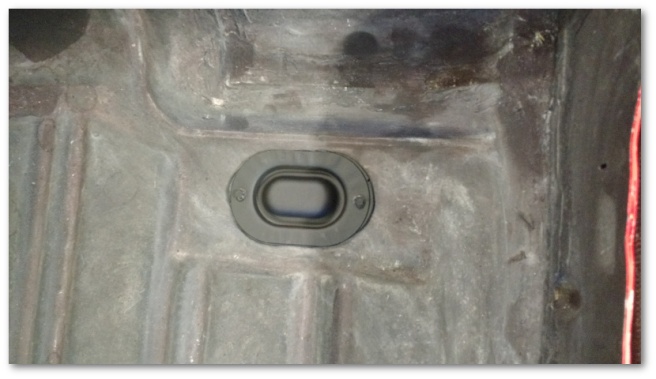
I brought out the rear seat belts:

and got them installed into the car: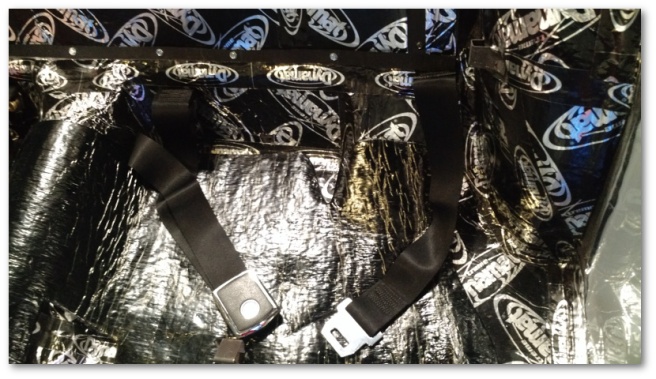
I made sure that they were installed in such a way that the buckle faced up as it came out of the seat. To seal in the washers, I applied a thin bead of strip caulk and pushed them into place. The caulk had the added benefit of keeping the washer in place as I laid the seat belt bracket up against it and threaded in the bolt.
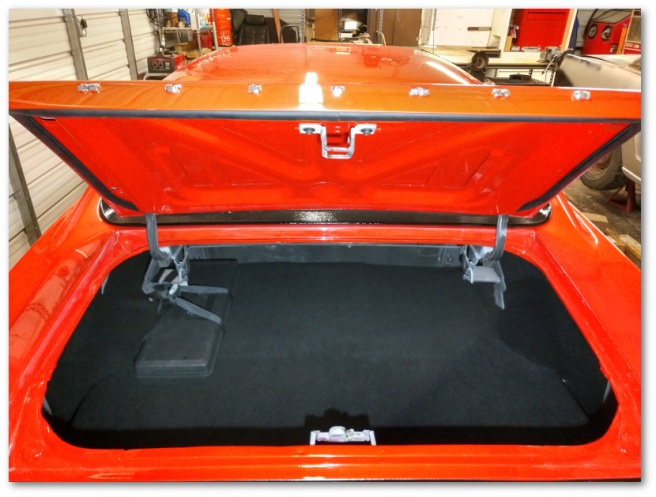
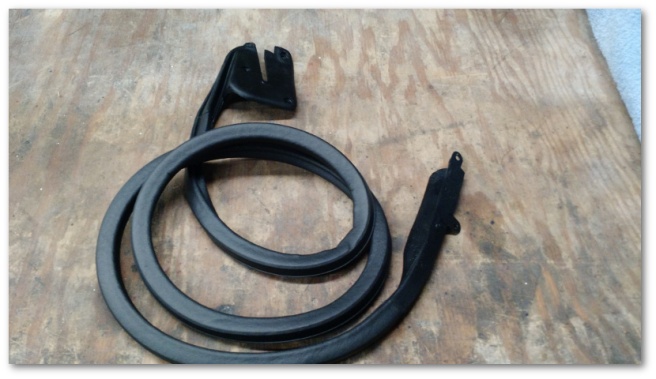
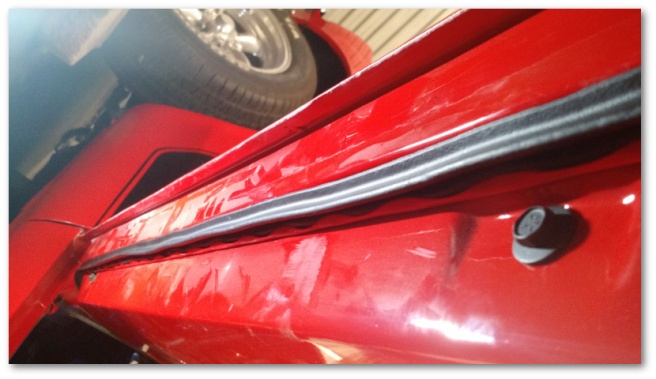
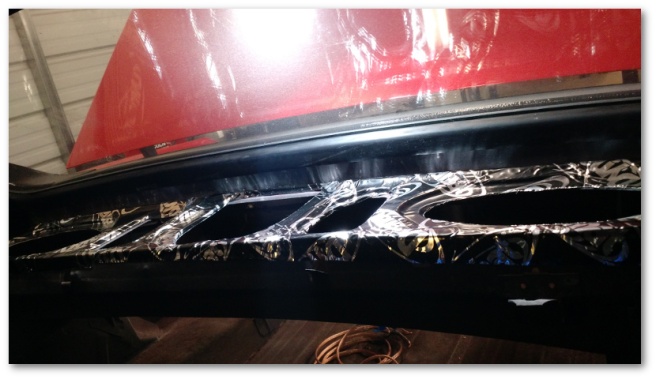
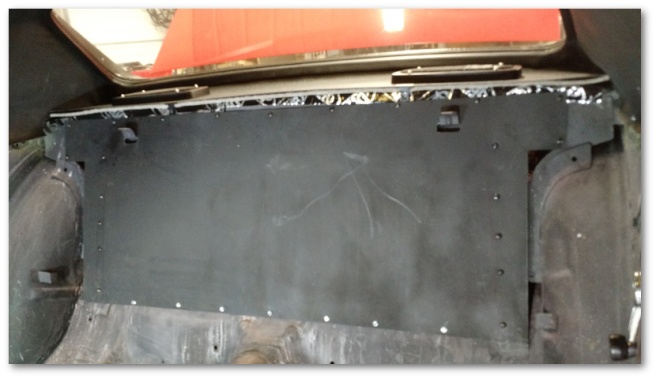
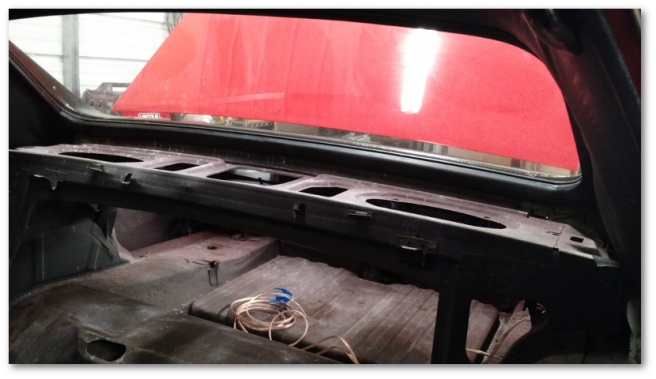
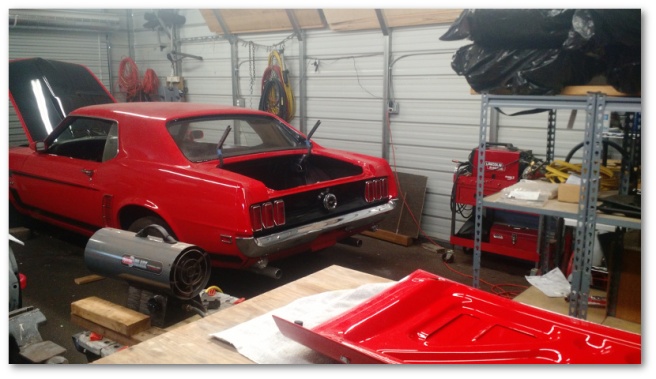
I also removed the deck lid and installed the trunk weatherstripping:


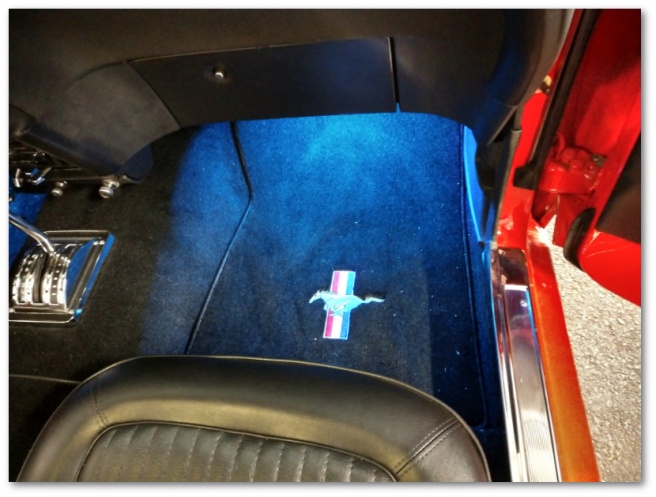
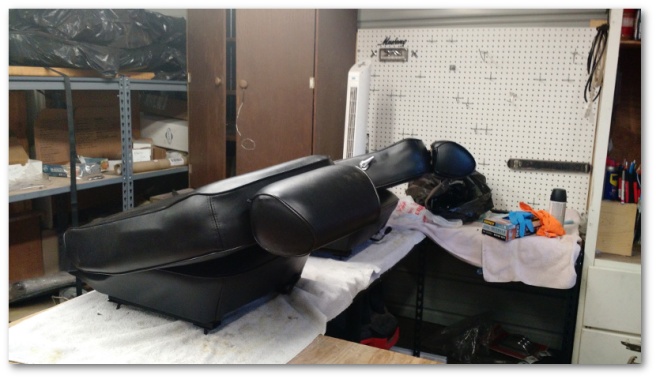
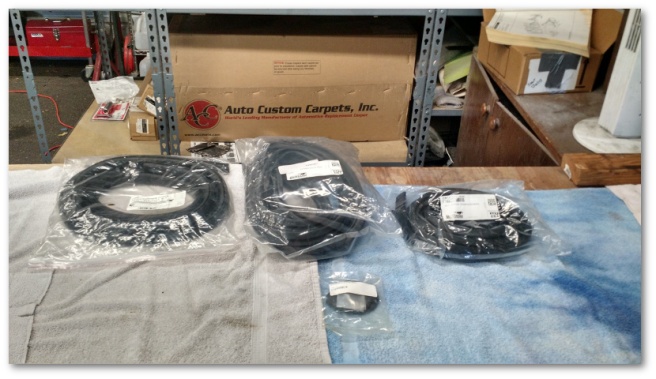
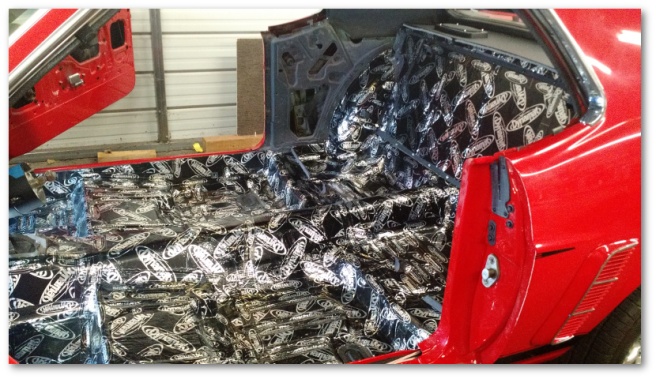
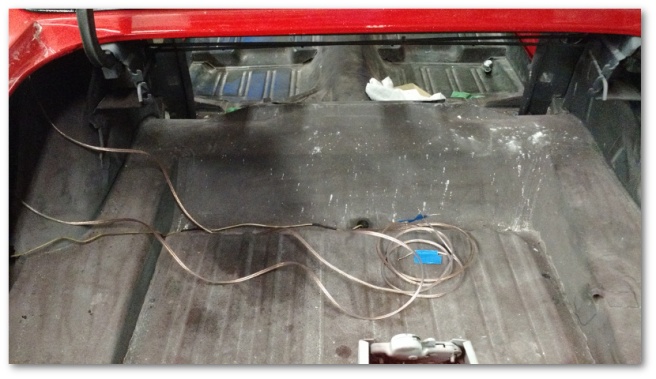
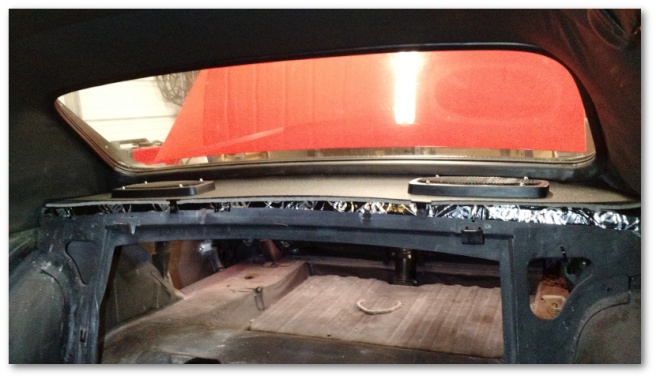
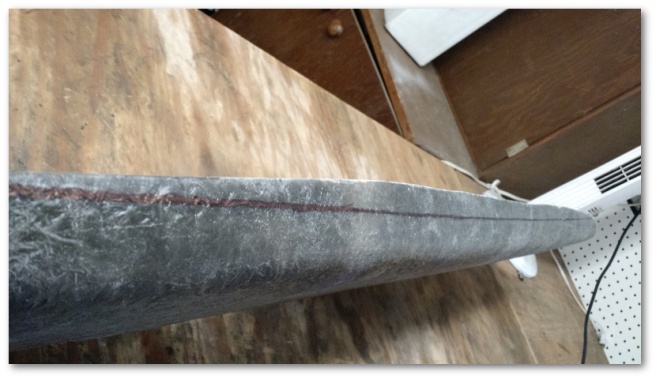
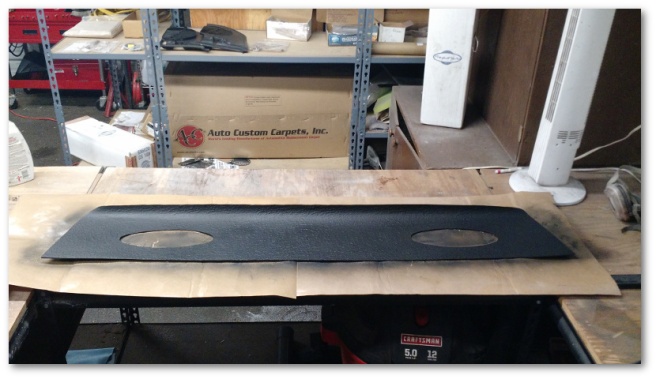
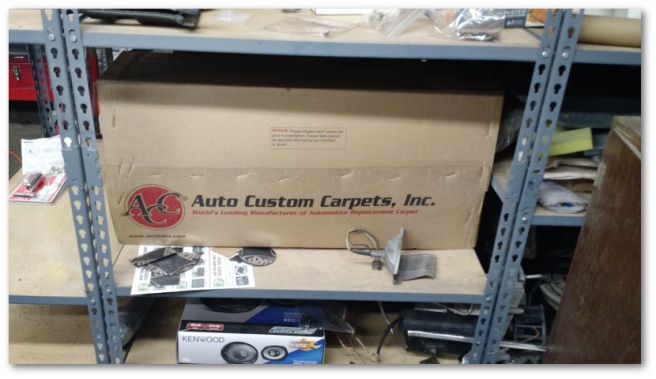
Finally, it was time to open a box I’ve had sitting on a shelf for over two years:
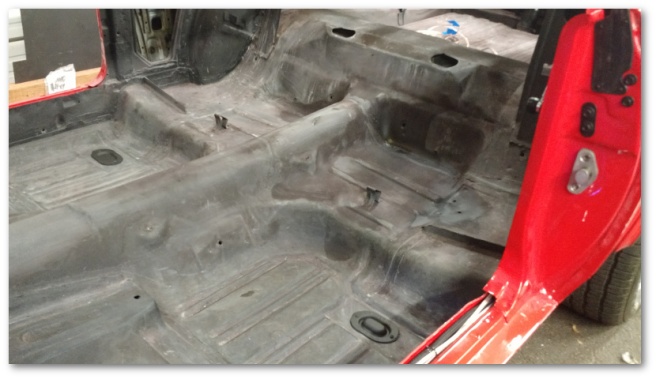
I dry-fit the carpet into the car and left it there so it can loosen up a bit and start to take the shape of the floor pans:
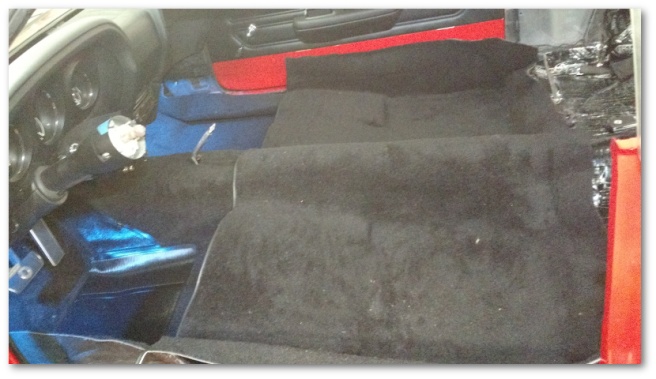
The plan for this weekend is to have my Brother-In-Law come over and help get the carpet installed for real along with at least the front seats and the deck lid.
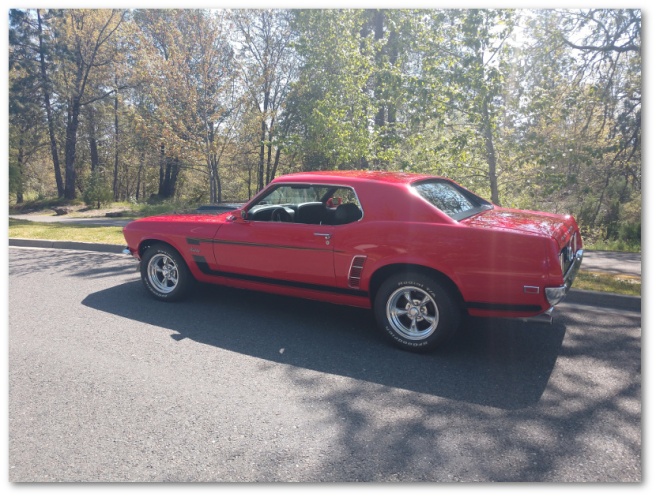
Which brings me back to the holy crap, I’m almost done here! statement. This realization hit me pretty hard last weekend. Once the carpet and seats are installed, there’s precious little else that will need to be done before the car will be ready to drive. I’m honestly a little flabbergasted to be saying that. I’ve been working on this car for over three years and am just now actually seeing the end.
It’s a…weird… feeling, but one I think will be fairly easy to get used to…