
While my Brother-In-Law and I didn’t quite get as far as I wanted, It’s real, yo:
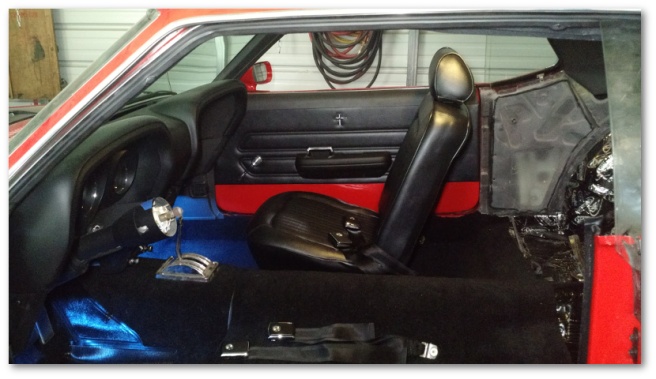
Last weekend, the Mustang had her carpet installed. My Brother-In-Law and I worked for quite a while to get everything cut to size and fitted/glued into place. I ordered what’s called “Mass Backed” carpet which has a thick sound-insulative layer under the carpet that’s also semi-formed to fit the floor pans. This carpet is the third in a series of sound dampeners installed in the cabin that started with the laying of the Dynamat and continued with the carpet underlayment.
The carpet comes in two pieces which overlap each other along the front of the seat risers. The bottom piece goes in the front of the car, so we started with that. Using a thin cut in the form of an X, we slotted the gear selector through the carpet and then lined up the rest until we were satisfied with where it was sitting. We then cut out around the gear selector. We tried to have all four bezel studs poke through the carpet to help anchor it, but overenthusiastic cutting on my part only left us with three:
Along the way, we got out my restored kick panels:
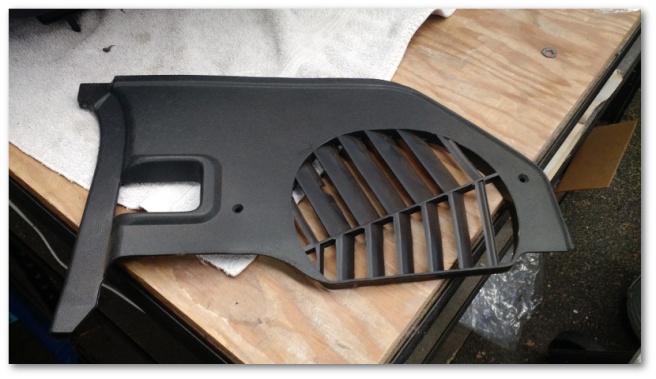
…and got them installed into the car: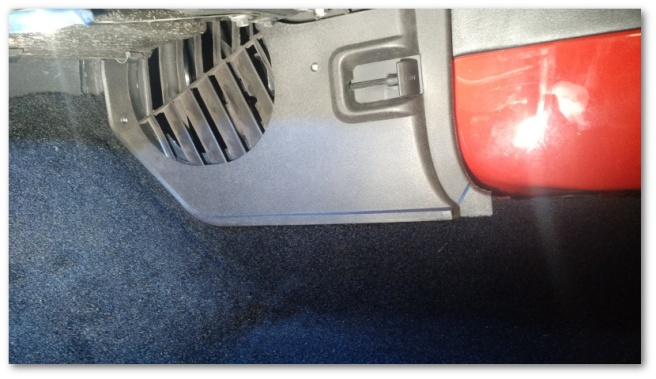
We then laid the rear carpet which was pretty much just a drop-into-place procedure.
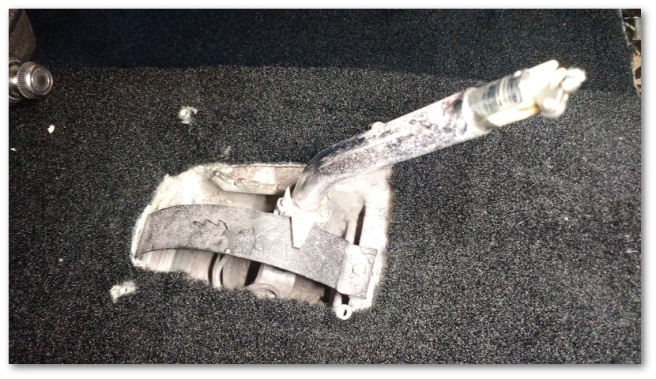
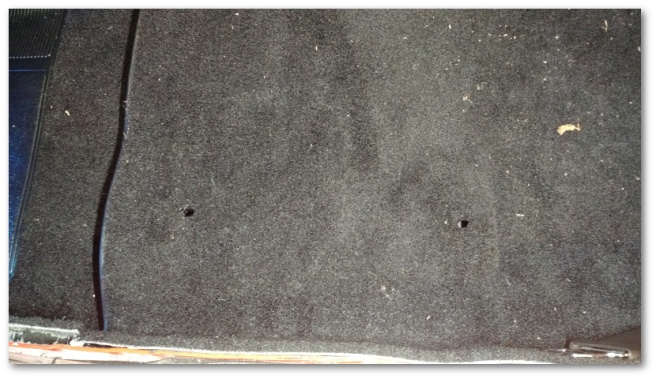
The main things holding the carpet in place are the seat belts and the seat tracks themselves. In order to get those installed, we needed to cut holes in the carpet to expose the bolt holes. Any time you’re not making a straight cut, you run the risk of creating a run in your carpet that you can’t stop. To avoid this, we used a wood burner:
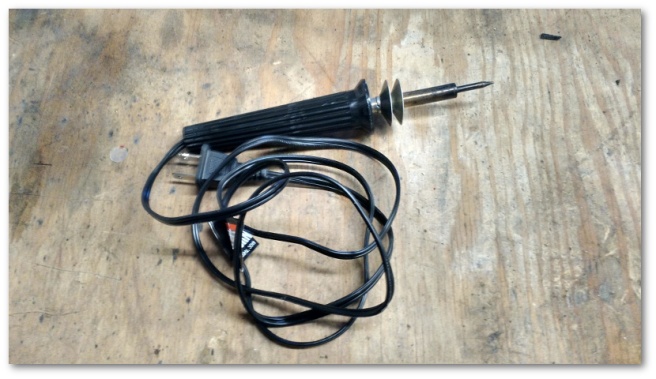
to melt the nylon carpet and backing into nice circular areas that were just the right size to expose the bolt holes:
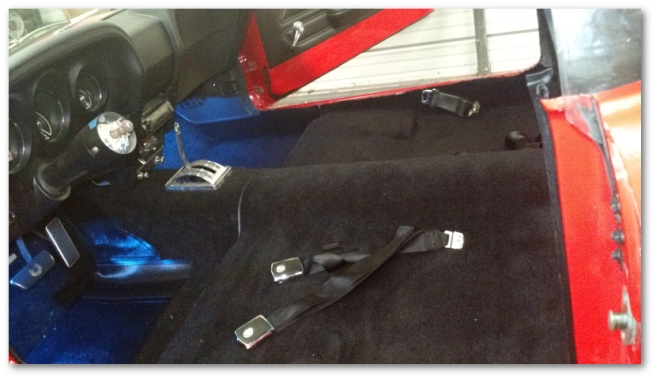
With the seat belt bolt holes exposed, we secured the retractors and latches into their locations and cinched them down tight.
After much cutting:

…and gluing, we were left with some awesome wall to wall carpeting with fully-installed seat belt accessories:
Finally, it was time to install the seats. This presented a small problem because I couldn’t find the nuts used for the seat tracks. I looked for quite a while and didn’t find diddly. The local hardware store didn’t have exactly the right type of nut (which has an integrated spring washer) but did have a flange nut that would have worked in a pinch. Thankfully, as we were looking, another source of nuts was discovered. As it turns out, I own another Mustang that uses the same nuts:
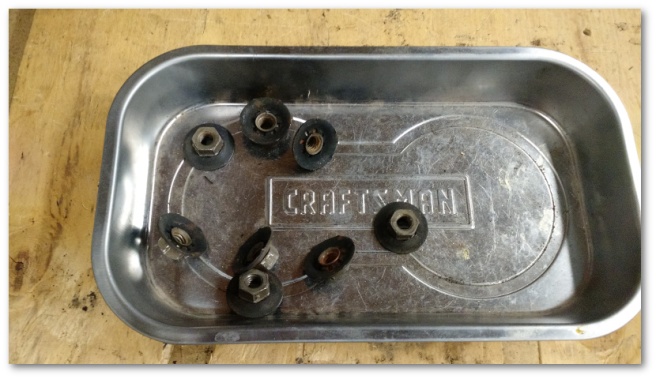
Thanks Mystique!
Later that day as I was cleaning up, I naturally found the Mustang’s old seat track nuts. I vividly remembered leaving them on the seat tracks and was rather irritated that they weren’t there. As it turns out, I did exactly that – but with the Mustang’s original bench seat rather than the replacement bucket seats:

Oh well…
We only got one seat installed due to me not remembering exactly how to install the quarter trim panels which have to go in before the rear seats do. Because I really wanted to see an installed seat, the last thing my Brother-In-Law and I did was to carry the passenger side seat from where we’d set it on the workbench:
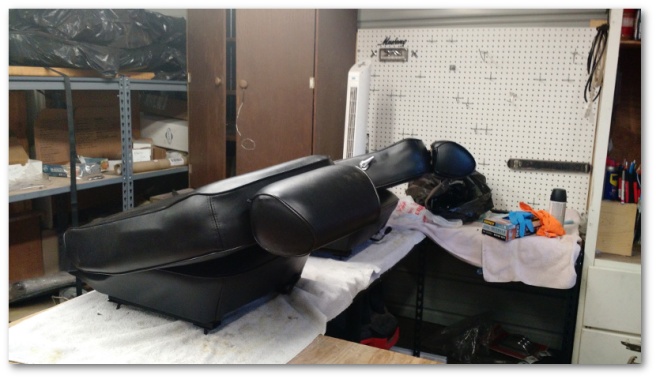
…set it down in the car, squeezed the bolts through the carpet and bolted it on:
Woohoo!!!
A little later in the weekend, I worked out how to install the quarter trim panels. It turns out that I’d covered up the section of the trunk divider that the quarter trim panel screws into. I needed to drill a couple of small holes:

And then I could install the panel:
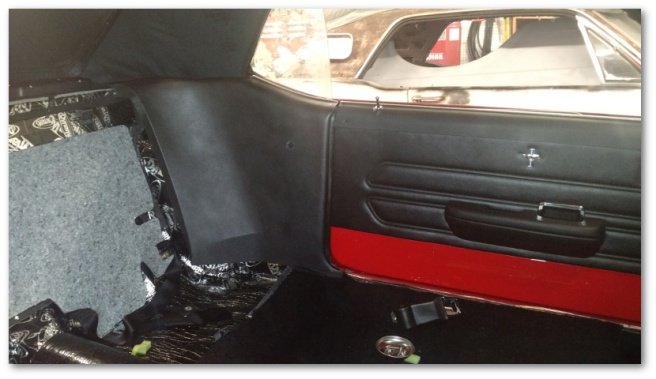
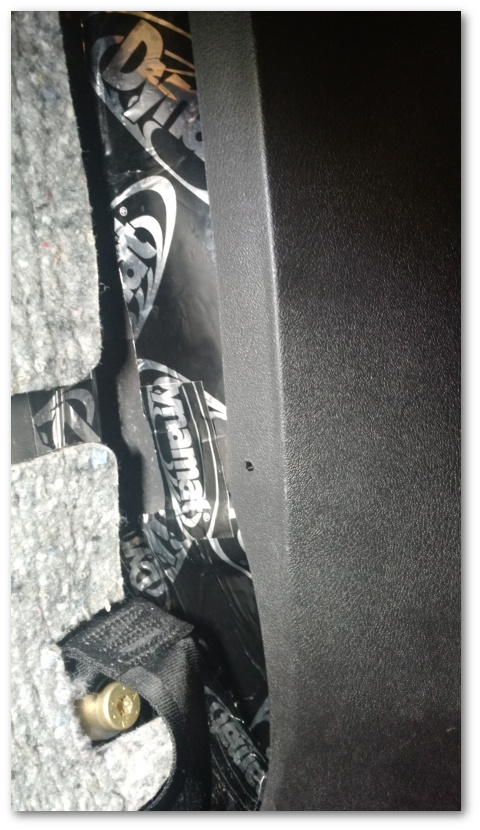
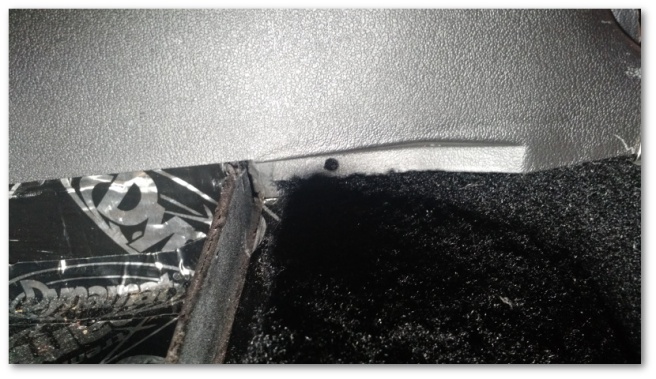
I’m still not 100% sure I installed the panel correctly. The hardware fastener kit I purchased has more screws than the trim panel has holes. Additionally, there are holes in the quarter trim panel that don’t line up with any holes in the body of the car:
These holes are along the back on the wheel house (which lines up with a brace but no hole):
and on the bottom near the front of the panel:
I dunno… Mystique has screws in all of these locations, but there is *nothing* to screw to in the Mustang unless I drill holes. I’m not keen on doing that and the fasteners that I did use to attach the panel seem to be doing a fine job so for now I’m going to go with what I have and hope for the best.
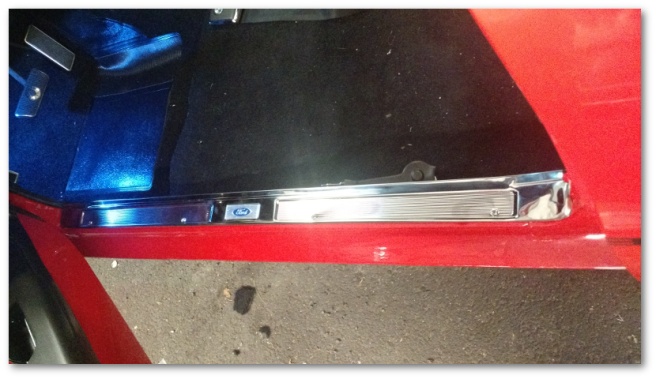
With the quarter panel installed, I was able to finally install one of the last big pieces of bling – the rocker sill plate:

I was only able to install the driver’s side quarter trim panel and sill plate. This weekend I hope to do the other side and maaaaaybe get the rest of the interior finished.
