
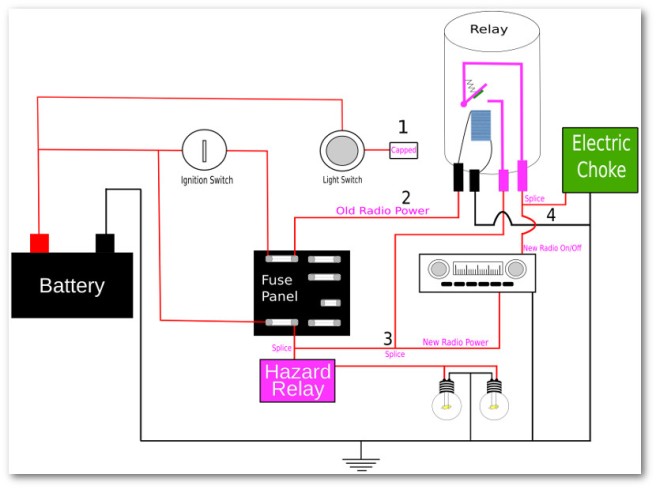
Let’s start at the very beginning. A little over two years ago, I figured out how the wiring for my radio and electric choke was going to work:
Not long after that, did a dry run of my new stereo system. This proved the wiring worked, but the sound was less than inspiring:
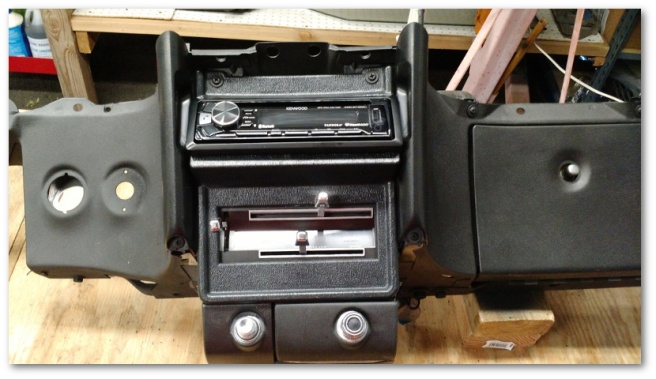
A few months later, the radio was dry fitted into the lower dash for the first time:
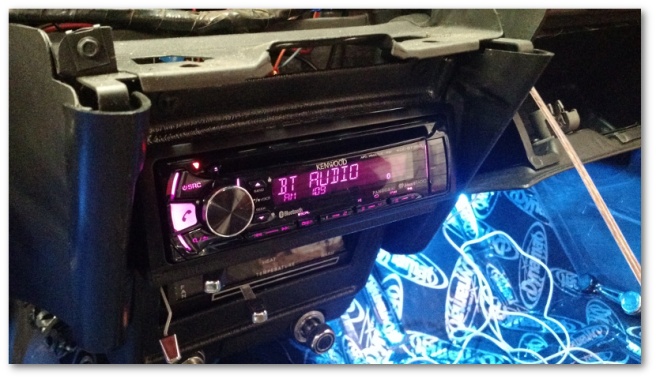
Last month, the radio was finally installed into the car’s dash:
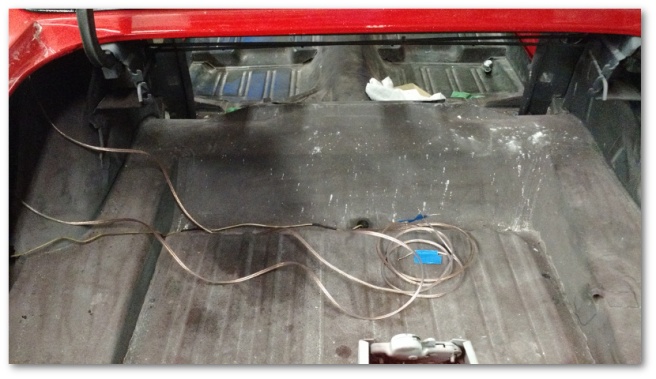
But it was still hooked up to only the front dual-voice speaker:
And the rear speakers I originally purchased were poorly researched:
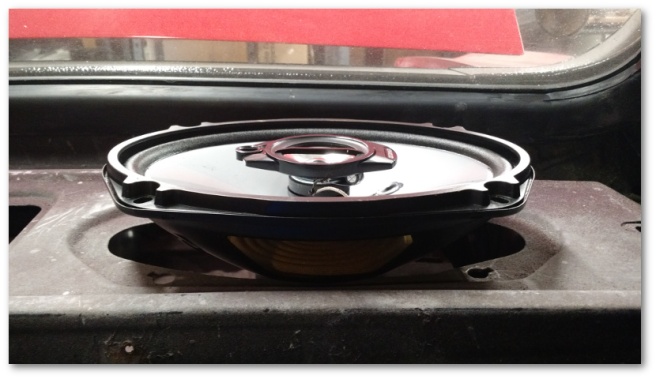
Last week’s goal was to address all those issues. I started where I left off the prior week: with correctly-sized 4×10 inch speakers:
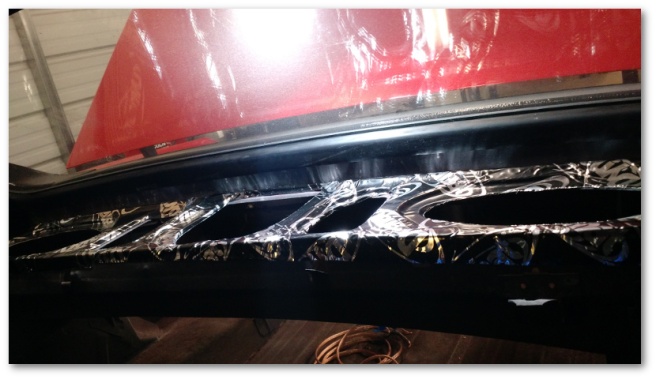
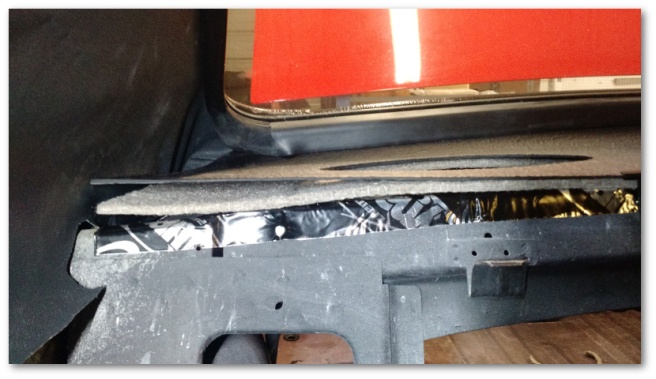
…and a Dynamatted package tray base:
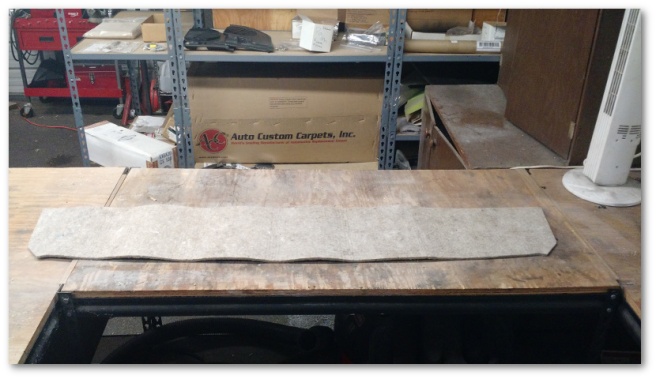
I then wired the speakers up and took the package tray insulation that I purchased:
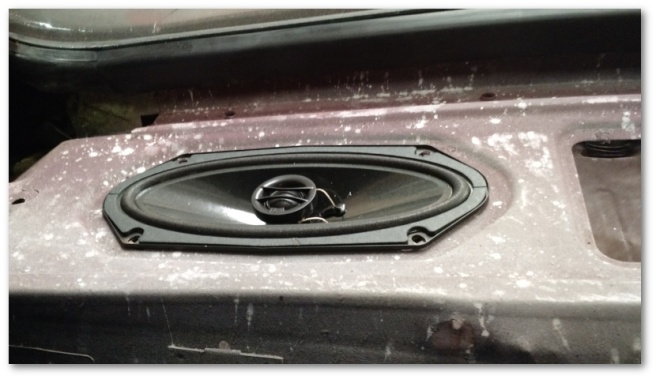
…and cut out speaker holes in that as well. Once the insulation and the package tray were fit together, it became clear that I needed to use the speaker grills to help hold down the edges of the package tray:
Thankfully, with everything in place, the edges were pulled down nicely.
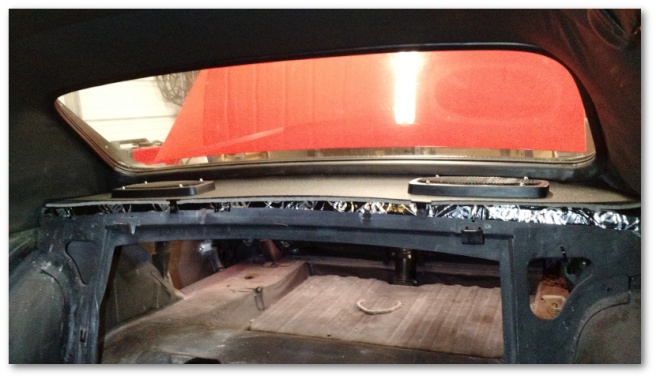
Finally, with everything in place, I was able to listen to my stereo at fully capability:
Ignoring the sounds-like-static rain in the background, this audio output was much, much nicer than my previous tests. Success!
I’ll be the first to admit that success notwithstanding, the sound system is far from top-notch. However, as I’ve mentioned previously I rarely if ever listen to the radio while I’m driving. What I have will more than do for the rare times I want to listen to something other than my engine.
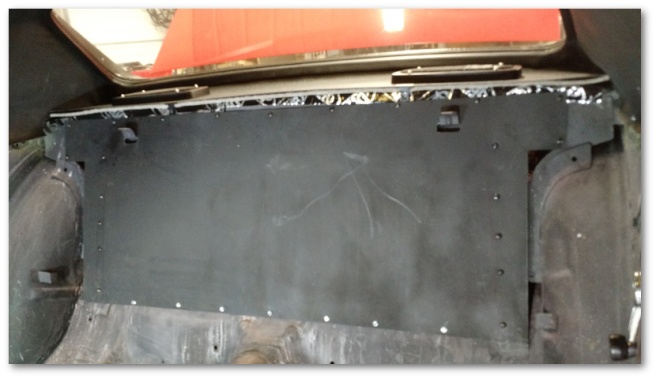
With the radio finished, it was time to install the metal trunk divider. There was only one problem; the provided screws were nice and shiny. These screws would actually be visible from the trunk and I didn’t like the idea of shiny pointy things sticking out against the black motif of the trunk when the deck lid was opened.
A trip to the hardware store was in order for new fasteners:
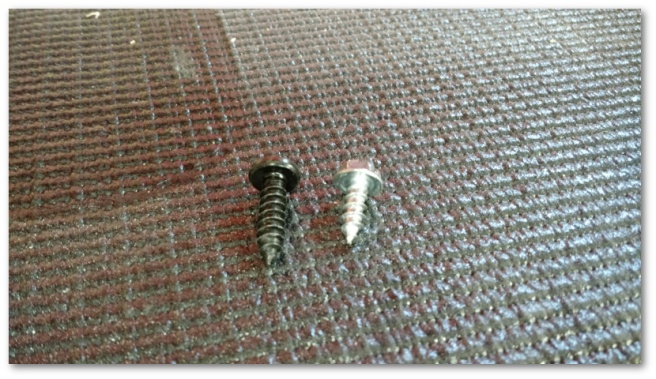
The black screws were a little bigger and about a quarter inch longer, but they were as close as I could get in black sheet-metal screws so I called them good enough. The only issue was that the hardware store didn’t quite have enough. I ended up using the black screws everywhere they’d be visible in the trunk and the shiny screws along the bottom that attached into the void between the transition pan and the trunk:
At this point, all that’s left is finishing the Dynamat. I hope to be able to get that all taken care of this week.
