
Many of the parts I’m installing on the Mustang now were purchased a year or two ago during my initial period of naivete when I thought this would be a quick project. During those “early years” I wasn’t as well versed in researching the proper parts to order as I like to think I am now. This lack of Google-fu was in prominent display this week as you’ll see below.
This week’s work started off just fine with the extension of the Dynamat to the back of the rear seat pans:
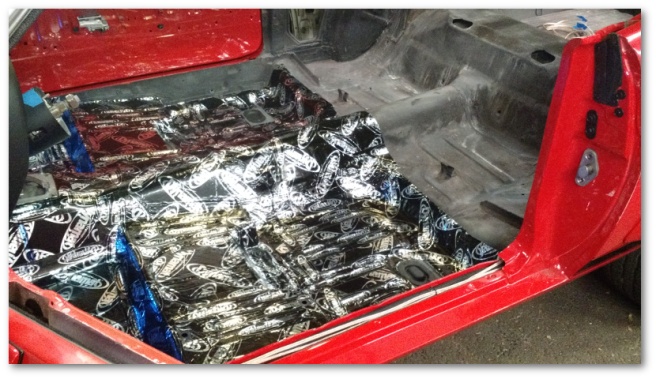
At that point, I noticed that I had a fair amount of work left to do in the rear of the car:
This work would require me to crawl all over the Dynamat on the floors if I installed it beforehand. While that’s probably not a huge deal, I decided it was probably best to leave the floors alone and break out the rear seat divider, speakers and package tray I’ve had lying around for a couple of years.
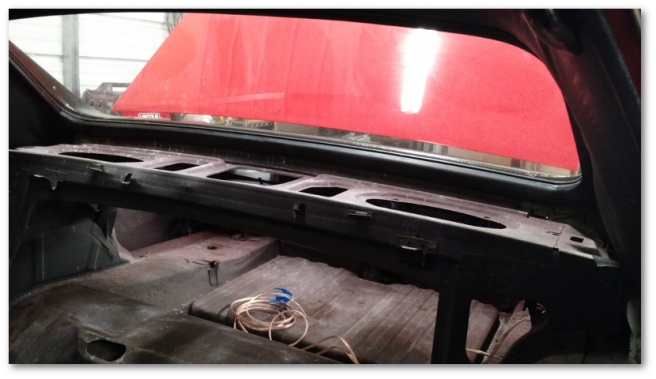
I decided to start with the Mustang’s package tray. This tray sits right beneath the rear window on the metal shelf you see in the image above. Originally, these trays were a press board material that had a propensity to attract moisture and rot away to nothing. Neither of my two Mustangs have their original trays.
Naturally, there are replacement trays available. In many cases, these trays are now made of fiberglass for a more long-lasting solution. However, just because these trays are made of a better material doesn’t mean they’re better made.
From the product page of the package tray I purchased:
NOTE: As with most fiberglass, some preparation may be needed for best fit and finish. Please TEST FIT before any prep or painting, modified parts are not returnable.
In the case of this product, “some preparation” meant sanding away over an inch of material in some areas before it would even begin to fit:
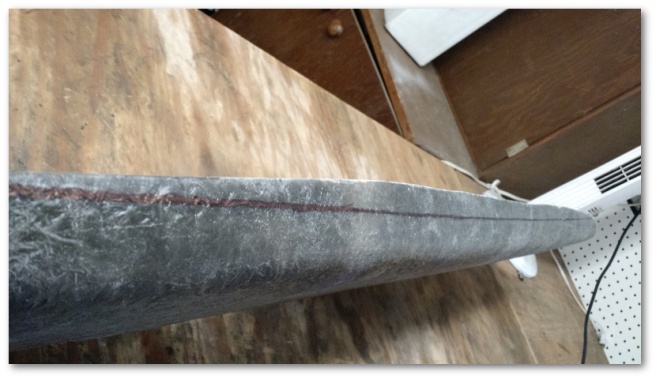
The reason this material needed to be removed was that the package tray is held in place by the rubber seal of the rear window. That means it needs to slide in under the seal to fit into its happy place. There was so much extra material on the product I purchased that it almost touched the window itself.
Had I done better research, I would have found a much better product at California Pony Cars. Not only does this product not have an overabundance of material at the end (you’ll note on that page the lack of any verbiage indicating any required preparation) but it also has the correct pattern on the top – something my package tray attempted but failed miserably at.
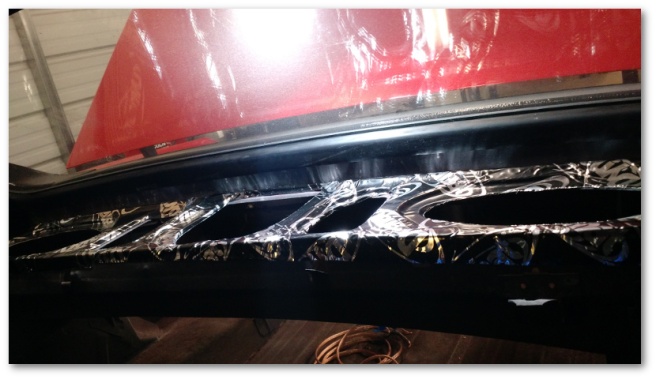
Having sunk 70+ dollars into what I had, I decided to make the best of it and proceeded to coat my entire shop with a thin layer of fiberglass dust as I “prepared” the tray for installation. Finally, after about an hour I was able to successfully get the tray to fit where it was supposed to:

You can see in the shot above that the package tray is tucked in under the rear window seal. In order to do that, the Internet recommends a couple of different tools:

I found the little plastic door panel pry-bar to work the best for me. Your mileage may vary.
With the package tray in place, it was time to cut holes in it so I could mount my nice 6×9 speakers…
…the 6×9 inch speakers that were too big when I got them out of the box and attempted to dry fit them:
Going back through my thought process for buying these speakers, I remembered that I based the size on the fact that *all* of the package trays at cjponyparts.com that have built-in speaker pods have their pods sized for 6×9 speakers:
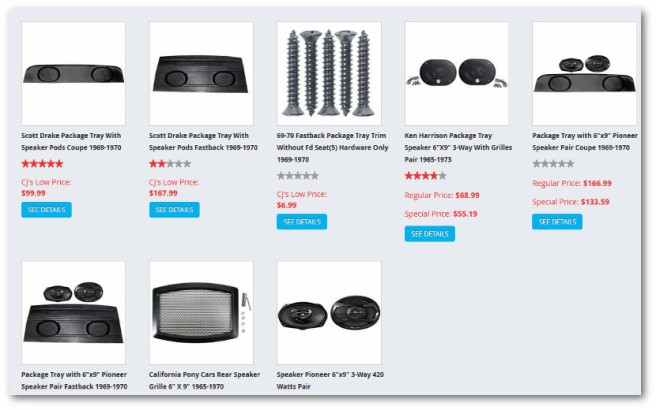
I apparently took these search results as speaker-size-to-get-gospel and purchased accordingly.
Since I’m in possession of metal-working equipment, I could have easily have made the speakers fit. In doing so though, I’d be cutting into perfectly good metal for the sole purpose of covering up a research error on my part. I wasn’t enthusiastic about doing that unless it was a last resort.
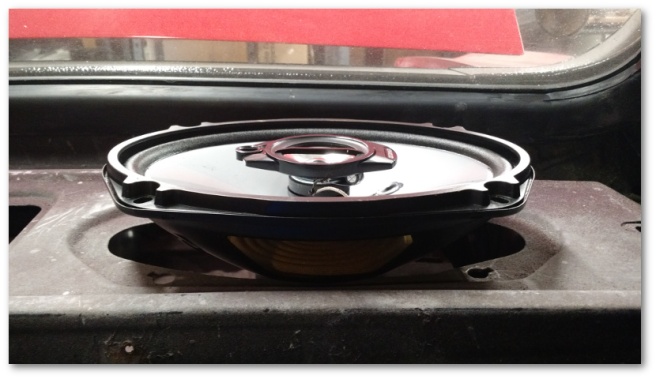
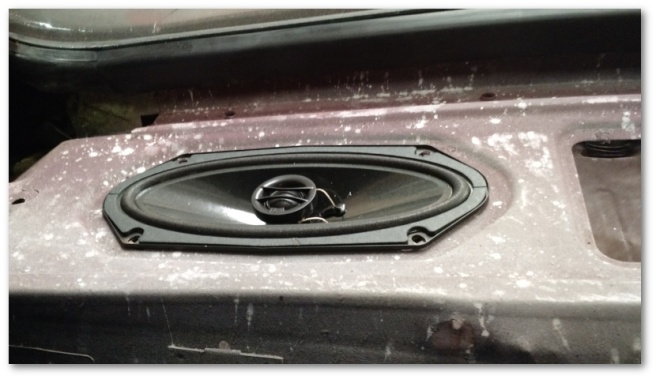
After a break for some more-better Googling, I discovered that the speaker housing in the package tray area for my 69 Mustang Coupe is designed to directly accommodate a 4×10 inch speaker. These speakers are apparently none-too-common in today’s world as it took me three music stores to find a pair.
Once I did though, the fitment was much better:
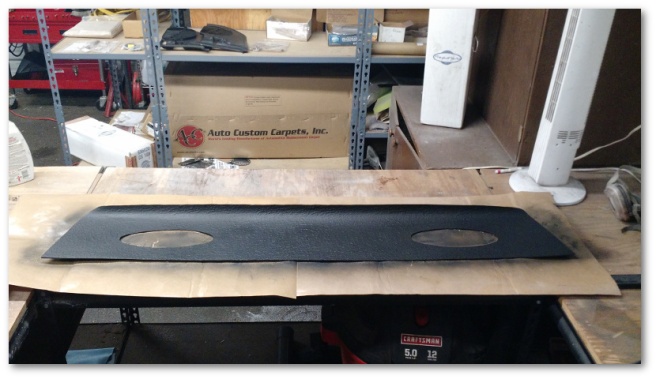
With the speaker situation sorted, I was finally able to cut the holes out in the package tray and paint it to match the rest of the interior:
I then applied Dynamat to the metal backing to give the speakers their best chance of producing good sound:
At that point, work on the package tray needed to stop. During my speaker research I also discovered that there’s a piece of insulation that installs under the tray I had neglected to previously discover and procure. That piece is on order and should be here this week.
I next moved on to dry fitting my metal divider that goes between the trunk and the rear seat area:
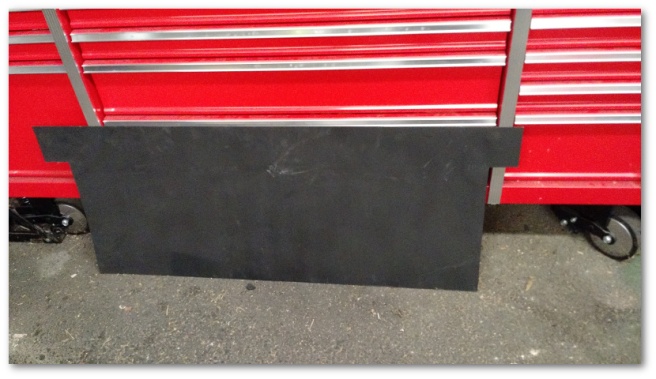
This metal piece is another solid upgrade to the original press board divider the cars originally came with. Being metal, it adds a more fire-proof barrier between the passenger compartment and the gas-tank-containing trunk. It also helps to stiffen up the car’s unibody.
You’ll notice that the piece above is nothing fancy – basically just a rectangle of metal with ears. At the time I purchased this piece, my two primary on-line sources of parts were National Parts Depot and cjponyparts.com. cjponyparts.com doesn’t appear to offer these panels as options at all so I went with the panel from National Parts Depot.
Once again, had I done some more exhaustive research, I would have found a much better divider from Mustangs Unlimited:

*That* piece is actually form cut to fit the curves of the wheel houses and notched to avoid interference with the seat mounting brackets.
Once again though, I had what I had so I made the best of it:

Everything you see above is simply dry fitted to make sure all the pieces would work together. Once I was done with this shot, I started to take everything apart again for final installation next week.
I quickly stopped though when I realized there was one more piece of the puzzle that probably should be introduced to make sure it still fits:
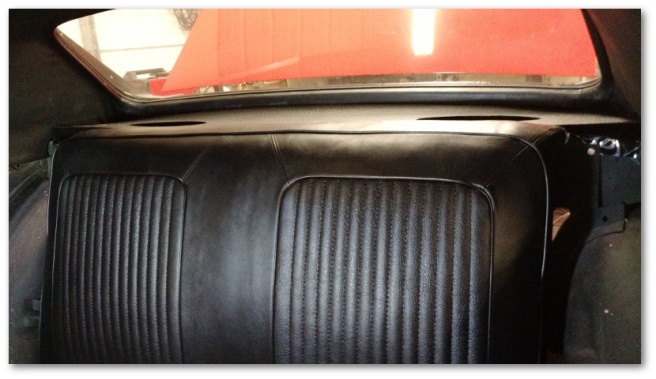
It’s been over a year since I’ve seen any of the seats I restored and re-upholstered. I knew that the seats would be among the last pieces of the interior to be installed and until this week, they’d been largely out of mind. Getting the rear seat back down to dry fit it into the car made me realize that I may soon need to face the terrifying reality that I might actually get this car done in the coming months.
That thought had me grinning from ear to ear and forgiving myself for the research transgressions of the past.

One thought on “Past Failures Of Research…”