
In more than three years of owning the Mustang, I’ve taken her for only a small handful of drives. The most memorable was right after the electrical system was brought back on line for the first time:

During that drive, I noticed that it was…a little loud inside the cabin. Part of that for sure was the fact that both the hood *and* the trunk were off and the windows were down, but a significant contributing factor was also the fact that the Mustang’s old carpet and underlayment were shot and not providing any sound deadening at all. It also didn’t help that the headliner was ripped to shreds.
Not detracting anything from the glorious sound the Mustang’s engine makes, I do have to admit sometimes it’s nice to have a little peace and quiet. This weekend’s goal was to set the foundation up for a more silent cabin in the future.
The product that I chose to use to shush out the road noise was Dynamat:
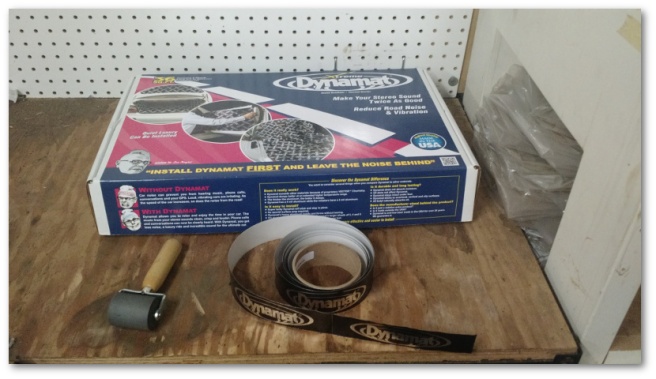
From everything I’ve read, this is one of the best sound deadeners you can buy – which I really hope is true because it’s also one of the most expensive.
Dynamat comes in sheets measuring 18 inches by 32 inches. It’s basically a sticky butyl rubber compound with an aluminum topping. It’s designed to stick to the metal of car doors and floor pans and reduce the resonant frequency of the metal by adding mass and preventing vibrations.
I previously installed Dynamat in my doors in small sections:
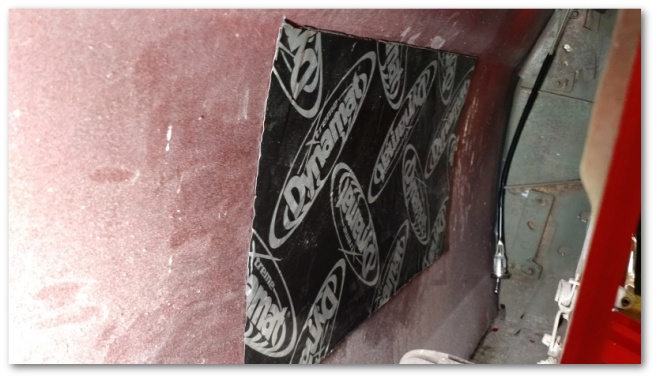
and went wall-to-wall with the installation on the firewall.
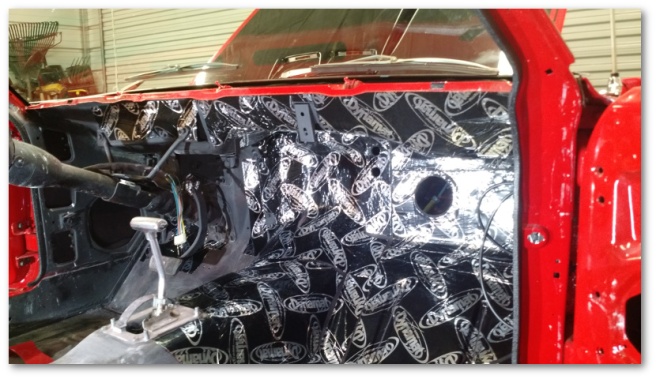
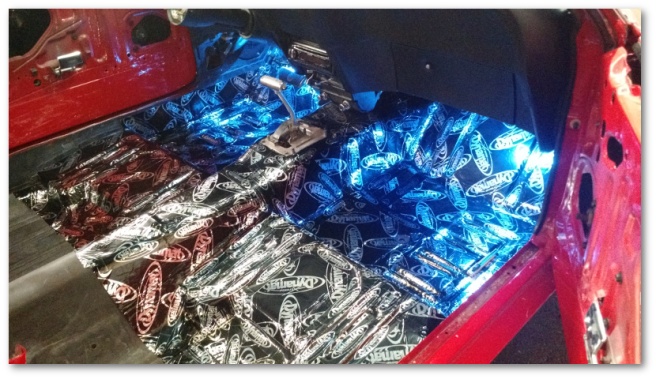
For my floor pans, I was going to continue the cover-everything approach. I admit this is probably overkill, but I don’t care. It looks wicked cool – even though no one will ever see it.
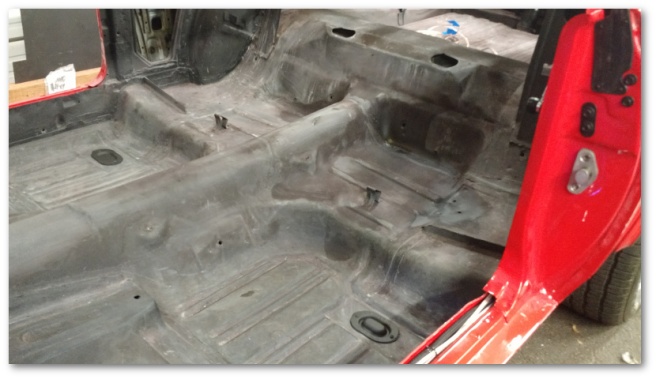
Before I could lay anything down, the Mustang’s interior needed a little pre-Spring cleaning:
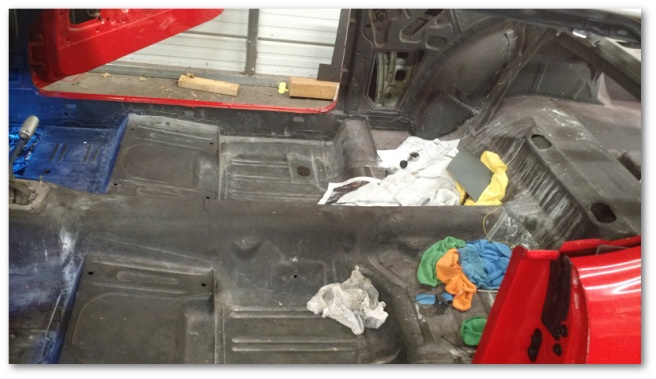
The white streaks you see were the remnants of the cutting compound used by the body shop to polish the paint. It’s not the easiest stuff to get off, but a couple of rounds of scrubbing got most of it:
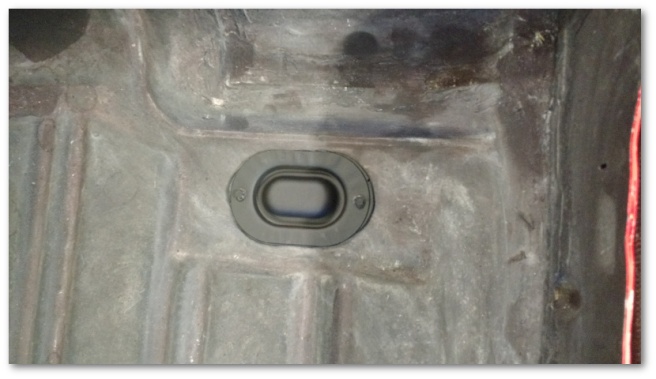
You can see in the image above I kept myself busy while the floor pan was drying by installing the floor pan drain plugs:

These were a simple install. All it took was a little bit of strip caulking around the edges:

…and a couple of screws into the floor pan:
With the drain plugs installed and the floor dry, it was time to lay down the Dynamat. I had originally hoped to get the entire floor finished, but quickly found out that it takes a while to get this stuff installed over all the bumps, curves and contours of the floor pan.
My basic approach is to lay down the Dynamat, use the rubber roller to smooth out the flat spots and then make relief cuts in the material to allow it to conform to the floor pan:
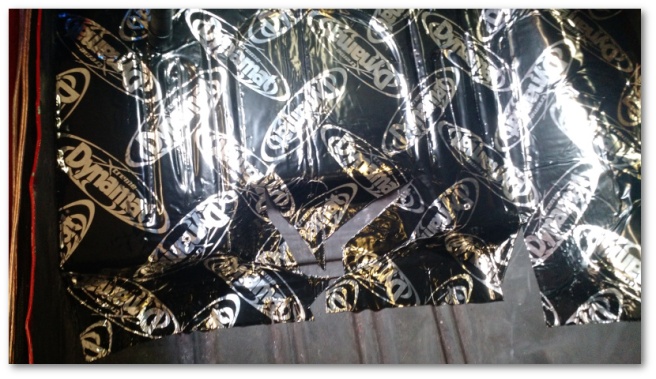
Once the relief cuts are flattened down, additional material can fill the gaps and then the seams are covered with the Dynamat aluminum tape.
After a few hours of working, I managed to get maybe two thirds of the floor pan finished:
The rest will have to be finished next week in Vol. 2…

One thought on “Dynamat Vol. I…”