
With last week’s successful dash installation, this week’s project was the items that install under it. If you recall, there’s not a whole lot of room under the dash and I’m not a big fan of working there.
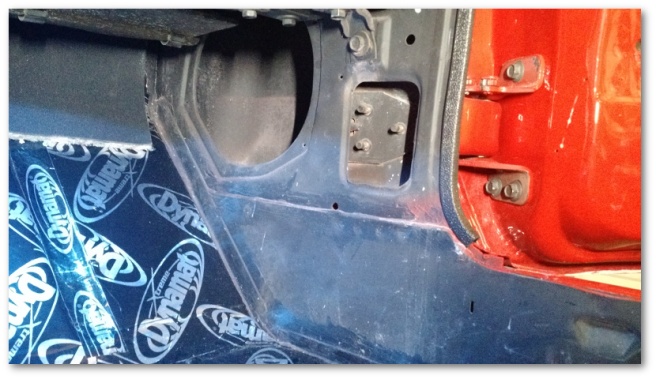
By way of visual, this is the general outline of the floor pan where I was contorting myself while doing my work on Saturday:

As you can imagine, that shape is not one in which humans are particularly adept at conforming to. At the end of the day, I hurt everywhere…
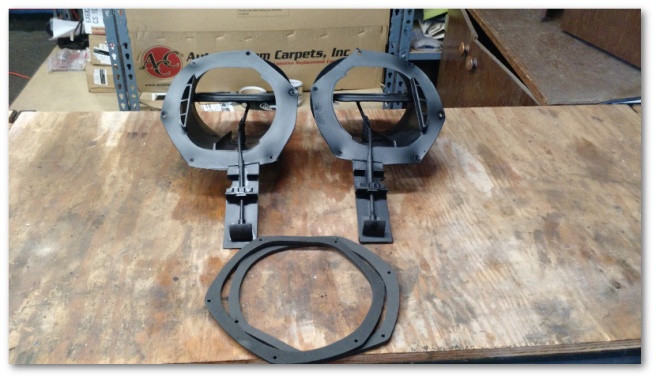
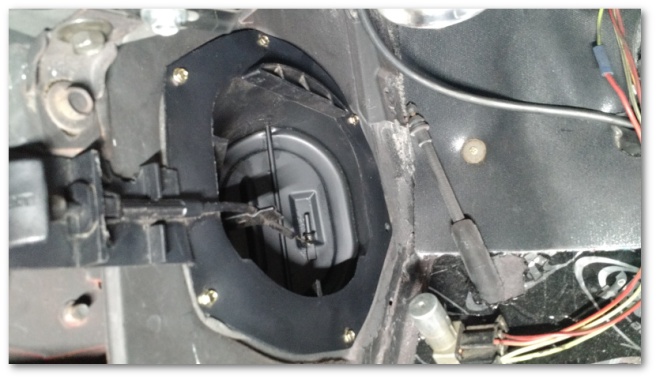
My goal was to install these vents:
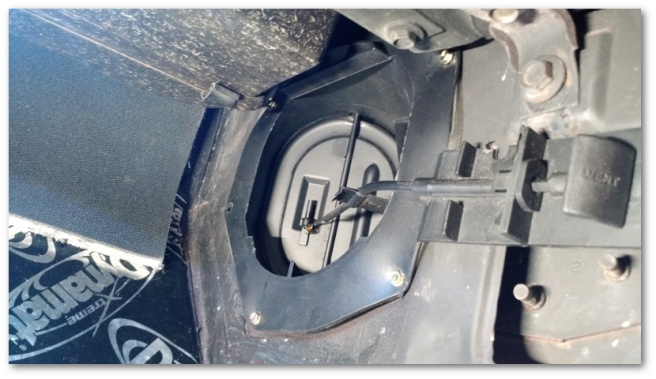
…into their receptacles on the lower cowl:
Naturally, what I thought would be a quick job turned into something a little bigger. Note to self: in the future, install this vent before installing the heater box:
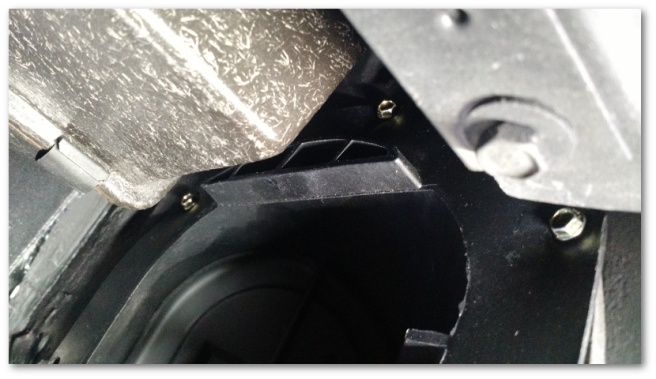
I honestly couldn’t tell you how I installed the vent on the passenger side. The heater box was completely in the way. Finally, after maybe half an hour of fiddling, it popped in and I was able to rotate it into place. Not knowing exactly what I did to get it to “pop” in the first place, I was disinclined to remove it to find out. Sorry readers, this one I can’t explain and you’ll have to fiddle on your own.
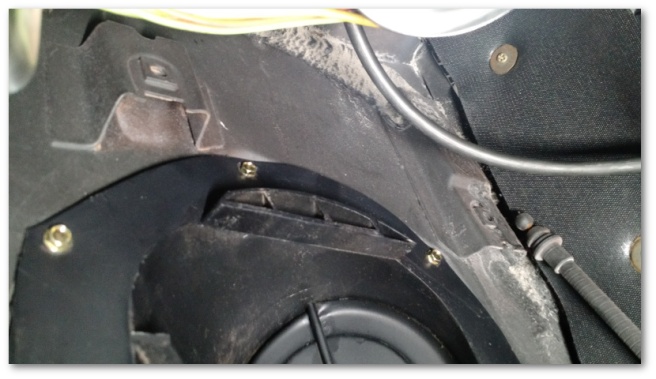
With the tight space, I did have to make a few tool modifications in order to tighten the fasteners:

At long last the passenger vent was in and I moved on to the driver’s side. This vent had plenty of available space and installed in less than five minutes:
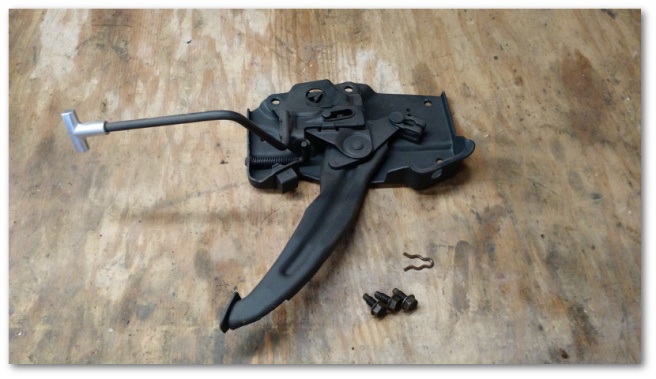
Not being one to let something easy get me down, I decided next to install the Mustang’s parking brake assembly:
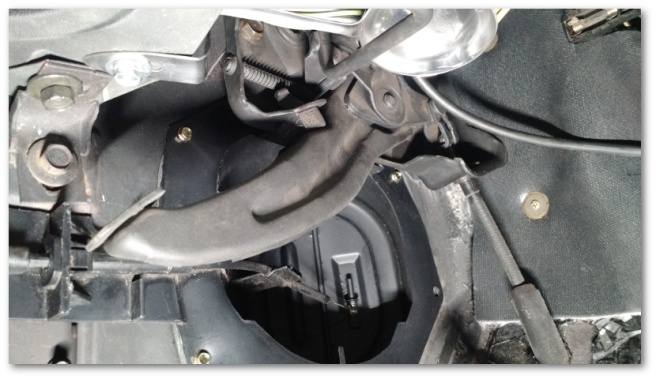
…which goes directly over the top of the cowl vent:
Now me (previously future me) was very happy with past me for leaving the parking brake cable loose under the car which made it much easier to clip the cable to the brake assembly:

…and then fasten the whole thing into place:
At that point, my lovely wife came down to the shop asking when I would be finished and noted that she’d helpfully pre-heated the oven for me to cook dinner. I told her I was “just about ready to come up” which may or may not have been an accurate statement of fact – depending on your definition of just about ready.
My Saturday-night definition of just about ready involved installing the following pads and stainless trim under the dash: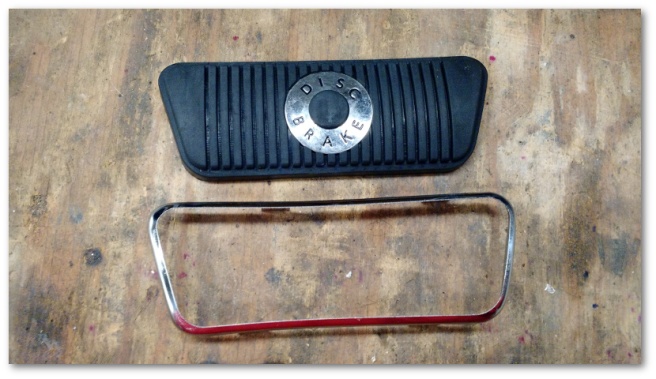
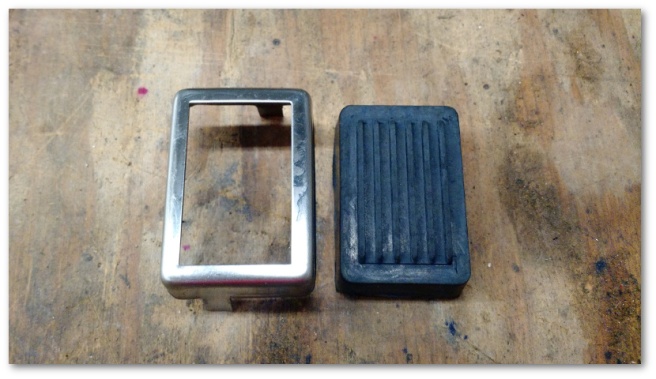
This took…probably more time than most definitions of just about ready but the end result was pretty cool:

Next week’s plan is to install the remainder of my sound deadener to find out how much more I need to order before I can put the carpeting in.
