
Well, the windows are in… sorta.
While it is technically possible to install door handles with the windows installed, it is much easier to do so with them out of the car so I had been waiting to install my door glass until Project Door Handles concluded.
With that fiasco out of the way, there was no more excuses to be had and it was time to install some glass.
I began by reviewing the definitive guide video on the subject from West Coast Classic Cougar:
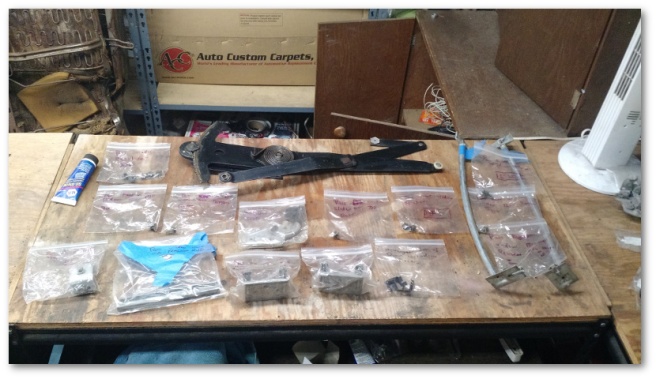
After watching the video a couple of times, I was ready to begin. I started by laying out all the hardware bits and bobbles that needed to be installed:
I then proceeded to experiment with a number of different installation steps on the passenger side window to find out what made the most sense to me. Once I was finished with the passenger side, I installed the driver’s side in exactly the steps outlined below.
NOTE: To avoid repeating myself, I’m going to omit the parts of the process where I lubricate everything I install. Just insert that step yourself mentally after everything you see below and you’ll have an accurate step-by-step accounting of what I did.
I started by installing sound deadening material:
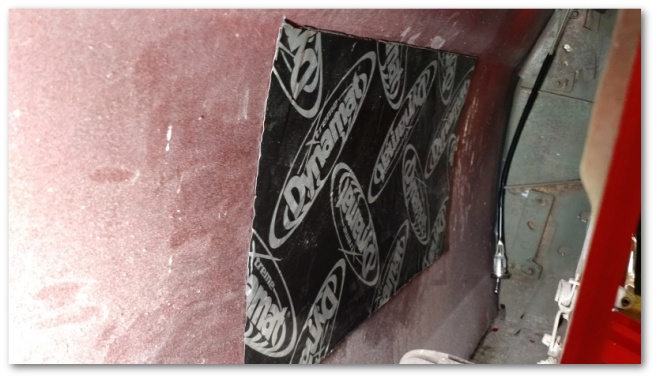
My initial instinct was to do this last and cover the entire door, but after further research I’ve come to the understanding that would be overkill. Instead, I just cut out a reasonable section and installed it onto the outer door skin as shown above.
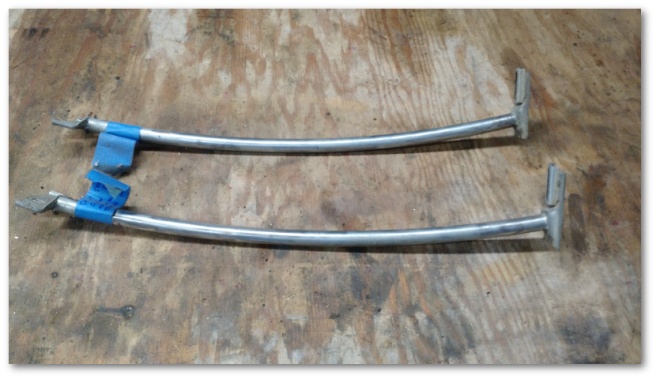
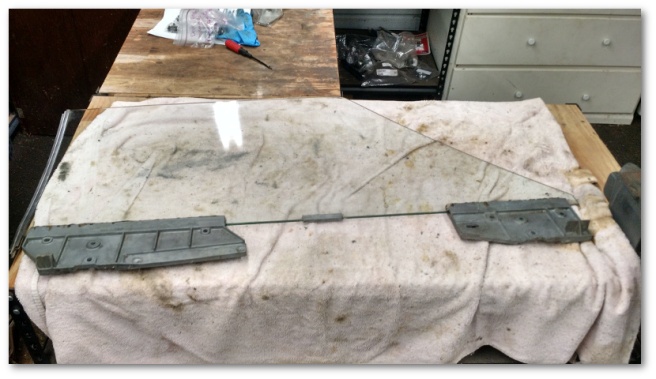
I then installed the window runs:
Rather unsurprisingly I immediately ran into a hiccup in that I could not figure out how they attached at the top of the door. I had a bolt and pictures showing that bolt fastening the runs to the door skin, but I couldn’t see how it was supposed to work with the mounting points I had where the runs attached:
I spent upwards of 30 minutes searching on the web with little success before the solution dawned on me. If you recall, the only major rust area in the Mustang was in the doors:
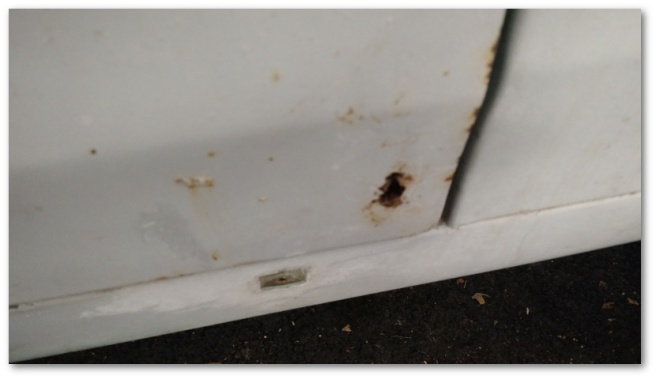
The rust in both doors required me to get new door skins installed during the painting process:

One of the unwritten rules about purchasing car parts is that you should never expect parts to come with the fasteners needed to attach them. In this case, the new door skins didn’t come with the U-Clips needed to attach the window runs. After that epiphany and a quick trip to the hardware store, the proper environment was available for the window runs to be installed:

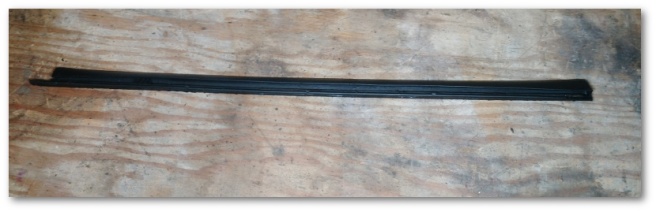
With the window runs installed, I then proceeded to what might be a controversial step – installing the outer belt line felt:

This felt goes on the inner structure of the door skin outside of the window:
This step might be controversial because it does make installing the window itself more difficult. However, after trying to install the belt line felt with the window installed on the passenger side I came to believe that it was easier dealing with the window installation difficulties than dealing with the tiny clearances available to install the felt once the window was installed.
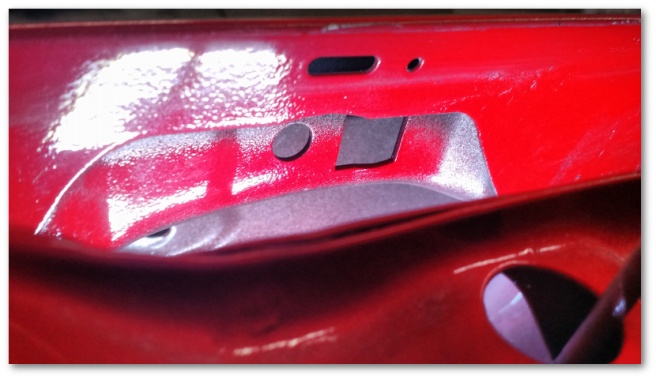
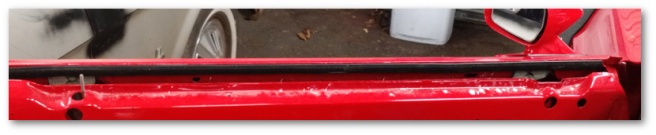
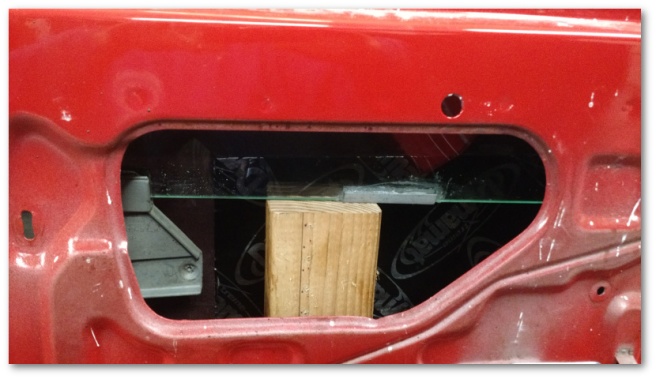
The next step was also learned the hard way from my experiences on the passenger side. In order for the window to install once the belt line felt is installed, you need to lubricate this \___/ shaped opening in the door frame:
As you’ll see in a minute, that opening plays a critical role in the installation of the window.
For lubrication, I used the same product I used everywhere else in the window glass installation – a product from NAPA called Sil-Glyde:

With everything ready to go on the door, I got the window out and cleaned almost two years of dust off of it:
If you’re following along at home, don’t bother to do a show-quality clean up job on the window at this time. You’ll be man-handling it during the installation process (much of the time with lubricant on your hands) and will end up gumming it all up again.
I decided to install the window weatherstripping at this time:
This weatherstrip attaches to the stainless steel channel at the back of the door window and seals the space between it and the quarter window. You may recall me procuring this strip from Craigslist almost two years ago for my passenger window. In the two years since I made my desperation Craigslist purchase, this part has been reproduced. However, the price of the reproduction part makes my Craigslist purchase seem like a bargain so I’m still glad I went that route.
With the window clean…ish and the weatherstripping installed, it was time to put it in the car. The video from West Coast Classic Cougar is great in every respect save for this part. The gentleman in the video has all sorts of problems installing the window due to the window brackets that are glued on, can’t be removed and are larger than the slot the window goes in.
As it turns out, there are a couple of alternative methods to installing the windows that work much better. The first is to install the window from the back of the door forward as shown in the following video:
I tried this technique, but quickly found that with the belt line felt installed there wasn’t nearly enough clearance to make it work. I then tried the following method described in this video:
I found that after lubricating the opening in the door frame that he slides the window brackets through I was able to fairly easily install the glass into the car.
With the window installed, I needed a way to support it while I attached everything to it. For that purpose, I turned to a very specialized tool of the trade called a scrap two by four:
I was rather surprised at how well the window balanced on the wood. It balanced so well in fact that I only needed one to support the entire window in a stable fashion.
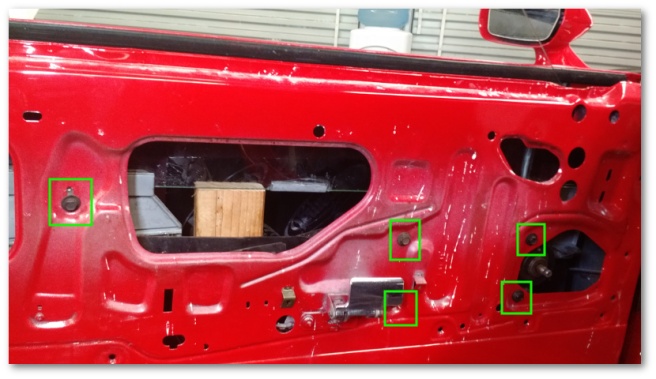
The reason I needed to support the window was to expose these bolt holes in the window brackets:
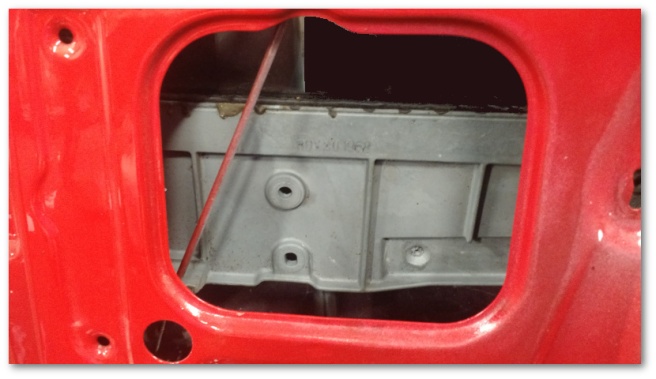
These bolt holes are used to attach the window guides:
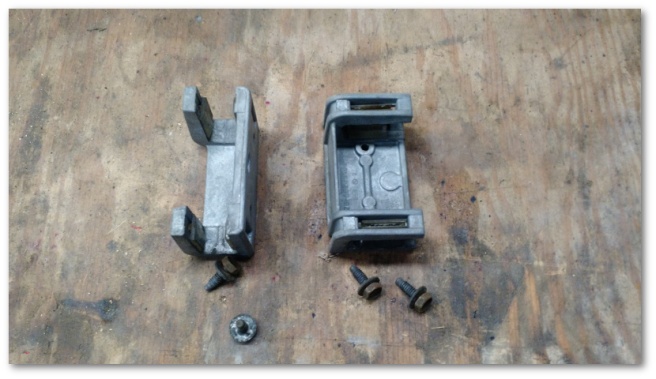
The window guides clamp over the window run and attach to the window bracket allowing the window to stay in place while rolling up and down. The open ends of the window guides face the rear of the car.
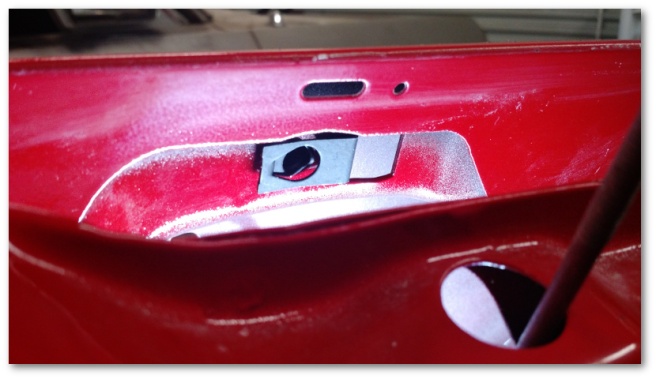
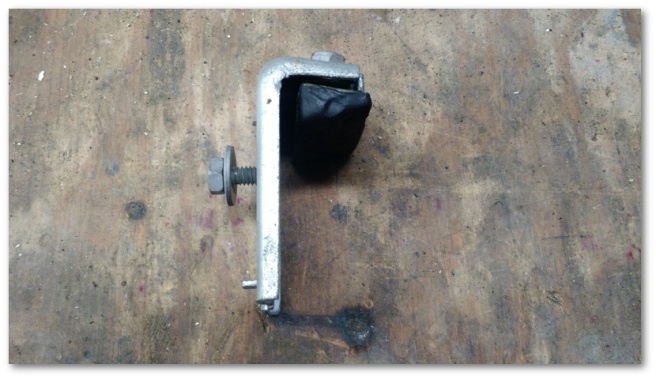
With the window guides in place, it was time to install the window drive arm bracket:
The drive arm bracket installs on the window bracket closest to the rear of the car in the following slot:
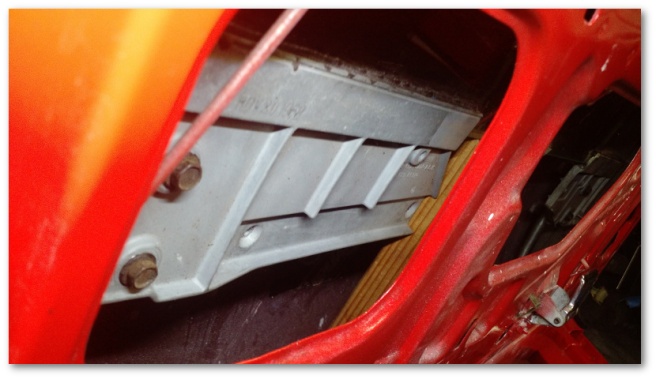
If you asked why this wasn’t installed outside of the car, you’d be asking a good question. The reason why this is installed inside the door is because the screws used to attach the drive arm bracket stick through the window bracket on the opposite side of the window stop catch:

Since these screws stick out on the opposite side of the window stop catch, they make the window bracket even wider and more difficult to install through the already tight passage in the door frame. It ends up being much easier to install these once the window is already in the door.
At that point, it was time to install the window regulator:
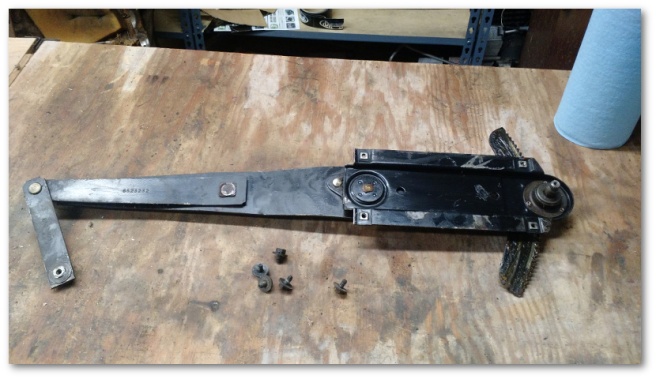
This ended up being much easier than expected. I fished the window-crank end of the regulator through the big hole to the left of the door handle and pushed it all the way forward. This allowed me to get both ends inside the door. I then slid the regulator drive arm (the arm with the plastic wheel) into the drive arm bracket:


After that, I attached the five regulator bolts to the door frame as shown below:
I found that while attaching the bolts, it was sometimes advantageous to crank the window regulator a bit. This applied a torque to the regulator and helped line up a couple of bolt holes.
At this point, the regulator was almost fully attached. The only piece not attached was the arm that affixes to the front window bracket:
This arm attaches to the window bracket with what’s called a window bracket to regulator pivot fastener:
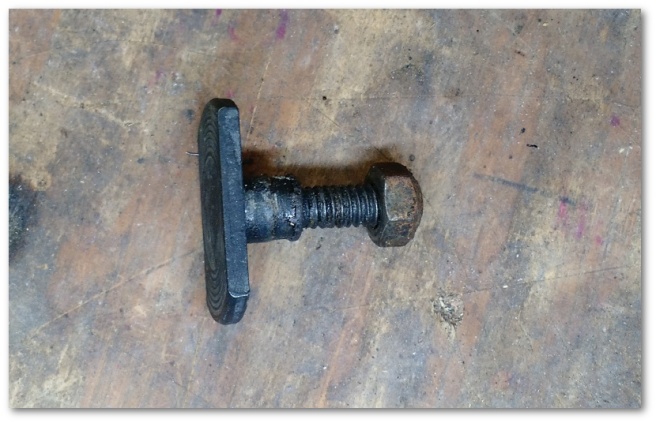
Note the rounded part of the nut faces out.
At this point, the window was able to roll up and down successfully. So I gave it a go and immediately found out how terribly (and unsurprisingly) aligned the window really was:
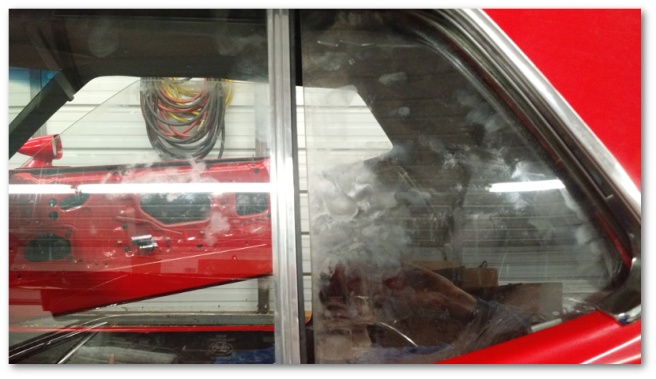
It was time to play with the window alignment to properly introduce the two glass pieces.
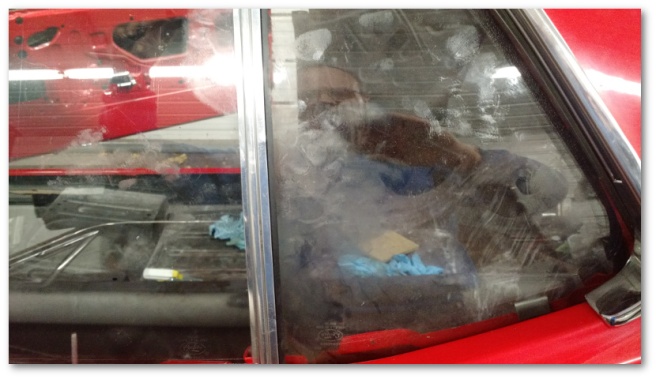
To begin with, I was able to grab the door window brackets and give them a heave backwards. To my satisfaction, the window moved back maybe a quarter of an inch and made a nice “thunk” sound as the window guides seated into the runs. Apparently, I had moved the window forward during my installation of the brackets and it needed a solid push backwards to get back into position.
This push back didn’t entirely solve the alignment problem though. To fully fix the issue, I needed to move the rear window forward to meet the door glass. This was fairly easy to do and the end result was rather nice for an initial fitment:
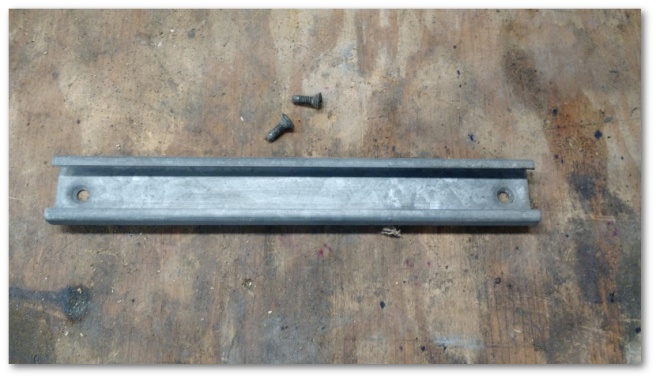
At that point, I was still rolling the window up and stopping manually at the top. The last part of the window installation was to install the window stops.
I started with the stop at the rear of the door:

The stop installs with the rubberized end pointing towards the front of the car like so:
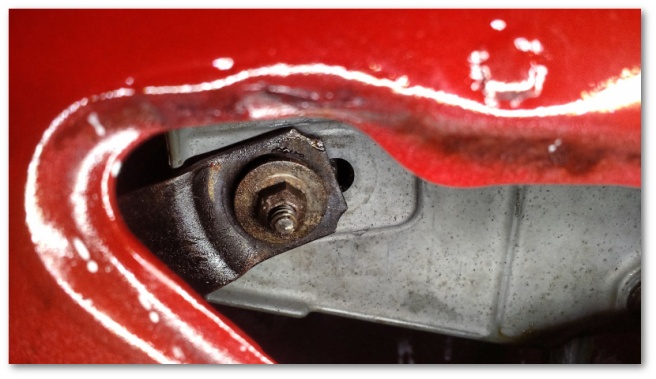
The last window stop I installed was at the front of the door:
This stop installs with the bolt in the top slot and the slider in the bottom. 
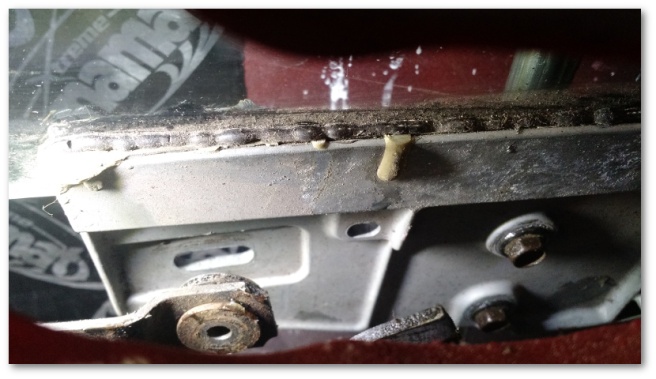
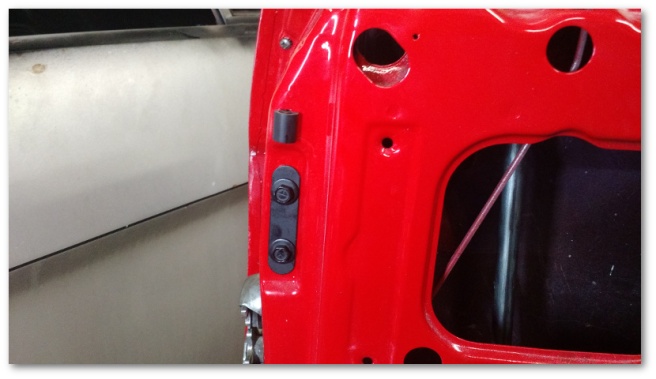
At that point, I thought I was done until I was cleaning up all the bags that had held the fasteners and ran into these little guys:
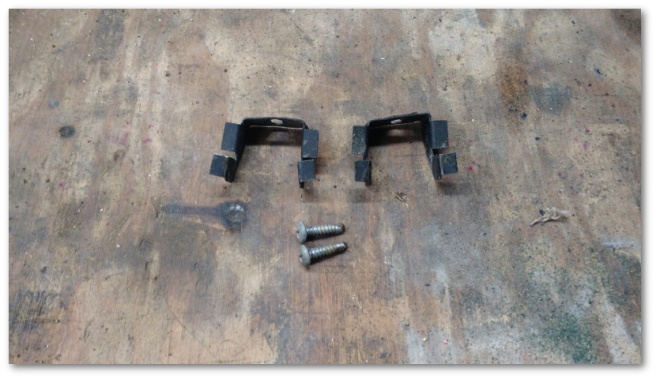
Honestly, I don’t know what they’re called or their exact purpose but after a consultation with the historical image archives it seems they install along the top of the inner door frame like this (with the flat parts facing the window and door frame) and play a role in supporting the upper door trim.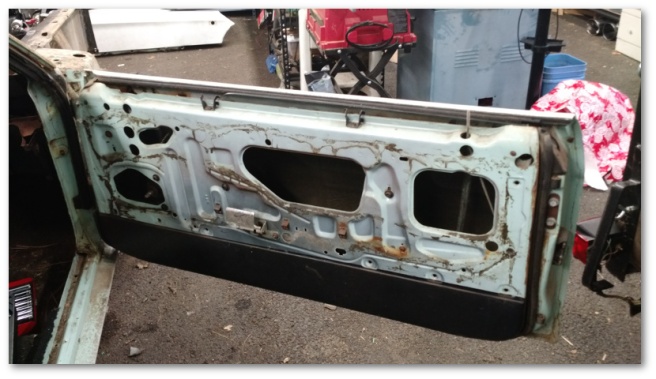
After all that, things are still not completely well in window land just yet. While the driver’s side window works great, the passenger window doesn’t roll up evenly. The back of the window starts first and seems to drag the front of the window along with it. Once the back is all the way rolled up, an uncomfortably large twist of the handle is required to finally get the front of the window to fully roll up.
I’ve swapped out everything I can with pieces from the driver’s side and haven’t been able to fix the problem. As of now, I believe the problem is a loose bushing in the window regulator. You can see that there’s a lot of slop in the video below:
The driver’s side has no such movement. I’m not a big fan of ordering parts that I’m not 100% sure I need, but in this case I felt my only option was to order a replacement window regulator in the hopes that it fixes the problem. It’ll be here sometime next week and we’ll see if that takes care of it.
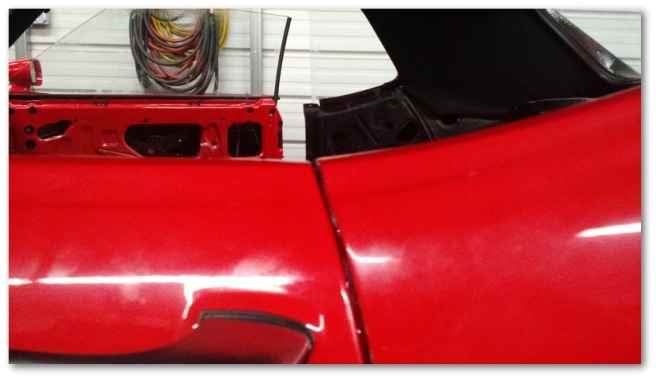
And finally, remember a while back when I aligned my door just a weee bit higher than my quarter panel with the theory that the weight of the window and its entourage would push it down slightly to make a perfect alignment?
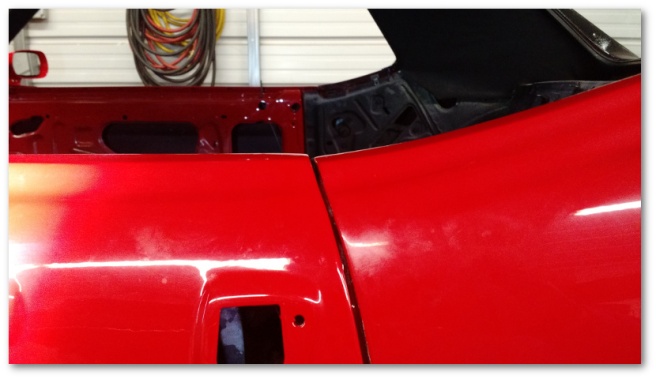
Theory confirmed:
The windows still need to be aligned for real, but that will require the weatherstripping to be installed first. I’m going to wait on doing that for a while until the weather warms up a bit and the rubber is a bit more malleable.
As for my next steps, I’m somewhat at a crossroads. On one hand, I would like to work on my shop to better organize my storage area. On the other hand, I don’t really *need* to do that right now and perhaps it would be a better idea to get the lower dash installed. On the other, other hand it’s still going to be cold next week and maybe staying inside by the fire will win the day.
Stay tuned to find out which hand wins…

2 thoughts on “Initial Window Installation…”