
As an engineer, I naturally like to categorize things. With the Mustang, I’ve taken to labeling tasks that take up significant amounts of time as “projects” such as Project Upholstery and Project Electrical System. When I went to replace my door handles, I never thought that process would qualify it for “project” status, but after spending well over a month attempting to get the right parts I suppose if the classification fits I might as well use it.
Project Door Handles started when I ordered a Scott Drake Exterior Door Handle Chrome Show Quality Kit for a 1969 Mustang. When I first received the parts, I discovered that something had fouled up somewhere and I couldn’t use either the pivots or the handles. While the parts were marked with the correct part number, they were most definitely not the right part.
I returned that package and was promptly sent door handles for a 65/66 Mustang instead of a 69. After returning those, I was sent another package with the correct 1969 part number but again containing the wrong parts.
At that point, the customer service agent at CJ Pony Parts promised to “make it right” and sent me a generic brand door handle kit that was also supposed to fit 69 Mustangs at no charge:
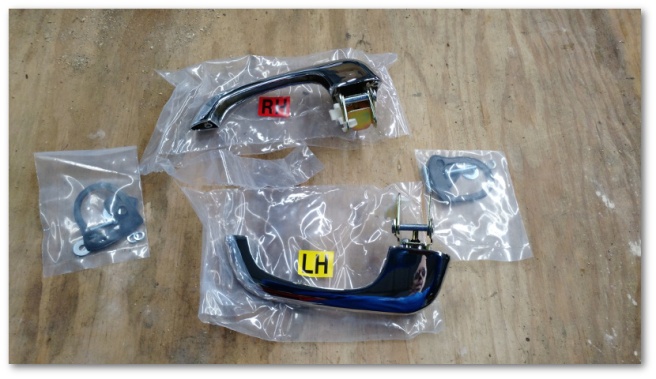
You may recall my rather negatively opinionated nature on generic brand parts, but nevertheless I decided to give these handles their fair shake and get them installed.
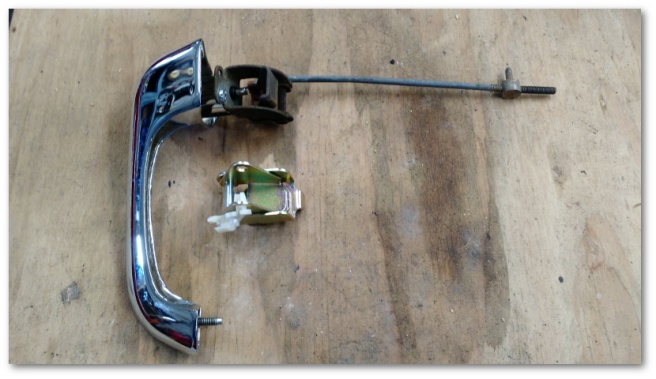
To start with, the pivots on these door handles are designed for the 65/66 Mustangs. Unlike the door handles sent to me previously though, these door handles have a mounting point for the pivot that’s compatible with 69 Mustangs. Swapping them was as simple as removing a screw and changing them out:
With the pivot attached, I was able to easily install the new door handle on to the car. They looked great!
Then I tried to use it – and promptly took it right back off.
I don’t know who made these handles, but their manufacturing tolerances leave a lot to be desired. While the door handle did function to open the door, the button on the handle was made to fit so poorly that I refused to keep it on my car:
In contrast, here’s how solid the original door handle button is:
So, after seven shipments with four different kits from CJ Pony Parts I ended up with a free door handle kit that I refuse to use. There is one more option I could try, but after a month of dealing with door handles I was sick of it all and decided to just conclude Project Door Handles by installing my old ones and being done with it for the time being.
With Project Door Handles finally resolved, it was time to move on to a couple of over spray issues with my paint job:

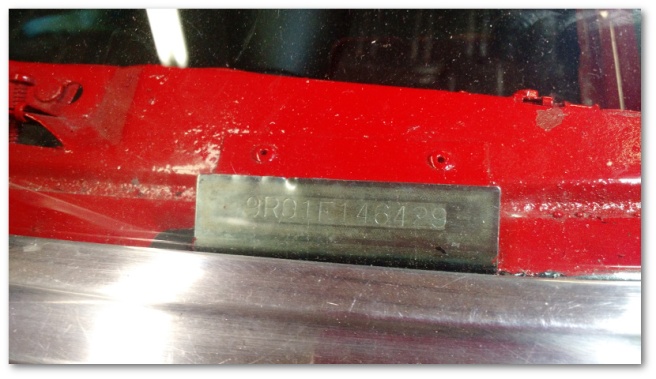
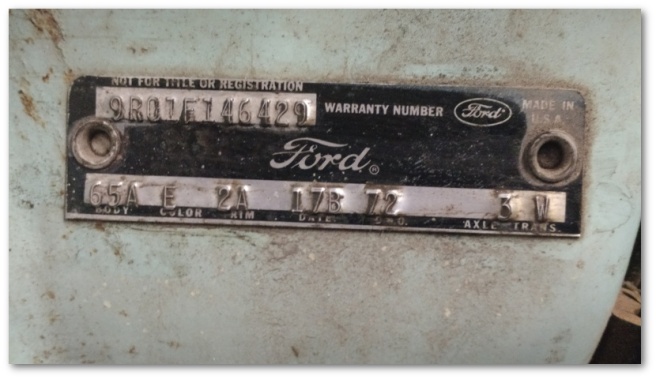
The top image is the official dashboard DMV VIN tag that is used for titling the vehicle. The bottom image is the door data plate used for identifying all sorts of useful information about the car.
The most pressing issue was the dashboard data plate. In the condition it was in, I’m not sure I’d be able to get a DMV title ever again since the VIN was largely invisible. Being directly under the window, there wasn’t a lot of room to get in there with anything that would scrape the paint off so I had to resort to more chemically-oriented measures.
The last time I used paint stripper, it didn’t go as well as I’d hoped. This time however things went much better:
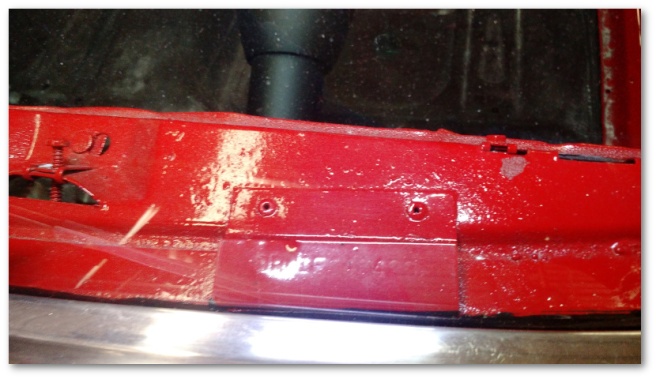
After about 10 minutes, I was able to use a plastic scraper to reveal a perfectly legible VIN tag:
While paint stripper was a viable option on the dashboard VIN tag, it wouldn’t work for the door tag for a couple of reasons:
- The underlying door tag wasn’t in great shape to begin with:
- There would be no way to contain the paint stripper to just the door tag and I’d end up ruining the paint on the door jam
- The black you see on the original data plate was probably painted on and would also have been removed by the paint stripper
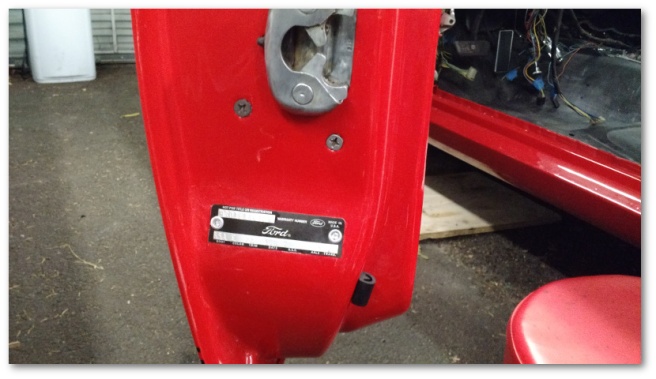
Thankfully (and by this point totally unsurprisingly) you can purchase brand-new door tags from a company called Marti Auto Works:
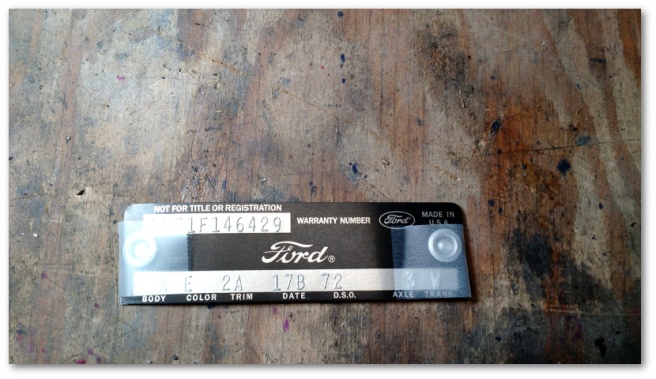
All you have to do is carefully take the old door tag off and rivet on the new one like shown in the following video:
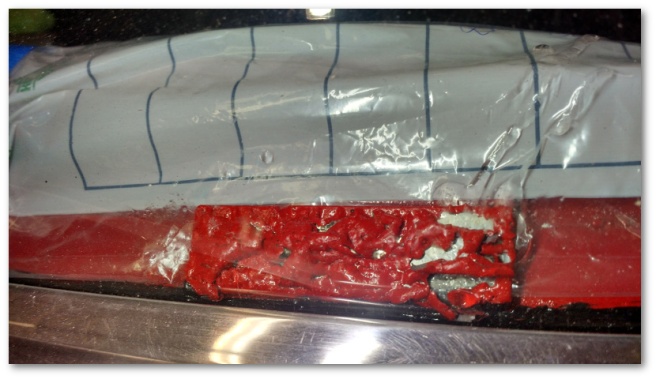
I say “carefully” because I was in a foul mood and as a result I wasn’t careful enough and ended up chipping off some paint outside of the area where the door tag lives:
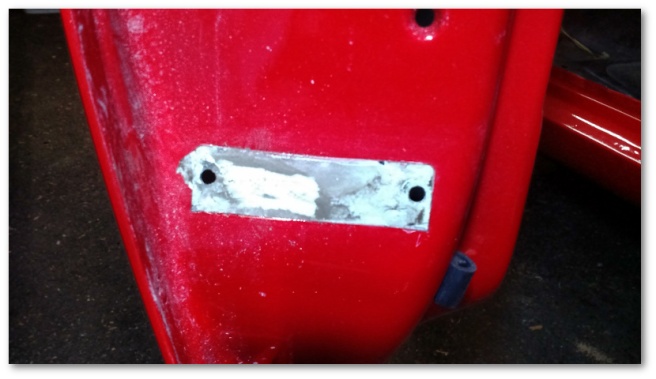
*)^*&*()&*%^$#$@#$#!!! My mood did not improve.
It was time to break out the touch up paint kit I purchased a while ago knowing that I would eventually foul something up and need it:
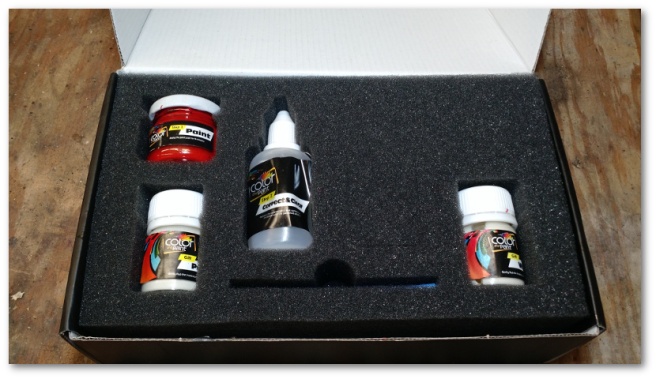
This paint kit was surprisingly good. After some sanding and a few coats of paint, I think the match is perfectly acceptable for a part of the car few will ever see without close inspection:
With the over spray issues taken care of, it was time to begin working on the windows. I’ll write an entirely separate post for that…
