
Many people, upon taking their first look at Mystique’s roof:
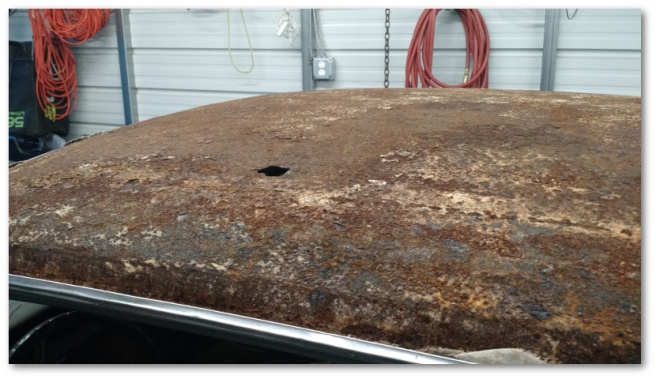
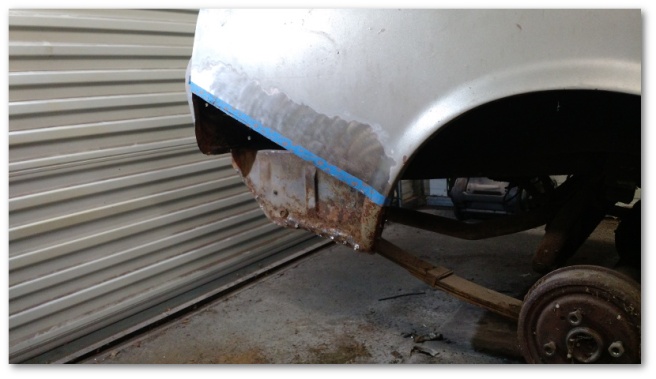
and quarter panel:
…would write her off as a total loss.
In many cases though, what’s on the surface of a car isn’t what really counts. In the case of early Mustangs, just about every piece of sheet metal on the car is reproduced. All you have to do is take the old part off and put the new part on. While that’s not really as simple as it sounds, the core concept holds true – as long as the “bones” of the car are good.
What does it mean to have “good bones”? Mustangs, like most cars produced today use unibody construction which means they don’t have their passenger compartment as a separate structure from the frame of the car. Rather, the entire car is built as a single unit with many different pieces of metal welded together.
The underbody of a Mustang looks like this:

The parts highlighted in red above are called frame rails. These rails are as close as you get to having an actual frame on a Mustang and they’re used to mount the suspension pieces as well as form the base for much of the rest of the sheet metal. You’ll notice they don’t extend front to back and are independent of one another. This means that in order for the car to drive straight, they need to be perfectly in alignment with one another.
If one of these frame rails is bad, your restoration will be much more challenging. However, if these frame rails are in good shape, you then have a solid foundation (“good bones”) upon which to build from.
Every inspection I’ve done of Mystique’s underbody has indicated she has good bones. This last week gave me my first opportunity to look at the interior of one of the frame rails to confirm that diagnosis.
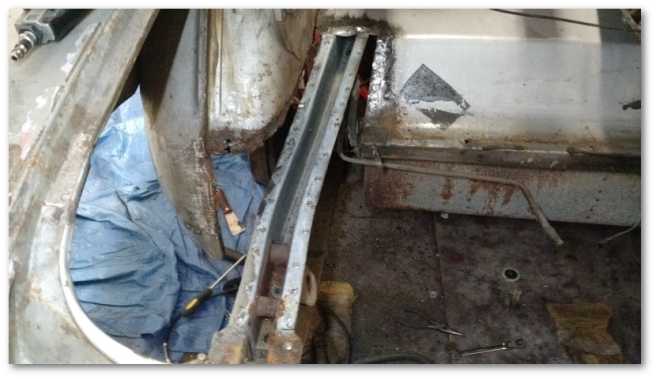
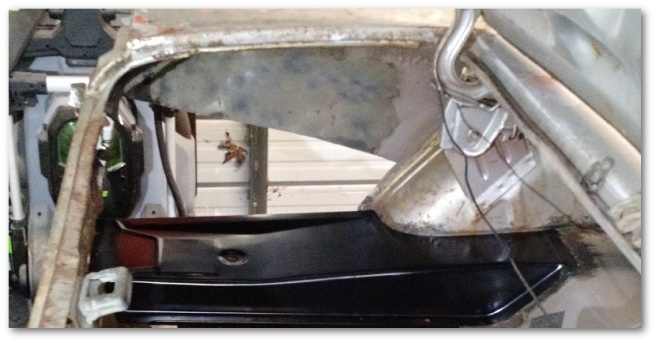
If you remember last week, I left off while cutting out the trunk floor:

The trunk floors sit directly on top of the rear frame rails. After removing what seems like half a million spot welds, I was left with one very wrecked old piece of sheet metal:
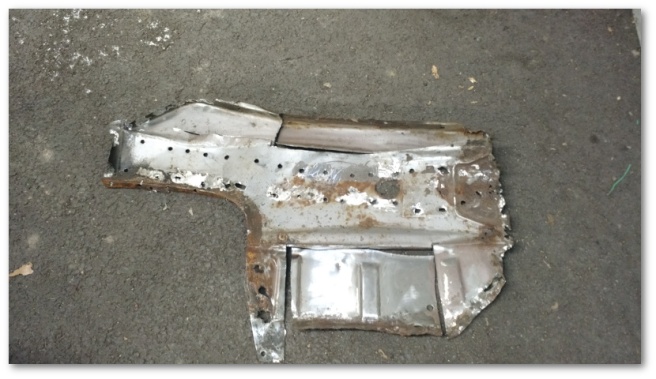
…and a clear view at the (woo hoo!!) undamaged frame rail beneath:
You’ll note that the interior of the frame rail is bare metal – manufacturing techniques back in the 60’s left a lot to be desired. Before I install the new trunk floor, I will be protecting this metal so that it stays in good shape will into the future.
Speaking of the new trunk floor – a dry fit test showed that it fits really nicely:
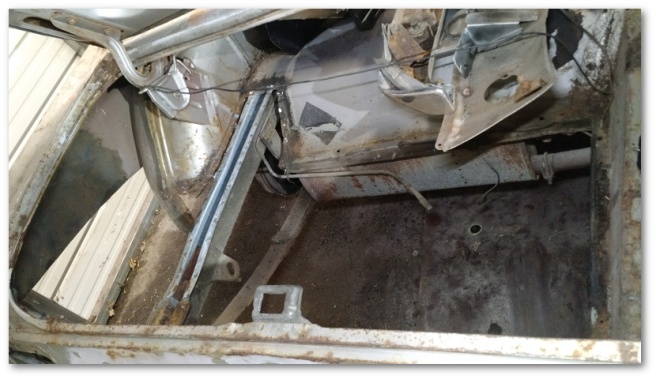
At that point, a good chunk of the rear of the car had been removed:
I wasn’t done though. My original thought was that I’d do the driver’s side quarter panel first and when I was finished with that start on the passenger side. However, the condition of the tail panel changed that plan immediately.
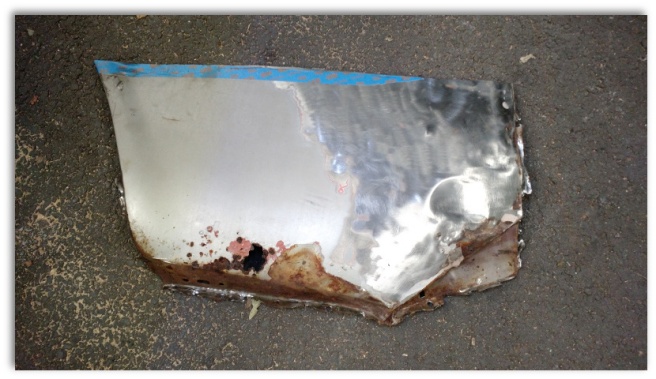
If you remember from last week, I was debating whether or not to keep the existing tail panel and fix it or get a new one and weld it in. The existing tail panel looked bad before I started working on it but gave the impression it might be fixable. As I started stripping layer upon layer of body filler off though, the true condition of the tail panel was revealed.
The area under the gas filler tube was the worst – having been bent waaaay out of true and simply body filled up to sort-of look OK. What sealed the deal though was the large crack in that same area that had simply been covered up:
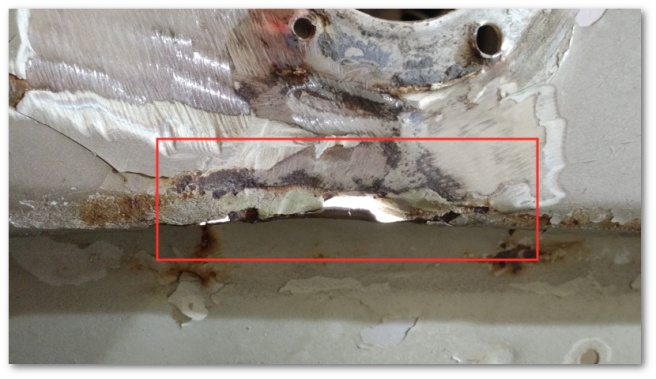
A new made-from-original-Ford-tooling replacement panel is scheduled to arrive later this week.
With the decision to replace the tail panel came a change in plan. The tail panel actually goes over both quarter panel skins. If I had kept the old panel, I would have had to remove some spot welds, bend the tail panel out of the way, install the quarter skins and then re-bend/re-weld the tail panel back into place.
I’d rather not do all that to my new tail panel, so the new plan is to remove the old one and install all the sheet metal from the bottom up. This meant I needed to cut out the passenger side quarter skin before I had originally planned to in order to replace the tail panel properly.
So I did:
I’m pleased to report that the passenger side wheel house is in very good condition and unlike the driver’s side will require no repairs:

The passenger side trunk drop off only had a single, tiny hole that didn’t even show up in my picture:

The rest of the metal (including the metal directly around the hole) was in great shape. I could have easily kept this piece, but I decided to get a patch for it anyway. The patches are cheap (less than 20 dollars) and sectioning in the patch will give me welding practice in an area no one will ever see so I figured the time and expense would be well worth it.
At the end of the day, I had a fair-sized heap of metal that I’d taken off of the car piled up:
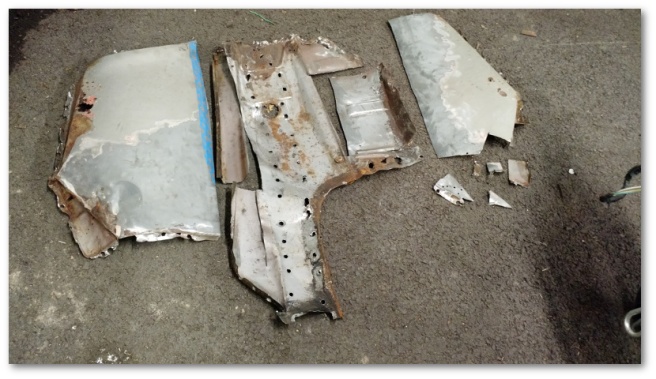
I hope to add to that pile next week by finishing the removal of the tail panel, rear trunk brace and passenger trunk drop off. After that, there will be a week or two of cleaning and prep and then I can start building upon the good bones of the car.

2 thoughts on “Good Bones…”