
Last week, I left off with a big hole in Mystique’s driver’s side quarter panel:
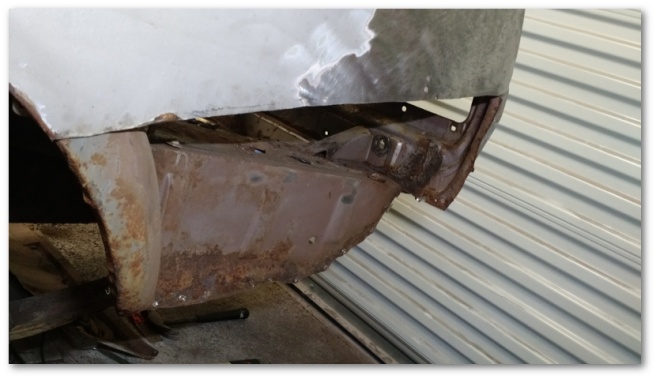
You can see that there’s no small amount of rust that needs to be taken care of before the panel gets put back on. This week’s project was to start attacking that cancer.
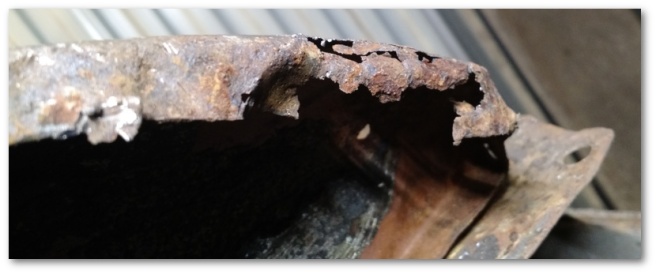
As I was cleaning, I noticed a number of disconcerting problems. First, there was a small section at the bottom of the outer wheel house that had a number of areas that had rotted through:
The only “do it right” option in circumstances with that much rot is to cut the metal away and replace it. With breaking things the only part of body work I’m actually qualified to do at the moment, I broke out my die grinder and cutting wheel and set to work removing the offending metalwork:
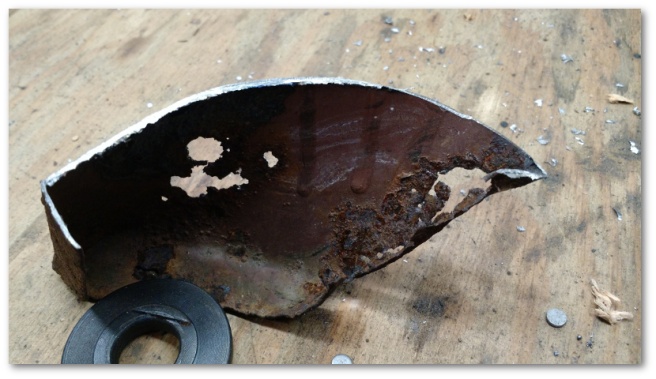
New wheel houses are (of course) available for purchase but after cutting out the rotted section, it seemed silly to blow 50 dollars on such a small piece of metal when I have a welder, extra sheet metal and a hilarious over-estimation of my ability to fabricate metal.
Thankfully, I also have YouTube and the Jo Daddy’s Garage channel. This guy is beyond words amazing at what he can do.
As I looked at my rusted out section of wheel house, I vaguely recalled that Jo Daddy had faced a similar problem in one of the videos that I’d watched on his channel. Sure enough, I went and found the video where he described what he did to address rot in this area:
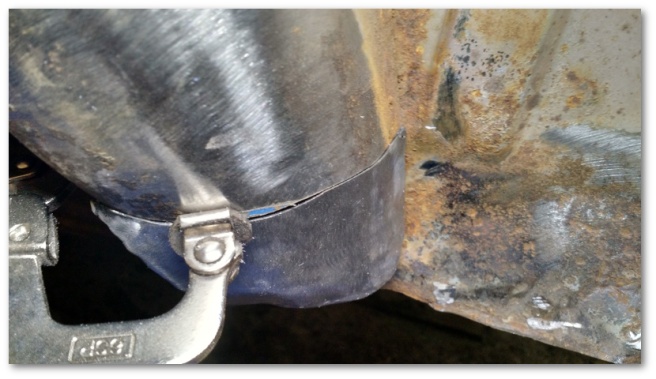
With those 59 seconds of inspiration to guide me, I set out to replicate his result. Three hours later, I had come up with this:
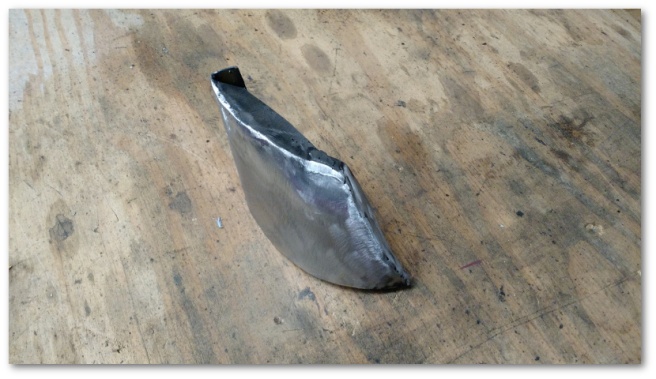
My welding skills still need significant improvement, but in the end the metal pieces were stuck together where they needed to be and the piece fit almost perfectly:
I then took a deep breath and started actually welding it to the car.
It went….OK….at best. Have I mentioned my welding skills still need significant improvement? I was never able to get a good solid foundation for the butt weld and had to put on a lot more material than I wanted to in order to get the part attached. I then had to go and fix a bunch of pin holes I found after grinding the metal down.
On the plus side, if you’re going to be practicing welding on your actual car, doing so in a place no one will ever see is probably better than doing it on your quarter panel.
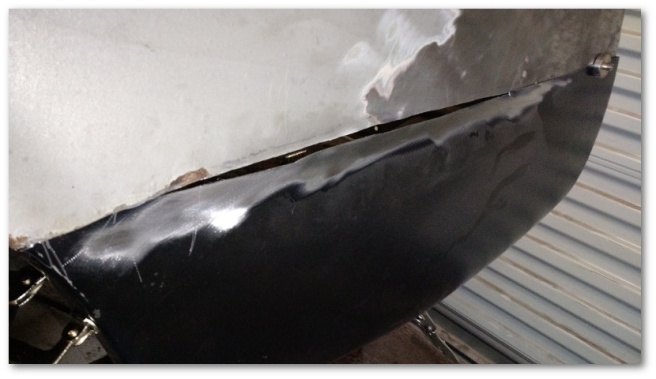
The end result after much more finish work than I would have liked was something that actually doesn’t look too bad:
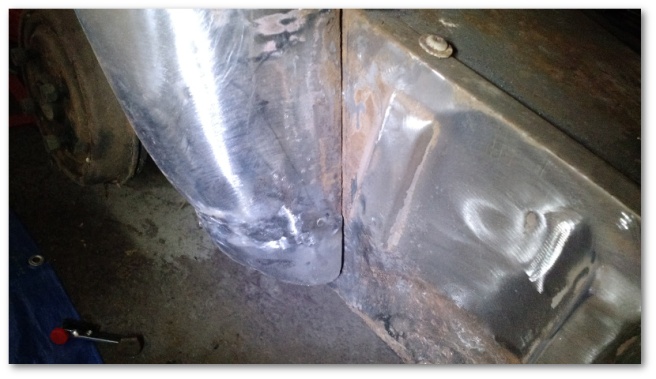
So, the first “production” welds have been accomplished with mixed results that tell me I still need more practice.
Thankfully (sort of) I’m going to get it due to the other disconcerting problem I found while I was cleaning the rust:
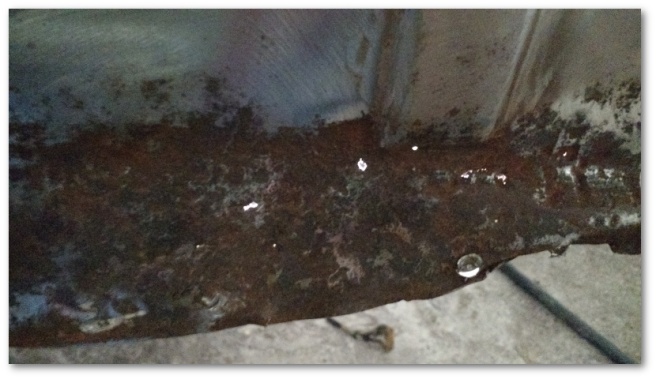
That’s a shot of the driver’s side trunk floor drop off. This is the section of the trunk floor that drops off to meet the rear quarter panel. The white spots are rust holes letting through the light from my shop lantern. This metal needs to come out too.
I was originally thinking I would just section out that metal in a way similar to what I did with the wheel house. However, as I investigated what I would need to do in order to make a patch, I discovered that this panel is the same one that also has a problem with a rust hole in the trunk floor:

In the car’s defense, there’s supposed to be a hole there that looks like this:
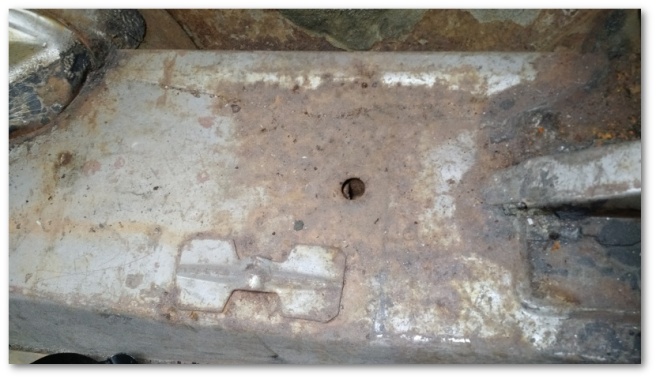
In this case, the rust has attacked the hole and made it much larger than it should be. Since replacing one panel would fix two problem areas, I decided to bite the bullet and order a driver’s side trunk floor pan.
Installing this piece means the gas tank has to be removed (and likely thrown away) and many more spot welds have to be broken. Once the trunk floor is out, I’ll be left with just the frame rail. On the outside, this frame rail seems to be in good shape. If it’s in good shape on the inside, I’ll treat it with some rust preventer to keep it that way and start building up the car again.
Lastly, I must admit to a royal screwup on my part today. It’s much more fun posting of successful projects but when I screw up and learn a lesson I figure I should share so maybe others learn from my 80 dollar mistake and don’t repeat it.
Last week, I noted that the piece I cut out of Mystique’s quarter panel lined up rather nicely with the replacement quarter panel I had purchased:
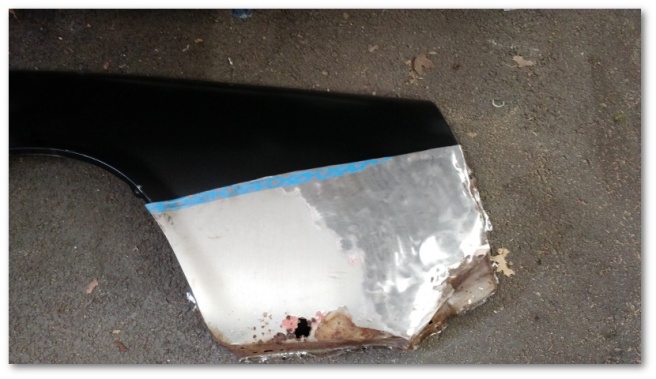
The pieces lined up so well in fact that I decided that I could use the old part as a template for the cut I would need to make in the new quarter panel.
This was a bad idea.
Apparently, the pieces didn’t line up flush enough at the bottom so even though I gave myself a small cushion in my cut I still ended up cutting the replacement patch too short:
Crap.
I’m not good enough to weld something with a gap that big. I maybe-could patch the patch with more material from what’s left over from the new quarter panel, but I’m also realistic enough to know that would probably also be a bad idea at this point in time.
Lesson learned: Fit the new part to the car and mark what you need to cut that way and don’t rely on the old part to provide you a template.
I now have another quarter panel on order so I can try the cut again. I also have some extra sheet metal with which to continue practicing my welding techniques.

3 thoughts on “First Welds And Lessons Learned…”