Good Bones…

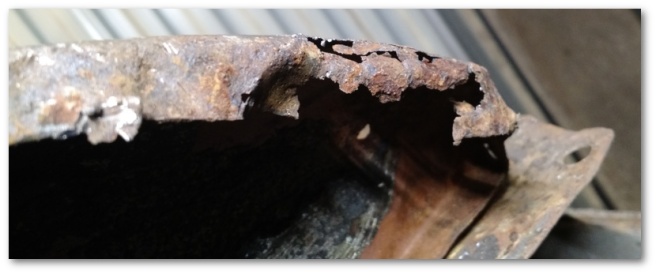
Many people, upon taking their first look at Mystique’s roof:
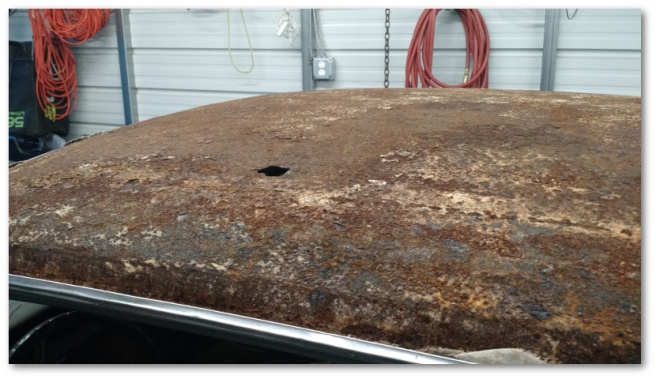
rusted-through-roof

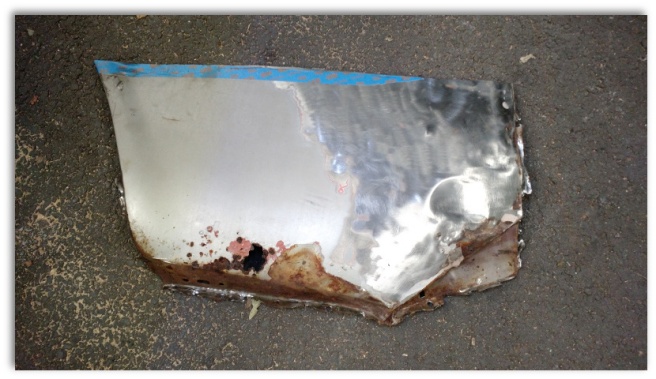
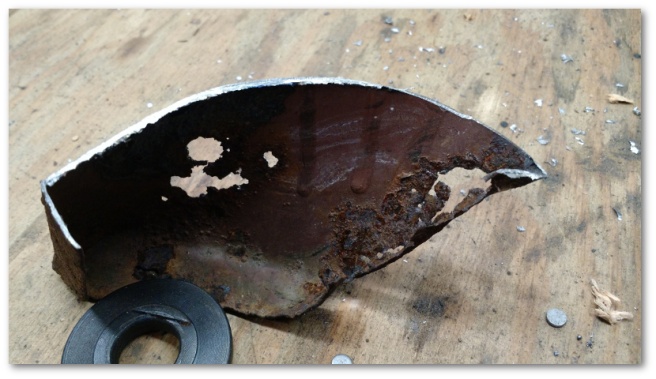
and quarter panel:

cut-out-quarter-panel-from-mystique

…would write her off as a total loss.

In many cases though, what’s on the surface of a car isn’t what really counts. In the case of early Mustangs, just about every piece of sheet metal on the car is reproduced. All you have to do is take the old part off and put the new part on. While that’s not really as simple as it sounds, the core concept holds true – as long as the “bones” of the car are good.

What does it mean to have “good bones”? Mustangs, like most cars produced today use unibody construction which means they don’t have their passenger compartment as a separate structure from the frame of the car. Rather, the entire car is built as a single unit with many different pieces of metal welded together.

The underbody of a Mustang looks like this:

underside of mustang

The parts highlighted in red above are called frame rails. These rails are as close as you get to having an actual frame on a Mustang and they’re used to mount the suspension pieces as well as form the base for much of the rest of the sheet metal. You’ll notice they don’t extend front to back and are independent of one another. This means that in order for the car to drive straight, they need to be perfectly in alignment with one another.

If one of these frame rails is bad, your restoration will be much more challenging. However, if these frame rails are in good shape, you then have a solid foundation (“good bones”) upon which to build from.

Every inspection I’ve done of Mystique’s underbody has indicated she has good bones. This last week gave me my first opportunity to look at the interior of one of the frame rails to confirm that diagnosis.

If you remember last week, I left off while cutting out the trunk floor:

cut up trunk floor during removal

The trunk floors sit directly on top of the rear frame rails. After removing what seems like half a million spot welds, I was left with one very wrecked old piece of sheet metal:
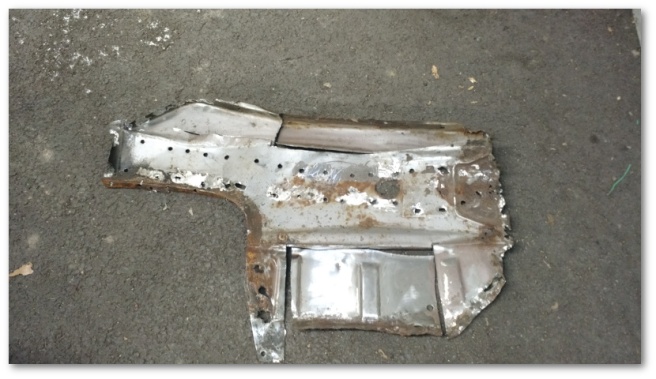
driver trunk floor removed

…and a clear view at the (woo hoo!!) undamaged frame rail beneath:
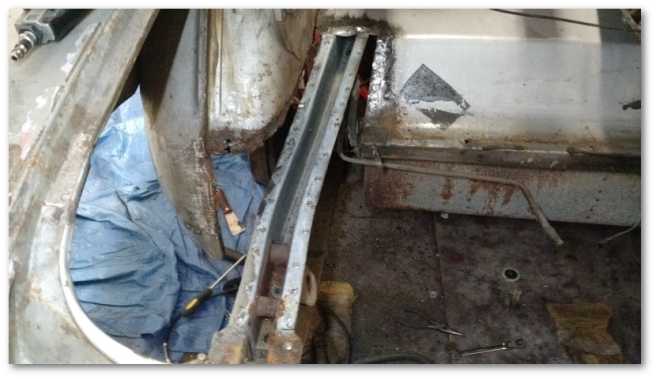
undamaged trunk frame rail

You’ll note that the interior of the frame rail is bare metal – manufacturing techniques back in the 60’s left a lot to be desired. Before I install the new trunk floor, I will be protecting this metal so that it stays in good shape will into the future.

Speaking of the new trunk floor – a dry fit test showed that it fits really nicely:
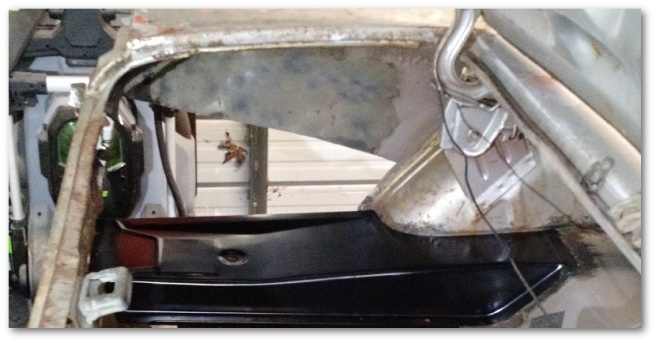
dry fitting new drivers trunk floor

At that point, a good chunk of the rear of the car had been removed:
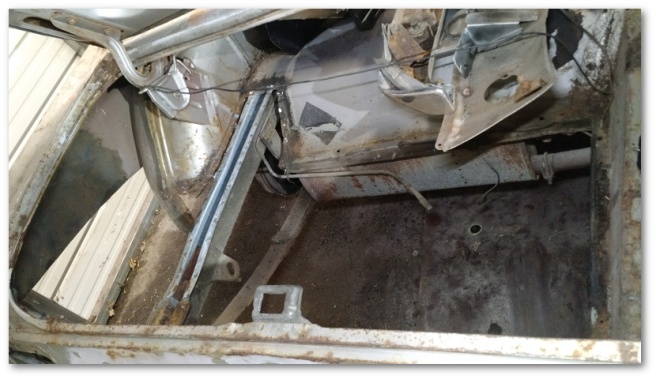
gas tank, drivers quarter and trunk floor removed

I wasn’t done though. My original thought was that I’d do the driver’s side quarter panel first and when I was finished with that start on the passenger side. However, the condition of the tail panel changed that plan immediately.

If you remember from last week, I was debating whether or not to keep the existing tail panel and fix it or get a new one and weld it in. The existing tail panel looked bad before I started working on it but gave the impression it might be fixable. As I started stripping layer upon layer of body filler off though, the true condition of the tail panel was revealed.

The area under the gas filler tube was the worst – having been bent waaaay out of true and simply body filled up to sort-of look OK. What sealed the deal though was the large crack in that same area that had simply been covered up:
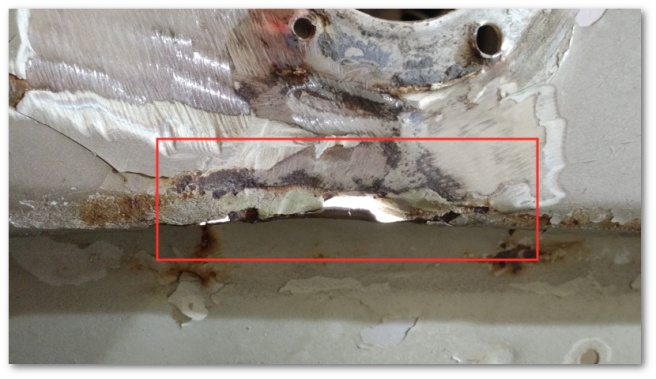
unfixed cracks in tail panel

A new made-from-original-Ford-tooling replacement panel is scheduled to arrive later this week.

With the decision to replace the tail panel came a change in plan. The tail panel actually goes over both quarter panel skins. If I had kept the old panel, I would have had to remove some spot welds, bend the tail panel out of the way, install the quarter skins and then re-bend/re-weld the tail panel back into place.

I’d rather not do all that to my new tail panel, so the new plan is to remove the old one and install all the sheet metal from the bottom up. This meant I needed to cut out the passenger side quarter skin before I had originally planned to in order to replace the tail panel properly.

So I did:
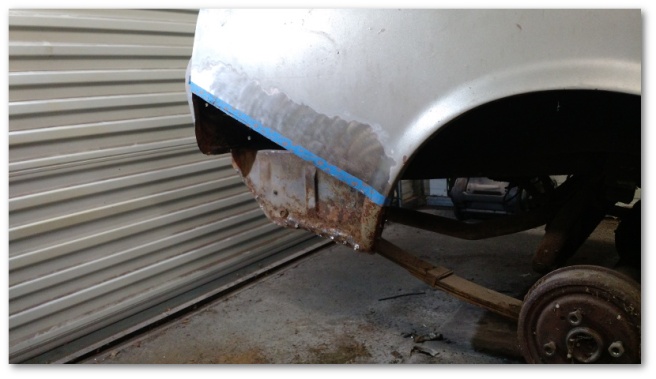
passenger quarter skin cut out

I’m pleased to report that the passenger side wheel house is in very good condition and unlike the driver’s side will require no repairs:

undamaged passenger side wheel house

The passenger side trunk drop off only had a single, tiny hole that didn’t even show up in my picture:

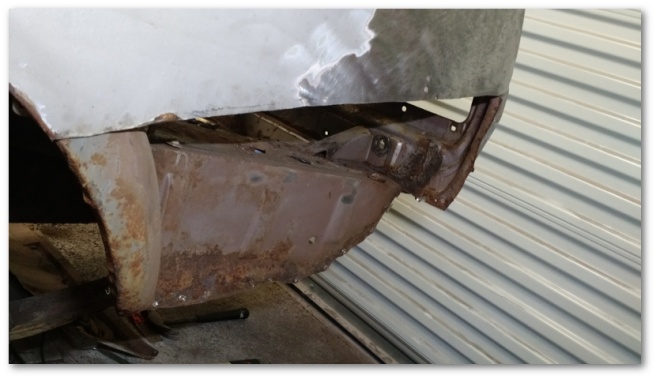
passenger side trunk drop off

The rest of the metal (including the metal directly around the hole) was in great shape. I could have easily kept this piece, but I decided to get a patch for it anyway. The patches are cheap (less than 20 dollars) and sectioning in the patch will give me welding practice in an area no one will ever see so I figured the time and expense would be well worth it.

At the end of the day, I had a fair-sized heap of metal that I’d taken off of the car piled up:
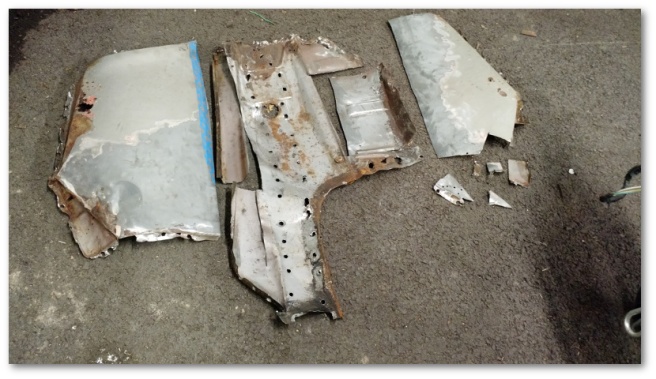
metal taken off mystique as of 25 March 2017

I hope to add to that pile next week by finishing the removal of the tail panel, rear trunk brace and passenger trunk drop off. After that, there will be a week or two of cleaning and prep and then I can start building upon the good bones of the car.

No Turning Back Now…

I was scared when I cut out a small section of Mystique’s rear quarter panel:

mystique-drivers-side-quarter-panel-cut-off-of-car

The last couple of weeks upped the terror level to ten as I started to cut away the trunk floor in anticipation of replacing it.

To begin with, my Brother-in-Law cut away the spot welds holding the trunk floor to the wheelhouse while I removed the horrifically-smelling gas tank:

wheelhouse separated from trunk floor

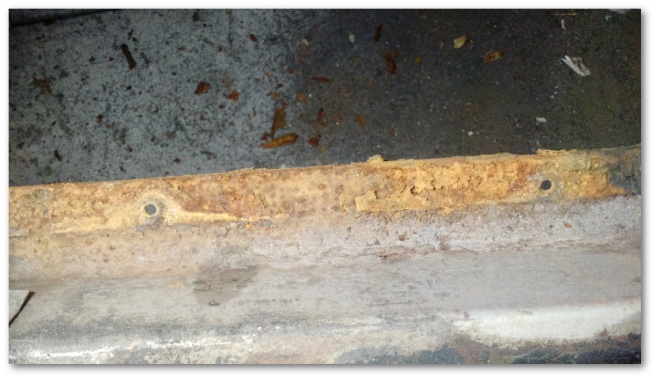
With that job out of the way, I decided to try and clean up the rusty rear trunk brace and gas tank support:

rusty rear trunk brace

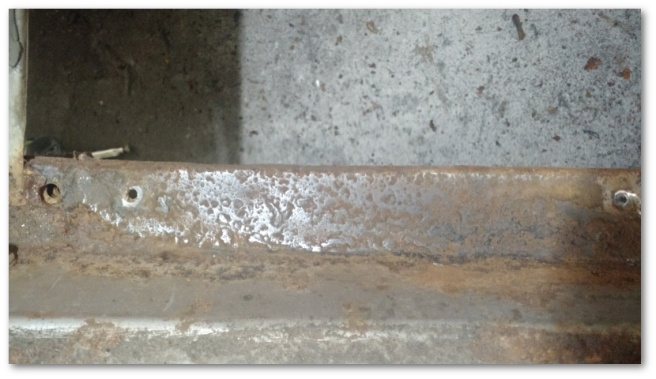
That piece didn’t clean up terribly well. The surface rust came off, but there was significant pitting and damage even after I wire brushed it for a while:

cleaned up but still bad rear trunk brace

Thankfully, these trunk braces are dirt cheap at only $25.99 and one is now on order. I even had a $10 coupon to lower the price further.

In order to install the brace, I’m going to need to break free a metric ton of spot welds on the tail panel. After looking at the sad condition of that panel though, I’m beginning to contemplate whether it would be better to replace the tail panel at the same time I replace the brace. If I did that, I’d avoid having to deal with removing all of the trunk brace spot welds in addition to avoiding having to straighten the badly bent tail panel later. Right now, the current plan is to keep the tail panel I have and try to fix it but the more I think about it the more that plan is subject to change.

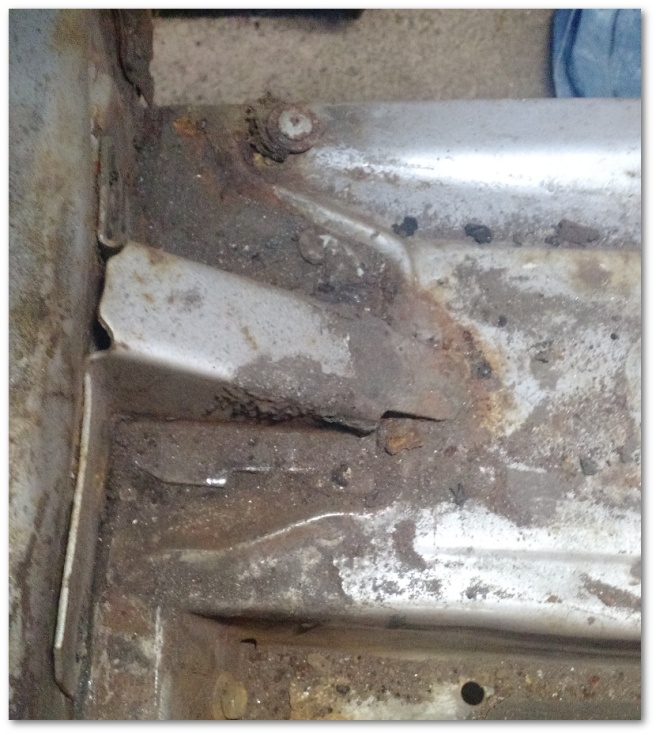
With the trunk brace half-cleaned, the next item to be removed was the bumper bracket. This bracket sits on top of the trunk floor and is welded both to the floor and the frame rail beneath it:

bumper bracket before removal

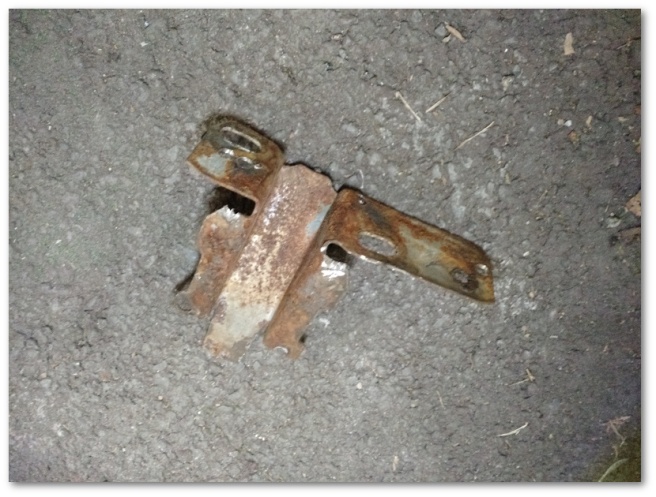
Technically, I didn’t have to fully remove the bracket as I could have just broken it free from the floor and frame and left it attached to the tail panel. However, doing so would have just left it in the way of my work and would have made the bracket much harder to clean. So completely off it came:

bumper brace removed before clean up

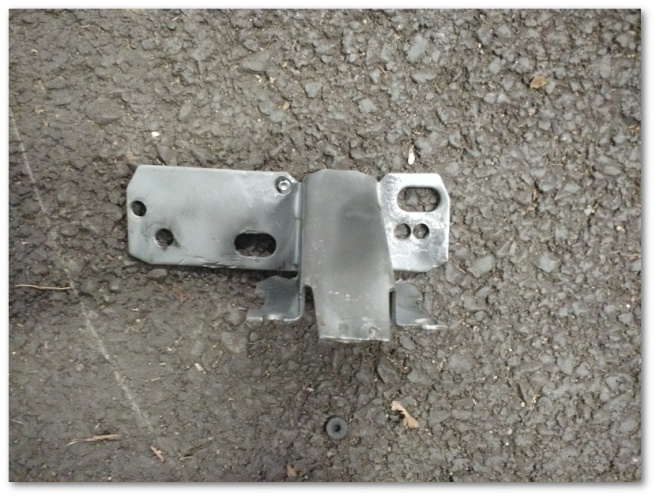
After clean up, I decided the part was in good enough condition to re-use in the distant future when I am done with all this metal work and am ready to put everything back together:

bumper brace after clean up

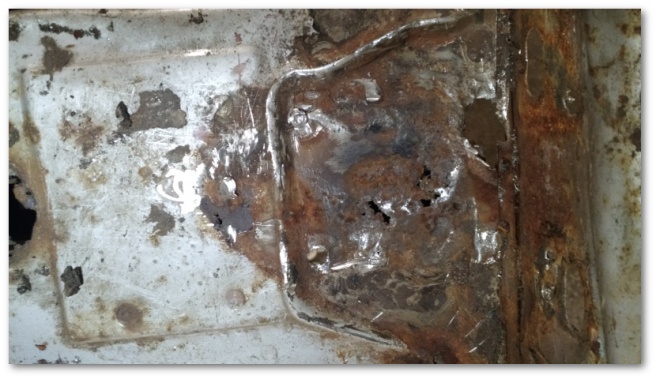
Removing the bracket also yielded further justification for replacing this trunk floor as I found more rust holes hidden between the bracket and the floor:

rust holes hiding under bumper bracket

With the bracket finally off, the only thing left to do was take a deep breath and start attacking the floor spot welds themselves. I needed to be very careful here as the trunk floor attaches to a structural frame rail that I did not want to damage.

At first, going was slow. The frame rails are in the middle of the floor pan making it difficult to get any kind of leverage between them and the trunk floor to break the spot welds loose.

At first, I tried getting under the car and prying the floor up from the frame rails. This worked about as well as you might think it did so I rapidly progressed to bending the remains of the trunk floor up to gain access:

trunk floor bent trying to access frame rails

This worked…better… but was still unsatisfying.

Finally, it dawned on me that I had no plans to save this piece of metal for anything and as such there was no reason to be nice to it at all.

I also realized I had a pneumatic saw.

Five minutes later I had all the access to the frame rails I wanted:

cut up trunk floor during removal

These cuts mean there’s no turning back now. I can’t re-install the gas tank until the trunk floor is replaced. Without a gas tank, the car won’t be terribly exciting to drive. That obviously won’t do, so I suppose I’m going to have to learn how to put all this back together.

Cutting up the trunk floor was the last thing I did today, so I still have quite a few spot welds to break free before I can take it completely out. Once it is out, I’ll be replacing it with this piece:

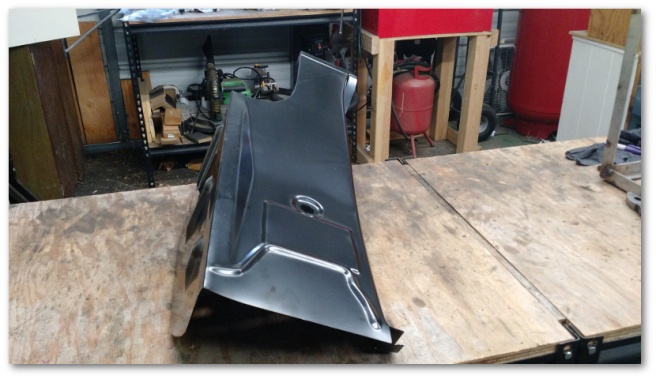
new trunk floor

This replacement panel is nice, pretty and most importantly rust-free.

I’m quite sure it’ll be at least few weeks before I’m ready to install it though. I’m still figuring out how to use all these new tools and the going is slow. It will also be easier to install the trunk brace if the trunk floor is out so I’ll be doing that first. Depending on what I decide to do with the tail panel, I may have work there to do as well.

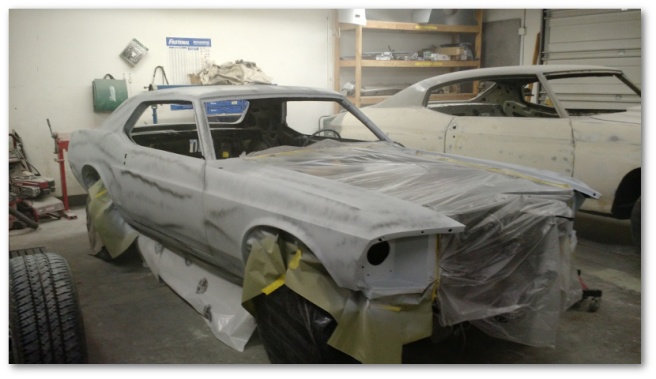
With all this talk of Mystique, you would be forgiven if you were to forget that this blog is actually about the restoration of my 69 Mustang. To jog your memory, here’s a picture of it’s current state in the painting process:

mustang current state mid march 2017

At this point, all the body work is done and the first coat of primer has been applied. The actual paint process has begun! Woo hoo!!!


First Welds And Lessons Learned…

Last week, I left off with a big hole in Mystique’s driver’s side quarter panel:

mystique-drivers-side-quarter-panel-cut-off-of-car

You can see that there’s no small amount of rust that needs to be taken care of before the panel gets put back on. This week’s project was to start attacking that cancer.

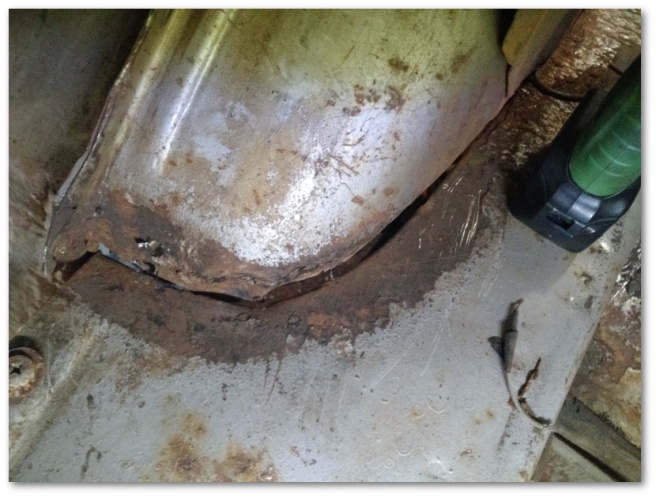
As I was cleaning, I noticed a number of disconcerting problems. First, there was a small section at the bottom of the outer wheel house that had a number of areas that had rotted through:

rotted-out-bottom-of-wheel-house

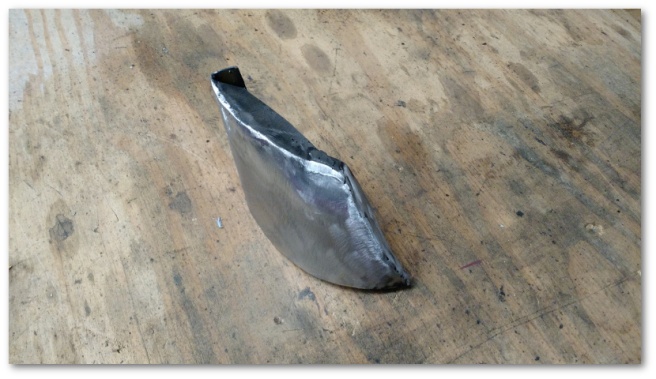
The only “do it right” option in circumstances with that much rot is to cut the metal away and replace it. With breaking things the only part of body work I’m actually qualified to do at the moment, I broke out my die grinder and cutting wheel and set to work removing the offending metalwork:

rotted-out-wheelhouse-section-removed

New wheel houses are (of course) available for purchase but after cutting out the rotted section, it seemed silly to blow 50 dollars on such a small piece of metal when I have a welder, extra sheet metal and a hilarious over-estimation of my ability to fabricate metal.

Thankfully, I also have YouTube and the Jo Daddy’s Garage channel. This guy is beyond words amazing at what he can do.

As I looked at my rusted out section of wheel house, I vaguely recalled that Jo Daddy had faced a similar problem in one of the videos that I’d watched on his channel. Sure enough, I went and found the video where he described what he did to address rot in this area:

With those 59 seconds of inspiration to guide me, I set out to replicate his result. Three hours later, I had come up with this:

finished-wheel-house-patch

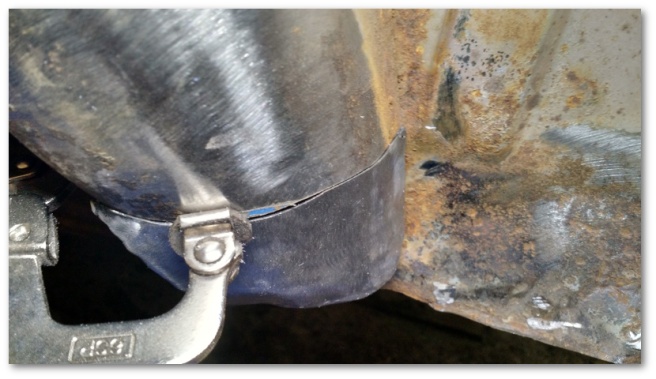
My welding skills still need significant improvement, but in the end the metal pieces were stuck together where they needed to be and the piece fit almost perfectly:

fitment-of-wheelhouse-patch

I then took a deep breath and started actually welding it to the car.

It went….OK….at best. Have I mentioned my welding skills still need significant improvement? I was never able to get a good solid foundation for the butt weld and had to put on a lot more material than I wanted to in order to get the part attached. I then had to go and fix a bunch of pin holes I found after grinding the metal down.

On the plus side, if you’re going to be practicing welding on your actual car, doing so in a place no one will ever see is probably better than doing it on your quarter panel.

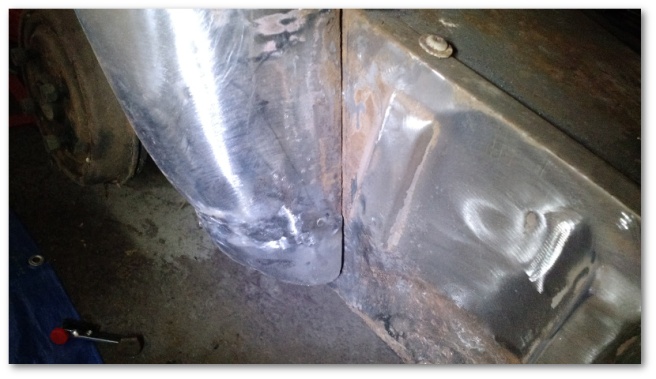
The end result after much more finish work than I would have liked was something that actually doesn’t look too bad:

welded-in-wheel-house-patch

So, the first “production” welds have been accomplished with mixed results that tell me I still need more practice.

Thankfully (sort of) I’m going to get it due to the other disconcerting problem I found while I was cleaning the rust:

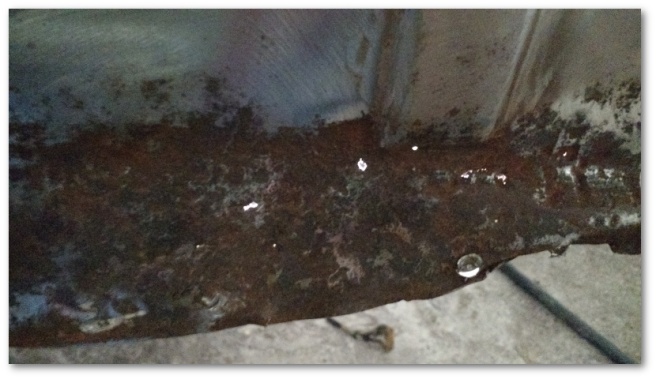
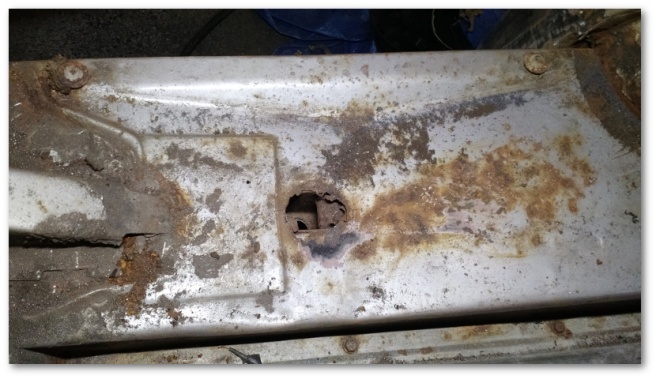
holes-in-trunk-floor-drop-off

That’s a shot of the driver’s side trunk floor drop off. This is the section of the trunk floor that drops off to meet the rear quarter panel. The white spots are rust holes letting through the light from my shop lantern. This metal needs to come out too.

I was originally thinking I would just section out that metal in a way similar to what I did with the wheel house. However, as I investigated what I would need to do in order to make a patch, I discovered that this panel is the same one that also has a problem with a rust hole in the trunk floor:

assembly-line-hole-bad-on-drivers-side

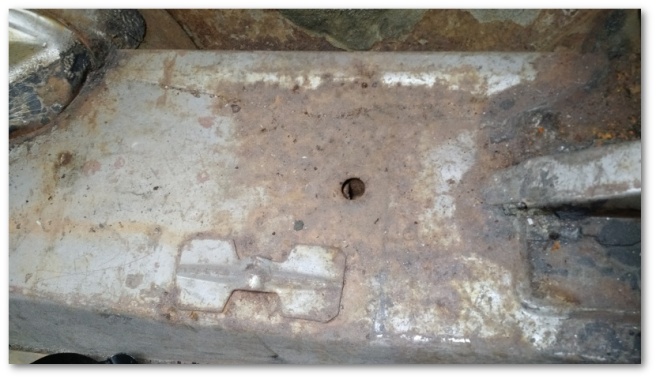
In the car’s defense, there’s supposed to be a hole there that looks like this:

assembly-line-hole-is-supposed-to-look-like-this

In this case, the rust has attacked the hole and made it much larger than it should be. Since replacing one panel would fix two problem areas, I decided to bite the bullet and order a driver’s side trunk floor pan.

Installing this piece means the gas tank has to be removed (and likely thrown away) and many more spot welds have to be broken. Once the trunk floor is out, I’ll be left with just the frame rail. On the outside, this frame rail seems to be in good shape. If it’s in good shape on the inside, I’ll treat it with some rust preventer to keep it that way and start building up the car again.

Lastly, I must admit to a royal screwup on my part today. It’s much more fun posting of successful projects but when I screw up and learn a lesson I figure I should share so maybe others learn from my 80 dollar mistake and don’t repeat it.

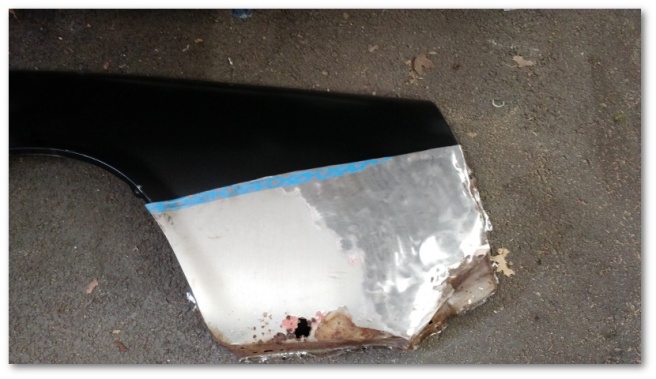
Last week, I noted that the piece I cut out of Mystique’s quarter panel lined up rather nicely with the replacement quarter panel I had purchased:

mystique-old-quarter-overlaying-new

The pieces lined up so well in fact that I decided that I could use the old part as a template for the cut I would need to make in the new quarter panel.

This was a bad idea.

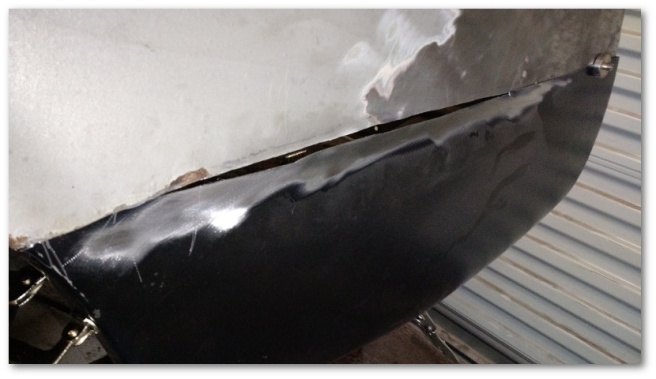
Apparently, the pieces didn’t line up flush enough at the bottom so even though I gave myself a small cushion in my cut I still ended up cutting the replacement patch too short:

bad-cut-in-quarter-panel

Crap.

I’m not good enough to weld something with a gap that big. I maybe-could patch the patch with more material from what’s left over from the new quarter panel, but I’m also realistic enough to know that would probably also be a bad idea at this point in time.

Lesson learned: Fit the new part to the car and mark what you need to cut that way and don’t rely on the old part to provide you a template.

I now have another quarter panel on order so I can try the cut again. I also have some extra sheet metal with which to continue practicing my welding techniques.