
Cue 80’s-era TV Voice:
Previously, on Heater Core Box Disassembly…
Truth be told, I actually started disassembling the heater core box not long after the Mustang left for the body shop way back in very early June. Since that time, I’ve been…sidetracked by a number of projects – not all of which involved shop time.
I’m delighted to report however, that things are back on track and the heater core box is now in a much better state.
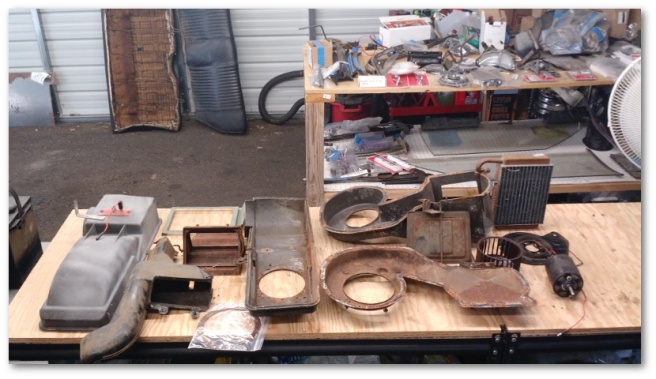
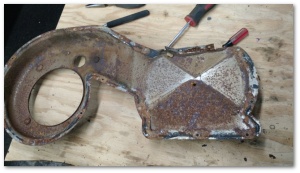
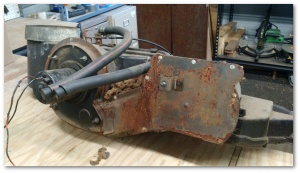
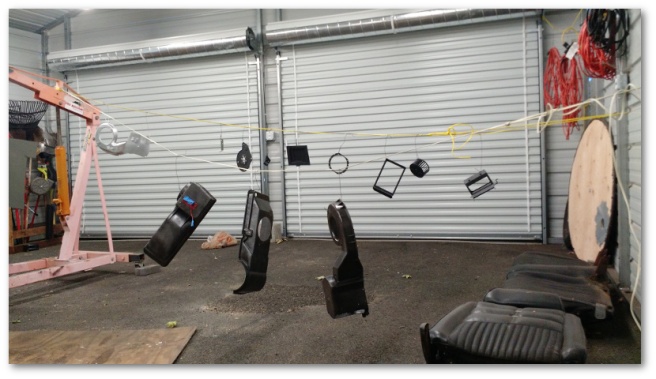
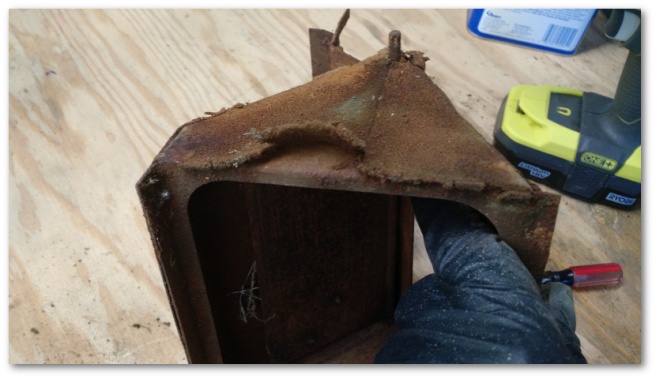
Many of the projects I was sidetracked by were actually done to help facilitate the restoration of the heater core box. When you start with components that look like this:


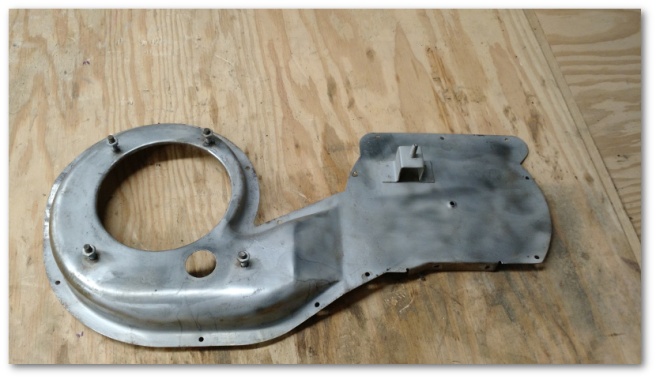
It really helps to have a media blaster and a compressor to drive it in order to turn those components into this:

Once the media blasting was done, it was time for paint:
And then (finally) reassembly.
I started with replacing the air seal pads that had all but disintegrated:
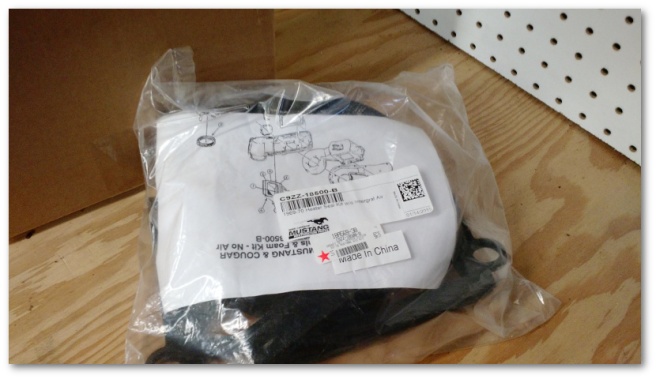
Believe it or not, you can buy new heater box seals for these 50-year-old cars:
Installing the seals was a straightforward, though very messy process involving weatherstrip adhesive, trimming, altogether far too many latex gloves and no small amount of swearing. In the end though, the new seals were installed and ready to… well… seal:
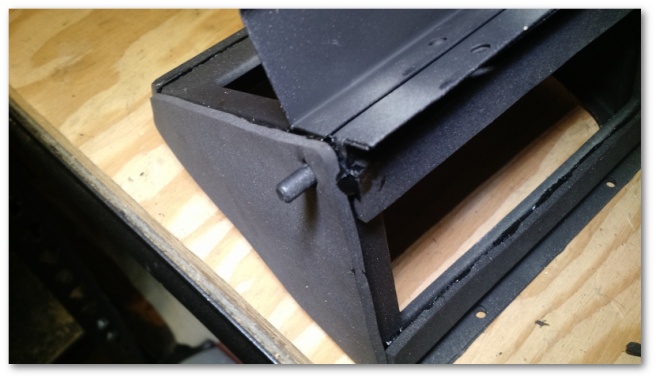
The only problem with the new seals was that they made the reassembly fairly difficult. The added width and height of the seals made the individual components of the heater box very tight fits:

I had to use a silicone lubricant on the fiberglass box in order to press the air diversion unit into place. Even with the lubricant, I was more than a little concerned that I would crack the box.
Thankfully though, I was able to get everything installed inside the box and the two halves aligned together:
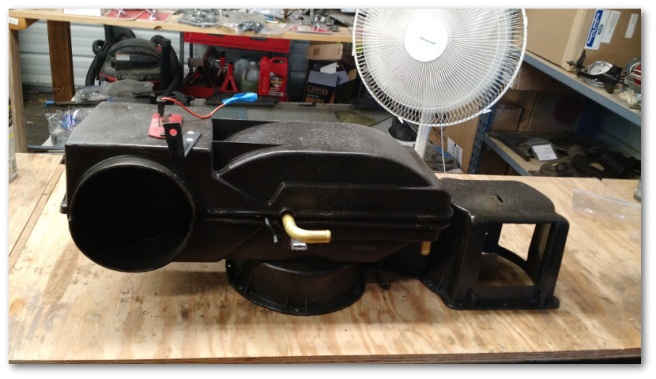
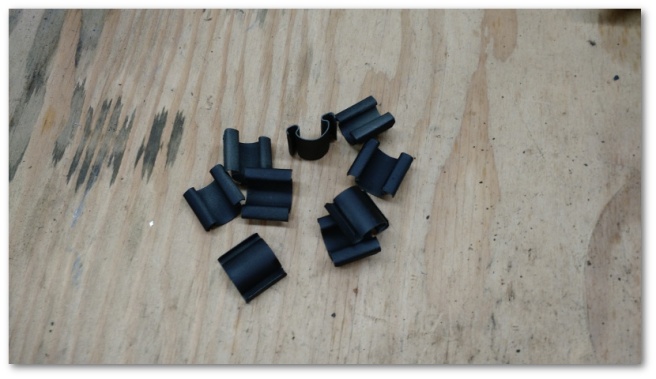
If you look closely enough, you can see a good quarter-inch gap between the two halves of the box. This gap needed to be closed in order to clip the two pieces together. Essentially, I needed to compress the new seals into place while at the same time clipping the two pieces together with these guys:
I’m not that talented…
Calling in the calvary that is my beautiful wife, I asked for her to push on both sides of the box to do the compression part while I clipped everything together. I told her “No worries, it’s only a few hundred dollars if it breaks” which elicited an eye roll and a mild glare-of-death.
After ten or fifteen minutes of “press harder”, “I am pressing harder” and “I think I need a bigger screwdriver” were were finally able to get everything clipped together in one piece:
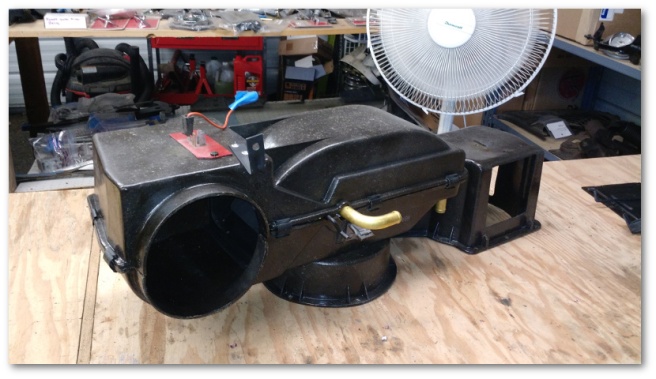
Huzzah!
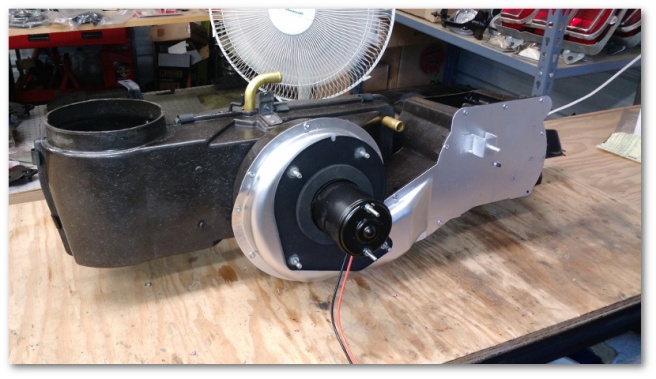
Then it was on to the blower motor and its assembly.
Considering that just getting to the blower motor to replace it takes the near-total-disassembly of the interior of the car, twenty dollars for a new motor was totally worth it. There didn’t seem to be anything specifically wrong with the old motor, but I know that if 40-some year old me has some creaks and dings, the 47 year old motor likely has the same. I wasn’t going to take chances in an effort to save twenty bucks.
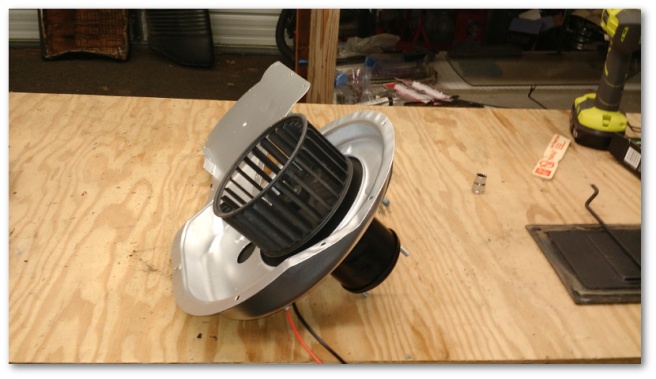
All the blower motor parts were also cleaned up and after everything was reassembled, the assembly looked really sharp:
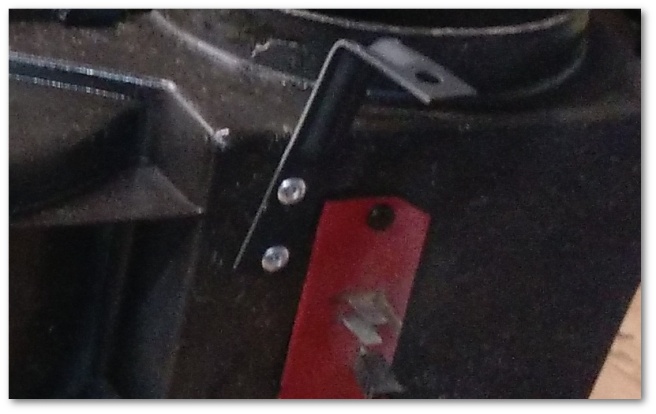
And then it was time for the riskiest part of the reassembly. When I drilled out the rivets holding everything together, I knew that I’d have to re-rivet everything together – putting a lot of stress on my old and brittle fiberglass box. On top of that, the old holes for the rivets were an odd size: bigger than 1/4 inch but smaller than 3/8 inch. I needed to drill out the holes to make them big enough to handle a 3/8 inch rivet – further weakening the material.
With no small degree of trepidation, I put the first two rivets in place:
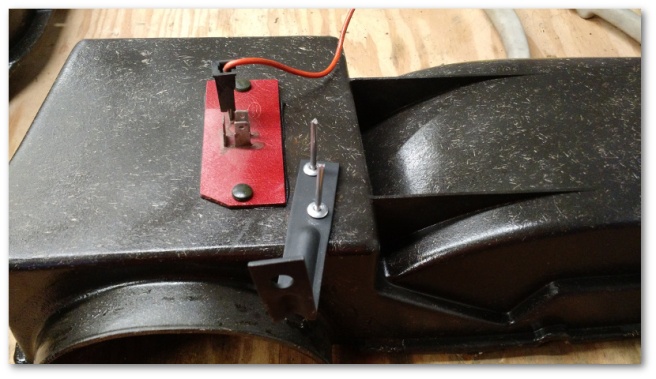
To my delight, the box held and I had a secure bracket about 30 seconds later:
After that, it was just a matter of riveting everything else up.
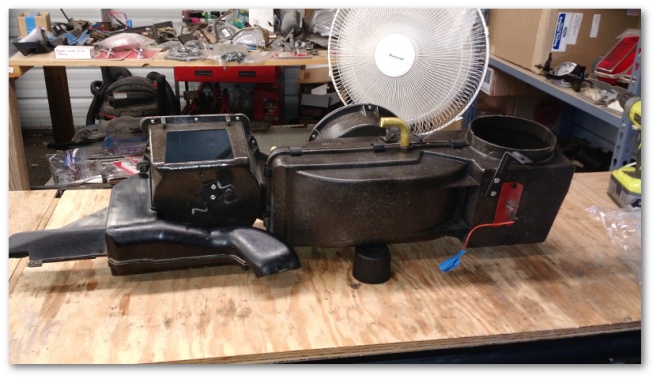
I present to you: a restored heater core box:
Woohoo!!!
This completes the first of the “big three” restoration projects I needed to do while the Mustang is at the body shop. The remaining “big projects” are reupholstering the seats and gluing my windows back into their brackets. I’ll get to those in due time, but I think I’m going to go for a couple quick projects next just to spice things up.

3 thoughts on “Heater Core Box Reassembly…”