
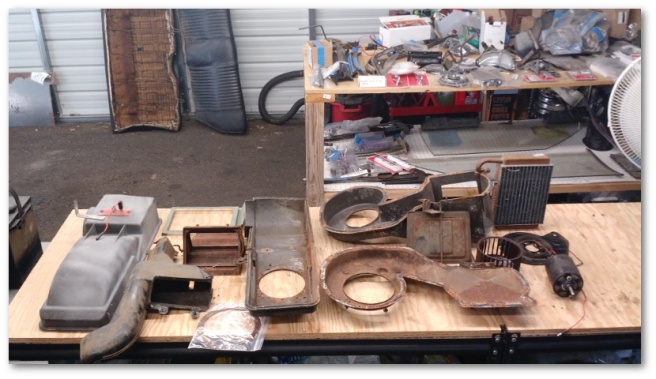
When my heater core box was removed from the Mustang last March, I knew I had my work cut out for me in rebuilding it:
There was rust and…dead things covering every square inch of the unit:

There was dirt and debris all over the inside:

One of the control cables was broken:

And many of the clips holding the box together were missing, causing a large gap which would bleed air and reduce the efficiency of the unit:

All that being said, the condition of the box was not so bad that disassembling, cleaning and the use of a rebuild kit wouldn’t make it right again. Undaunted by the high cost of screwing up, I began with the simple removal of the blower motor.

Simple pretty much ended at that point however. The next step was to get the squirrel cage (the rusty, round metal piece in the picture above that produces the air flow) off the motor assembly.
This process looked easy (hey, it has a set screw! How hard could it be?)

…but ended up being anything but. Even with the set screw totally off, the squirrel cage was affixed to the motor with the best rust glue 50 years of existing could provide. It took almost an hour of oil, hammering and swearing to finally get the thing off:

With the “easy” part of the disassembly out of the way, I started trying to crack open the box itself to remove the actual heater core and get a look at what I was up against on the interior.
The Mustang’s heater core box is a fiberglass unit held together by metal spring-clips. You have to be very, very careful when you remove them or you’ll break the fiberglass lips that the clips hook on to. Instead prying them off, you need to insert a screwdriver inside one of the edges of the clip and the lift the clip up and away from the box – like so:
The clips are somewhat of a pain to get off, but once you get the hang of it the removal process goes fairly quickly. In my case, I only needed to remove maybe half of the clips that should have been on the case because Mr. Previous Owner had only put about half of them back on. Thankfully, he didn’t toss the clips in the trash but rather tossed them into the trunk of the Mustang for me to find later in my box labeled “random stuff from the trunk.”
For what it’s worth though, it does look like Mr. Previous Owner did actually change out the heater core – and with a quality brass one no less. In the picture below, the old core is in front and the new one behind it in the plastic bag. The old core is probably in good enough shape to re-use, but I’m not taking any chances and I’m going with my new one anyway.

With the box split open and the heater core removed, it became patently clear that the interior of the heater core box was in just a poor a shape as the exterior:

The thing needed to be media blasted, inside and out. Unfortunately, even though the box was taken apart, there were still “inside” parts that were not readily accessible:

The picture above is part of the blower motor and air diverter assembly. The metal plate in back is riveted onto the fiberglass body and isn’t designed to be removed. Fear not though – there’s little a determined engineer with a drill bit can’t accomplish when he sets his mind to it.
To gain access to the inside of the blower motor and air diverter assembly, I carefully drilled out each rivet:

When I was finished, the metal backing fell right off the fiberglass box:

You can see the rust on the interior of the metal. I’m really glad I went to the effort to pull that part off. And it was quite an effort. At the end of the project, I’d gone from this:

…to this:
At this point, I’m ready to start the rebuilding process. That process will involve media blasting everything to get rid of as much of the rust and grime as I can. I’ll then paint everything and replace all of the internal seals.
These seals currently look like this:

Once all the media blasting, painting and rebuilding is finished I’ll re-assemble the box and move on to the next project. I’m guessing this process will take another couple of weeks. With the Mustang gone for a few more months yet, I’m in no particular rush…

One thought on “Heater Core Box Disassembly…”