
About a month ago, Project Paint kicked off with the intent of getting the Mustang ready for its upcoming body and paint work.
I started at the front of the car:

…and have slowly been working my way backwards ever since.
This week, the “take stuff off” phase was wrapped up with the removal of the last of the items on the car that I don’t want to pay the body shop to take off.
I started with the exterior door handles and lock mechanisms:


In order to take the handles and lock mechanisms off, I needed to disconnect the rod linkages that connected them to the door latch mechanism.
Thankfully, Ford made this surprisingly easy. Each rod linkage takes a 90 degree turn where it attaches to the handle and the door latch mechanism. The rod is then held in place with a simple clip as shown in the image below.
To detach the rod, all you need to do is put a screwdriver into the upper part of the clip and carefully wiggle it around until it releases. At that point, you can pull the rod out and you’re done.
This removal process worked great for all but the driver’s side door handle. Apparently, when the Mustang was in its driver’s side accident, the rod linkage wasn’t repaired properly. Instead of a clip, Mr. Previous Owner simply threaded the rod and put a nut to hold it in place.
Really Mr. Previous Owner? The clips (which once again I’m amazed I can even get) cost less than three dollars…
In the end, it took me maybe a half an hour to have two versions of this:

After the door handles were removed, I took the last of the rear window molding off:


Removing this molding was easy. It’s simply held on with clips that poke into the trunk area and are secured with nuts. After unscrewing the nuts, the molding popped right off.
I then moved on to the annoying little clips on the bottom side of the car that used to hold the rocker molding on:

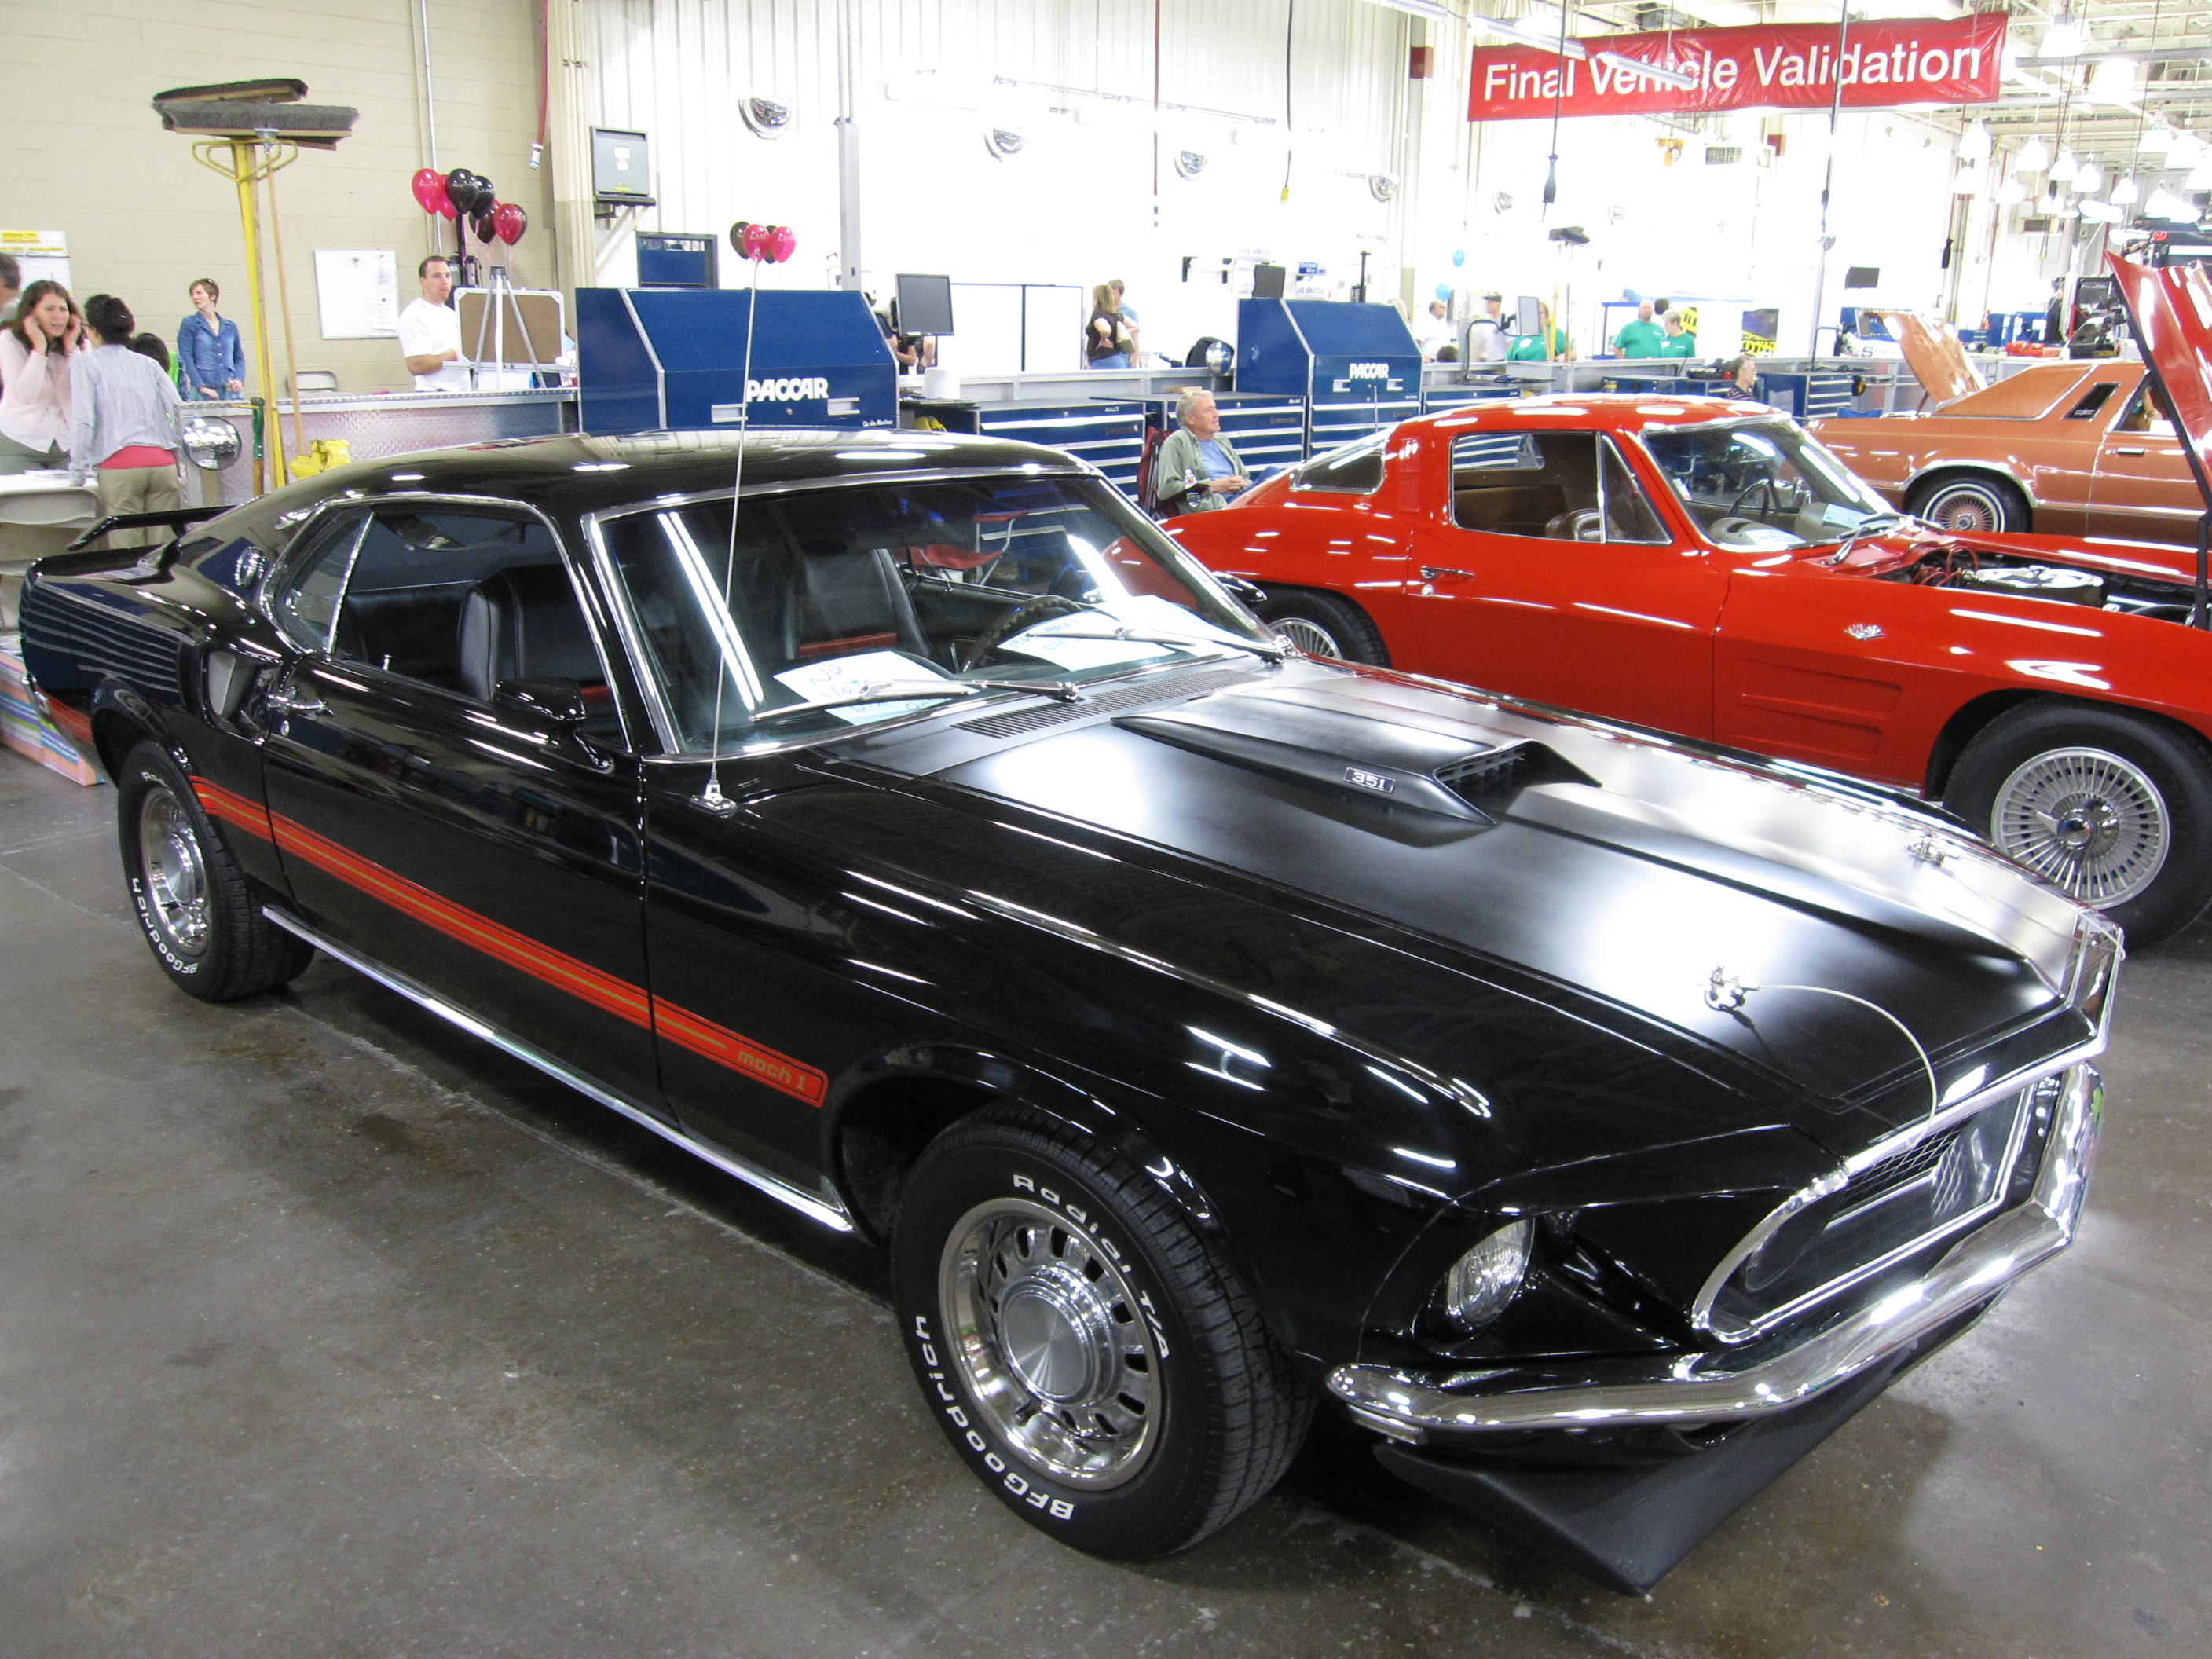
Rocker molding is the chrome trim that is installed on the rocker panels, which are the body panels on the car directly under the door. Here’s what they look like when installed:

On some paint jobs (like the black Mach 1 I sourced the above image from) I think the rocker moldings look good. However, on the paint job I’m planning for my car, they’re going to be in the way of some black accent I’m going to have. That meant the little clips needed to go.
Unfortunately, the clips were riveted on to the car so it wasn’t a trivial process to get them off. I ended up drilling the top of the rivets out:

…and then removing the clips by simply popping them off. I wasn’t completely happy with the result because each time I drilled the top of the rivet out, the bottom of the rivet fell into the cavity of the rocker panel – a place I don’t have access to. This means there are a small number of itty-bitty little metal nail-like things in my rocker panel that are free to rattle while I go down the road. Bummer, but oh well.
Sadly, the removal of the rocker molding clips led to the discovery of the most feared of all substances for automotive restorers – rust.
I really like the videos that West Coast Classic Cougar put out on the web. They’re entertaining and very informative. You’ve seen me link to a number of their videos before and I have plans in the future to link to more.
One of the things that they do is to produce buying guides for old Cougars. In these buying guides, the owner goes over each car with a fine tooth comb and points out things that you should look for when purchasing an old car. One of his favorite things to do is get cars up on a lift and poke at them with a sharp awl looking for rust. Metal that’s in good shape stands up to the sharp awl with no problems. Metal that’s been corroded? Well, not so much:
While I was removing the rocker molding clips, I got a really good view of the bottom of my driver’s door. In doing so, a little bubble caught my eye. With a sigh, I got my awl out and poked at it to see what it would do – and yeah, there was rust hole:
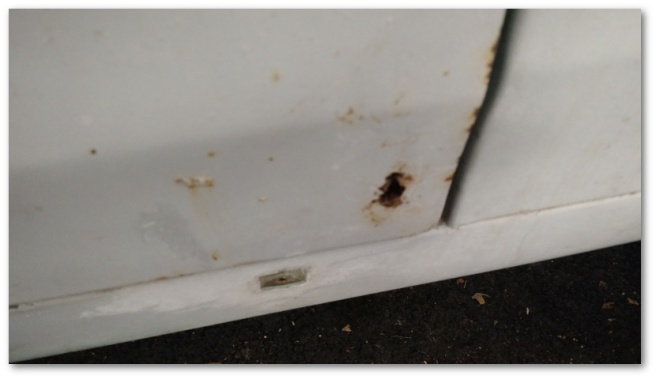
It’s not huge, but it will need to be fixed. The passenger door has one too, but it’s much smaller.
Since reproduction door skins are available, I called the body shop asking for advice. Would it be cheaper to cut and patch that part of the door skin or simply buy a new skin and install it. The answer came back an emphatic “buy a new one” so I have two new door skins on order. I’m not too bummed about the driver’s side skin since it was buggered up anyway but I’m a little bummed about the passenger side that was in great shape and only had a tiny little hole.
Que sera sera…
Later that night, I was in a foul mood because of the rust in the doors and I decided to take out some frustration on what was left of my headliner:

Note to self: next time you remove a headliner, wear a face mask. The dust that came out of that thing and the insulation above it was unbelievable…
As the liner was being removed, I about had a heart attack when I saw what looked to be a sea of rust:

Thankfully though, the roof had no problems keeping the awl from poking through and upon further inspection, the “rust” actually turned out to simply be the remnants of the glue used to adhere the headliner insulation to the roof. Whew!
Feeling much better, I did one last chore that night and removed the old Mustang lettering from my trunk lid:

Before pulling the letters off, I made a template out of painters tape that will allow me to put new lettering on once the trunk comes back:

I overlapped the tape so I could pull it off the trunk lid and place it on a plastic sheet. Once the tape template was on the sheet, I rolled it up and put it in a bag for later and then proceeded with the removal of the lettering:

Today, I finished up the process of taking things off the car in preparation for paint.
I removed the gas filler tube that was blocking a section of the rear panel of the car and plugged the tank up:

I removed the rear bumper, valance and lights:

The firewall insulation was taken out:

And lastly, the rubber bumpers and a tire pressure sticker were removed from the doors:


The door bumpers gave me a few minutes of trouble. Only a few minutes though – I decided that since I was fairly sick of taking things off the car and they cost less than a dollar each I would just cut them out with a razor knife. To my satisfaction, the bumpers caused me no further trouble after that…
At this point, everything that’s coming off has come off. My plan starting this week is to do the following:
- Clean the car up (there’s dirt and gunk everywhere)
- Grind out the surface rust from the interior in a way similar to what I did with the trunk
- Prime the entire interior and roof
- Paint the interior and roof
- Install sound deadening on the roof and sail panels in preparation for the headliner install which will happen immediately after the paint job.
My goal is to get this done during April and drop the Mustang off for painting in early May.

One thought on “Everything That’s Coming Off Has Been Taken Off…”