
With Project Electrical System all but wrapped up, it’s time to start working on new and different ways to spend money on my 50 year old car.
Over the last 15-ish or so months, we’ve got the engine running, the brakes working, the suspension and transmission functional and the electrical system operational. All of this work has been “under the hood” so to speak. From the outside, not much has changed and the Mustang doesn’t visibly look much different today:
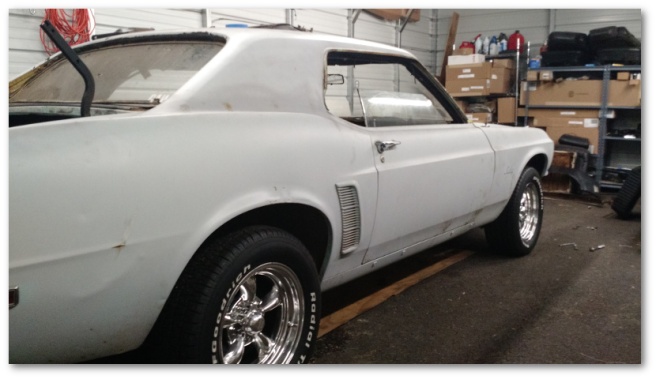
than from the day it came home:

All that is about to change – in a very big, bright-red way.
Welcome to our new multi-month blog segment – project paint.
I actually drove the Mustang down to a body shop last week to talk to them about what I was looking for and what it would cost. The good news is that the cost was about what I was expecting. The bad news was that I was expecting it to cost a lot…
One way to save money on a paint job is to do some of the prep work yourself. All evidence to the contrary, I’m all for saving money so project paint got kicked off with a ton of parts getting pulled off the car.
The parts coming off the car are pretty much separated into two categories:
- Parts that need to be painted individually
- Parts that shouldn’t be painted at all (chrome/trim/etc)
I got started by pulling the upper cowl panel off:
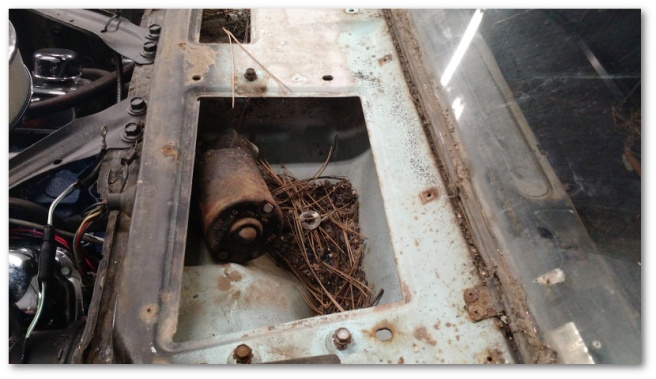
In the case of the Mustang, removing the cowl panel exposes the bracket for the windshield wiper motor and the wiper arms. It also exposes a ton of dirt in my case – something my Shop-Vac will soon be removing.
Since I haven’t yet cured my case of ADD, project paint took an immediate detour with the wiper motor and arms exposed. When I was first working on the electrical system I discovered that the…

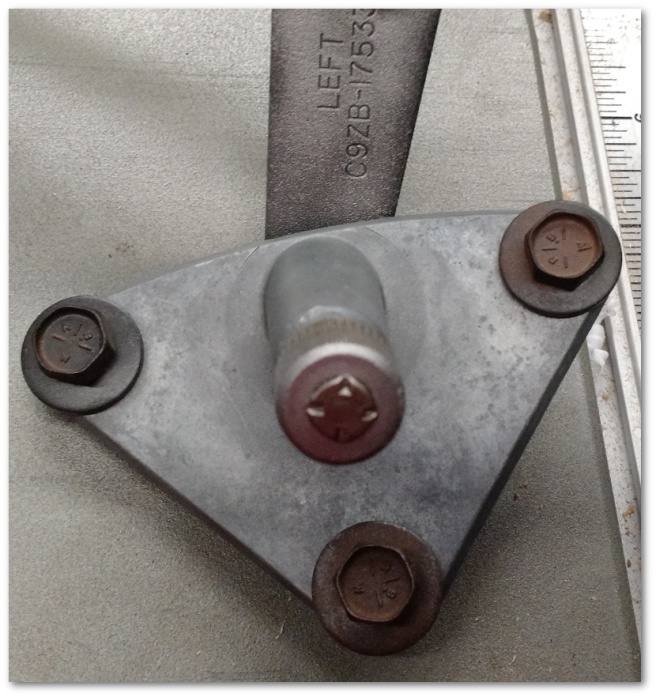
With the wiper motor and arms exposed, I took a look to see if I could discover why. After examining the wiper arms, I discovered that one of the studs that mount the wiper blades was loose. This loose stud meant that even though the wiper motor was going through its full range of motion, the wiper itself was not.
I took a video to demonstrate how loose the stud was. I had 8-year-old help, so it didn’t turn out great, but if you keep your eye on the part of the bracket highlighted by the arrow in the image above, you can see it moving. It’s not supposed to move at all:
These wiper arms are over 100 dollars to replace. Before I spent that, I decided to ask one of my friends who happens to be a mechanic at a local heavy machinery shop. He took one look and said “oh yeah, I can fix that”. Three days later the part came back completely fixed. He also bead-blasted it to get rid of all the grunge you see above. Now, it looks practically brand-new:
I also purchased a new wiper motor, but didn’t install it. It dawned on my after I bought it that the painters need to be able to access the area under the motor so I’ll have to wait to install it after the Mustang comes back from the body shop.
With the wiper arms (hopefully) taken care of, the task of taking stuff off the car resumed in full force. This task involved more than a little just-beat-on-it-until-it-comes-off steps.
For example, the generally accepted method to use in order to remove the chrome drip rail around the side windows:
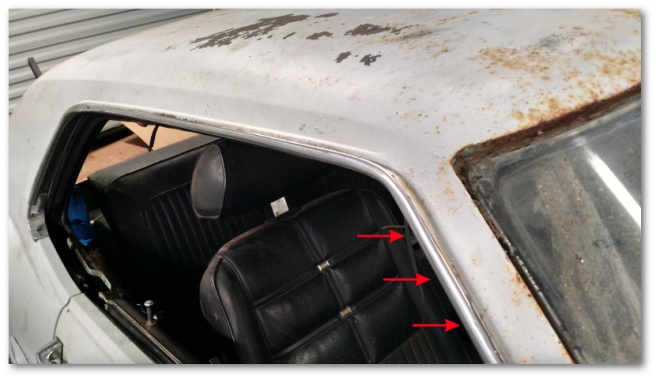
involves a block of wood and a hammer:
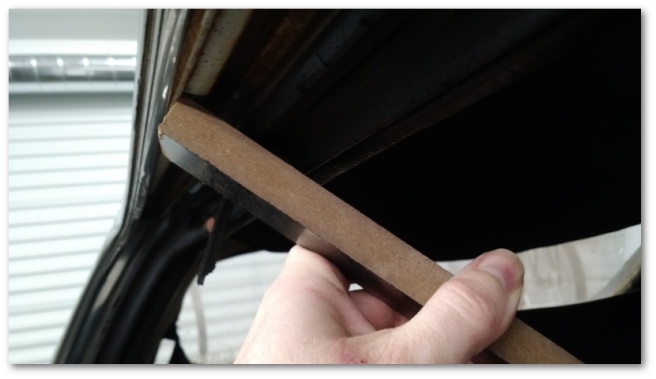
You place the block of wood right at the base of the trim and whack it good a few times. After a couple of solid hits, that section of the piece comes loose and you move on to the next section. Soon thereafter, your trim piece is off.
My next project was removing the Mustang’s quarter panel vents:
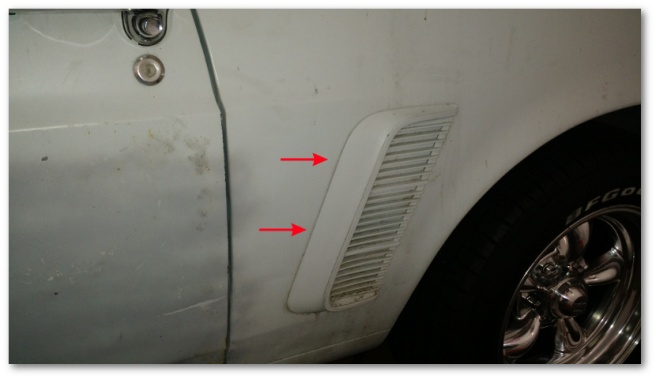
Those vents are actually separate pieces which need to come off so the quarter panel behind them can be painted to ensure there’s no visible remnants of the old paint.
To remove these panels, you need to remove the rear beltline felt:
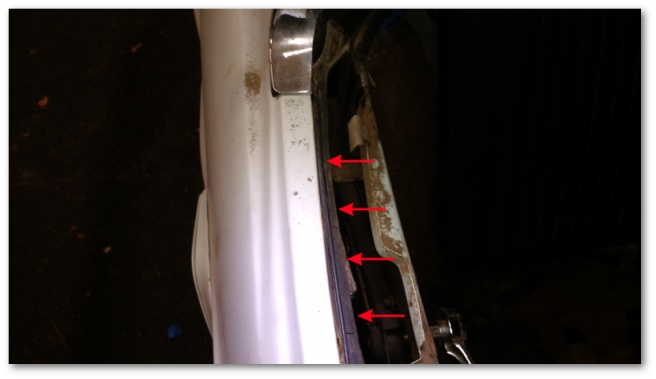
and then…the entire window assembly:

so you can access the vent’s six, itty-bitty little nuts:
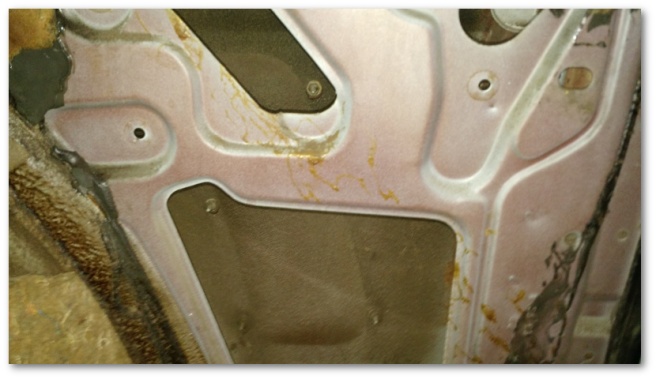
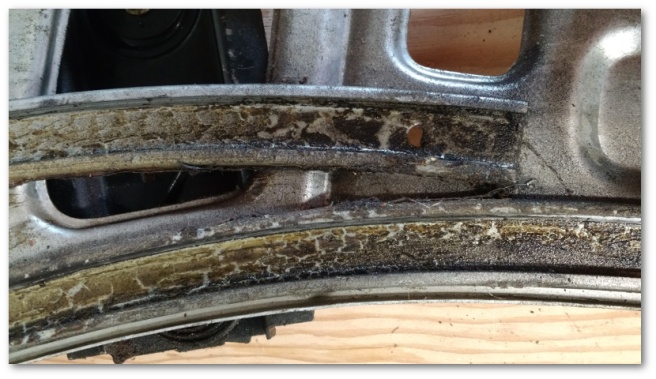
After taking the passenger side window out, I found out why it took so much effort to roll up and roll down. Take a look at the gunk that’s in the track for the window:
With both windows out, the fake side scoops came out easily, revealing the Mustang’s true original color:
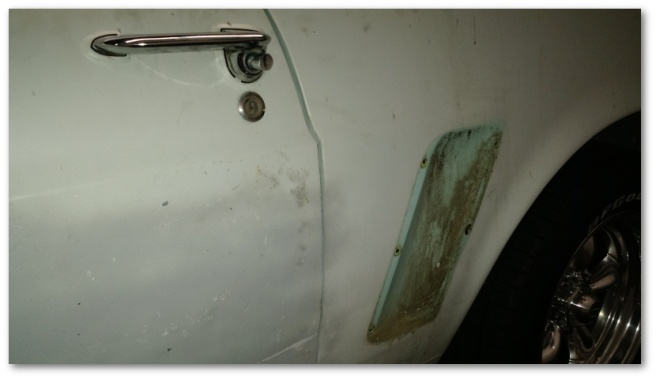
That color, while nicer than the primer-gray the rest of the car sports is nevertheless still not long for the world.
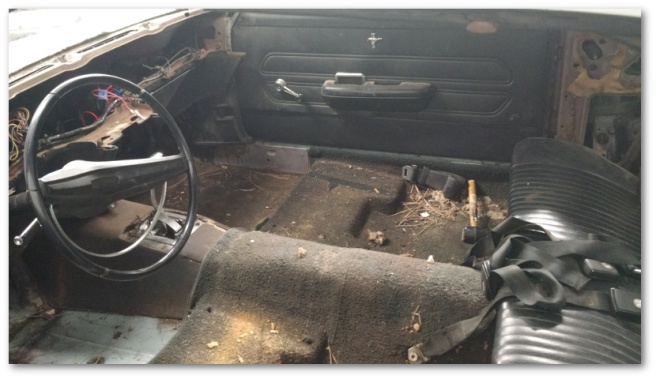
The Mustang wasn’t done having parts ripped off of it though. The seats were also removed:
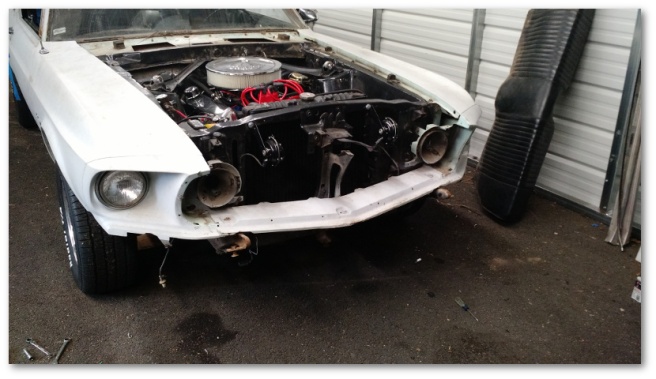
as was the front bumper and valance:
and the seat belts:
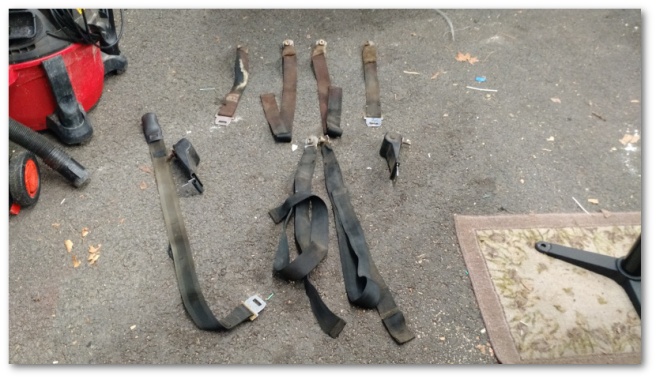
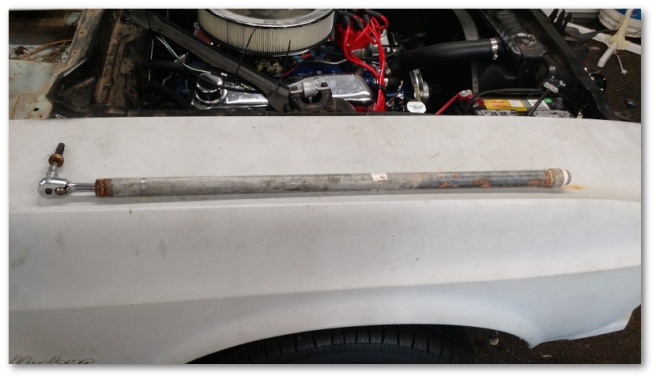
The seat belts were attached to the car good, necessitating the use of a special bit and a very long breaker bar in order to get enough torque to loosen the bolts:
However with a long enough bar and Archimedes on our side, even those bound-up bolts eventually succumbed – proving yet again there ain’t a problem in the ‘verse that can’t be solved by the overt application of brute force.
Right now, I’m focusing only on taking stuff off the Mustang. Anything that needs to be cleaned up (like the window tracks) is being noted and then put on the to-do list for when the Mustang is getting painted. The body shop estimated that the paint job would take a couple of months so the plan is to send it off to the body shop and then work on the to-do items while I wait for it to come back.
Project paint is off and running. Heaven help me when I have to remember how to put all this stuff back together…

5 thoughts on “Project Paint Kickoff…”