
Sometimes life has a funny way of reminding you who’s boss.
You may recall that I recently moved into a new home. Since the primary unpacking is done, the top of my “honey-do” list is fixing leaky faucets and toilets. I spent the majority of the day yesterday cursing the individual who invented compression fittings for toilet valves and complaining about how much I hate plumbing.
So, what do I do when I get to work on the Mustang today?
 Plumbing… Very funny life. You win this round…
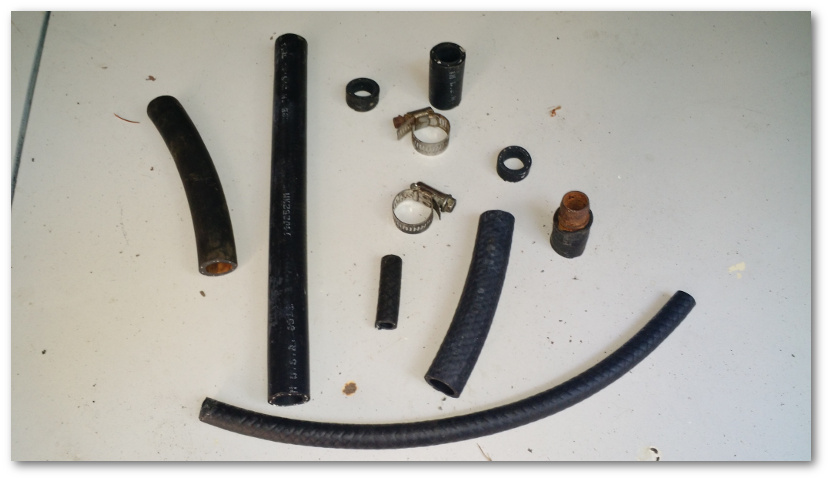
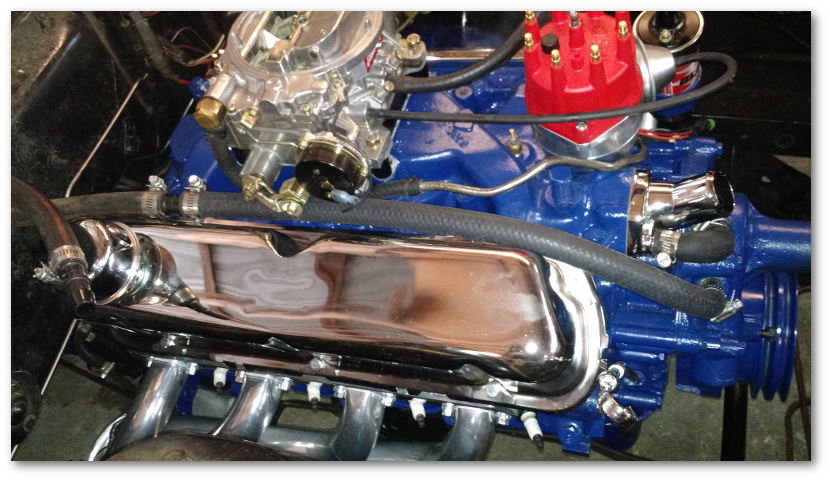
We started with running the fuel line from the fuel pump to the carburetor. The original line was a little grimy and had two or three different colors of paint on it:
 A little sandpaper and wire brushing cleaned it right up:
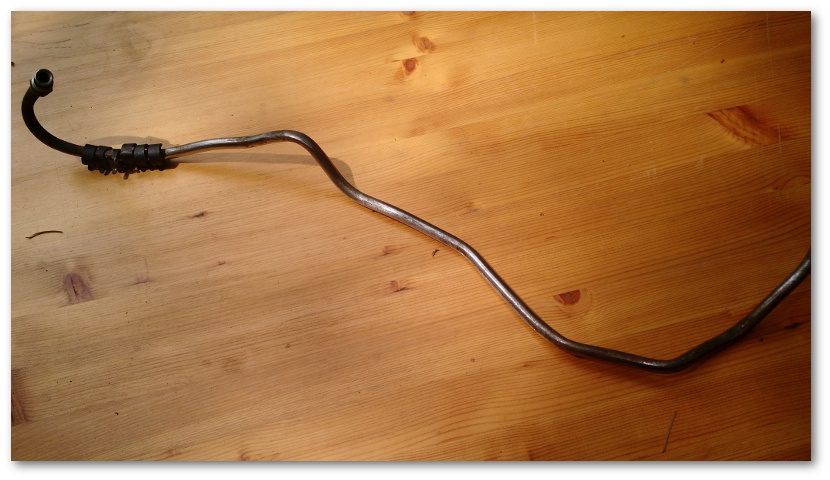 It’s not perfect, but the original fuel line is smaller than I’d like to use for my new carburetor. I’ll eventually replace it with a larger one – but right now the goal is to get the car running and the line is good enough for that.
Installing the line was an interesting jigsaw process.
The line attaches to the fuel pump which is on the bottom right of the engine – beneath the distributor and electronic ignition and next to the oil pressure sending unit.
Somehow the line needs to wind its way through all of that to the top of the engine to provide gas to the carburetor.
And naturally, it didn’t want to do that.
After about 20 minutes, I decided to throw caution to the wind, thread the line onto the pump “persuade” it to fit with hard tug.
Viola!
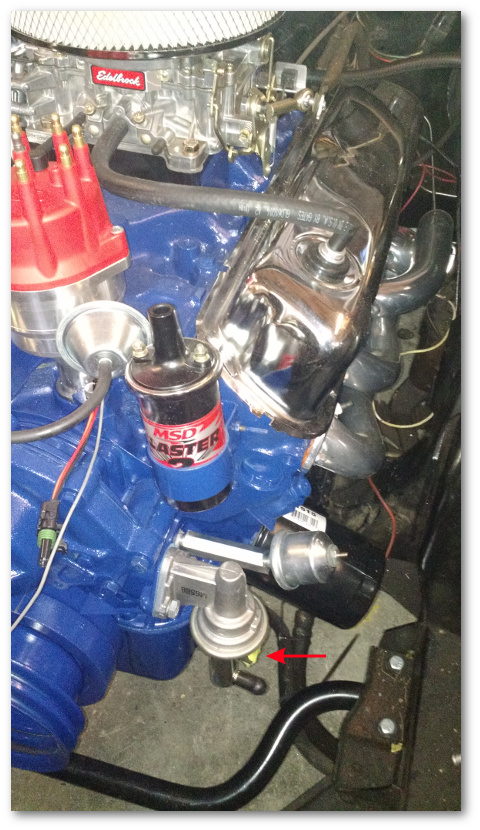
 After that, it was quick work to attach a rubber hose from the end of the line into the carburetor intake:
 As far as I can tell, that makes the carburetor done, with the exception of the air filter stud which is too long and needs to be shortened.
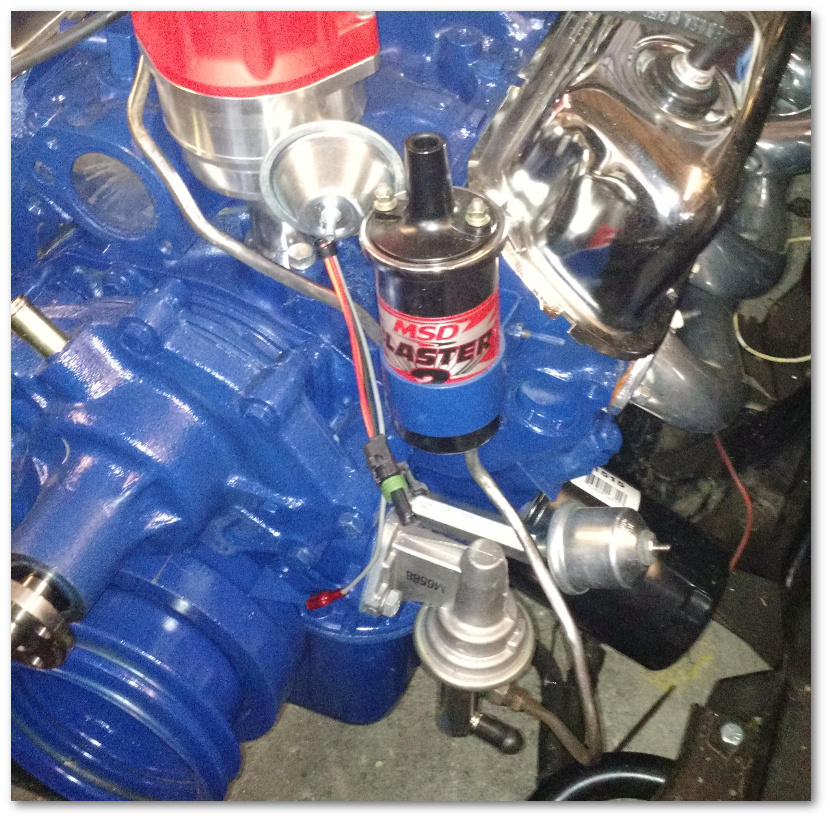
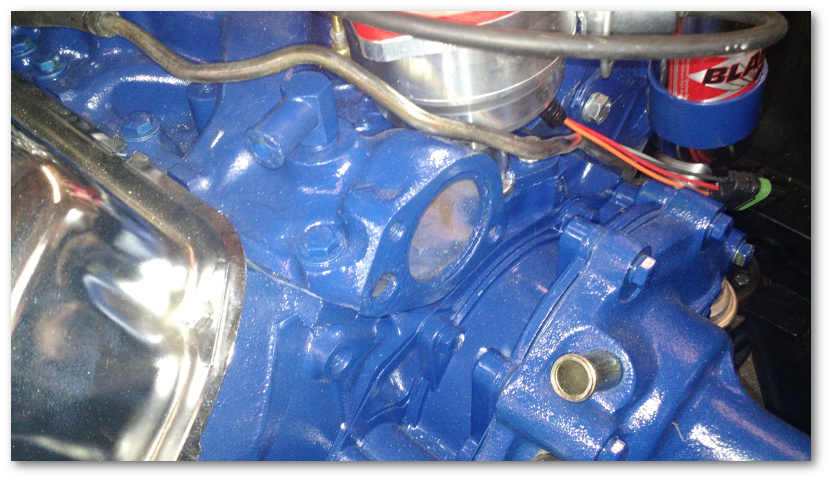
I then moved on to installing the thermostat and the thermostat housing. The thermostat is installed on the intake manifold on top of the big gaping hole in the image below:
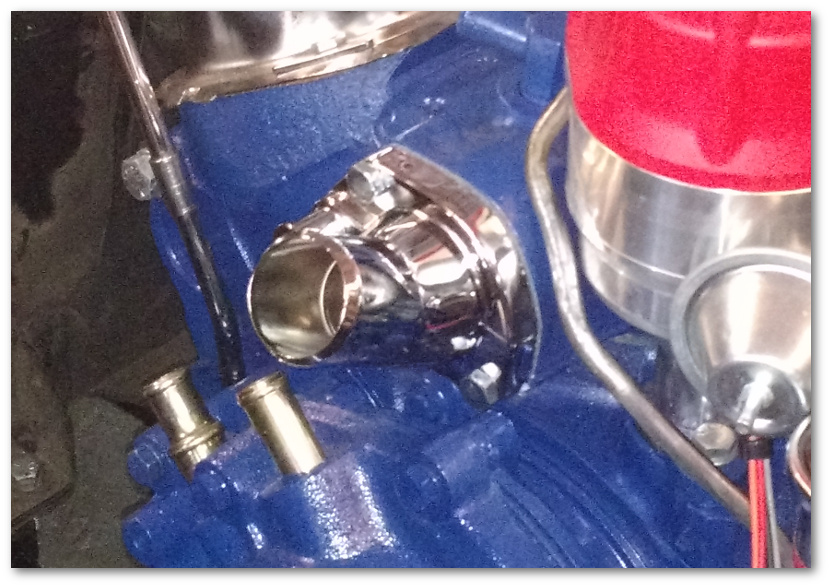
 On top of the thermostat is the housing which keeps it in place and provides the connection point for the radiator hose. Of course, me being me I went with shiny:
 After that, it was time to connect up the water outlets you see at the bottom of the picture above.
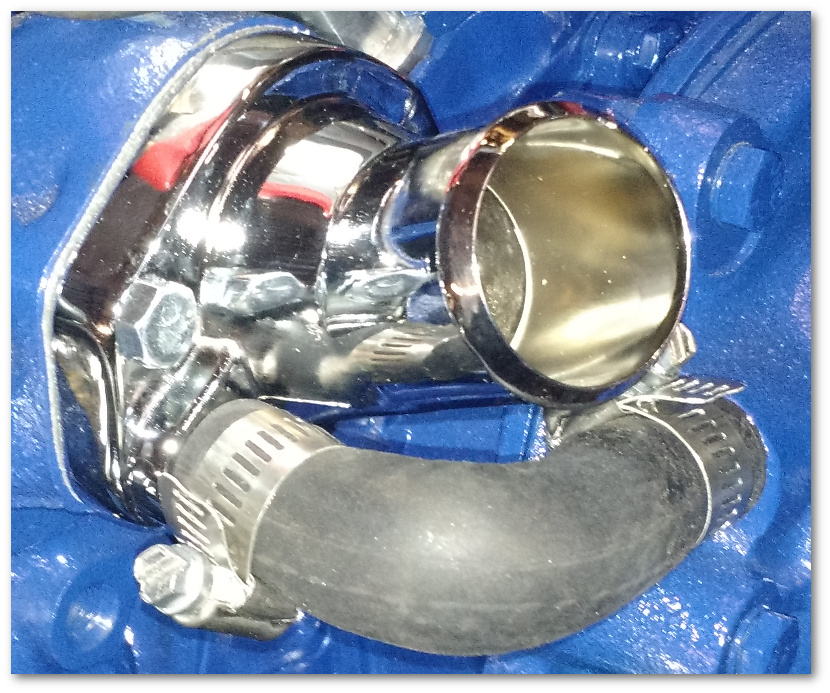
Step one was pretty easy: connect the diversion hose from the water pump to the thermostat housing. The diversion hose allows for some water to circulate in the coolant system even if the thermostat is closed. The line is a teeny-tiny pain in the neck, but with a little fiddling, it fell into place nicely:
The second step was to connect the bottom water outlet to one of the heater core hoses coming out of the firewall:
 I decided not to replace the lines coming out of the firewall due to the questions surrounding the heater core. If you recall, the heater core is not where its supposed to be and the hoses you see above actually go through the firewall – something they’re not supposed to do.
For the time being, I just decided to link into the existing hoses. Once I tear the interior apart to restore that, I’ll have access to the heater core and I can replace it correctly. Afterwards, I’ll re-do these lines so that they’re all one piece.
It was a fairly simple routing for the water line that runs from the water pump:
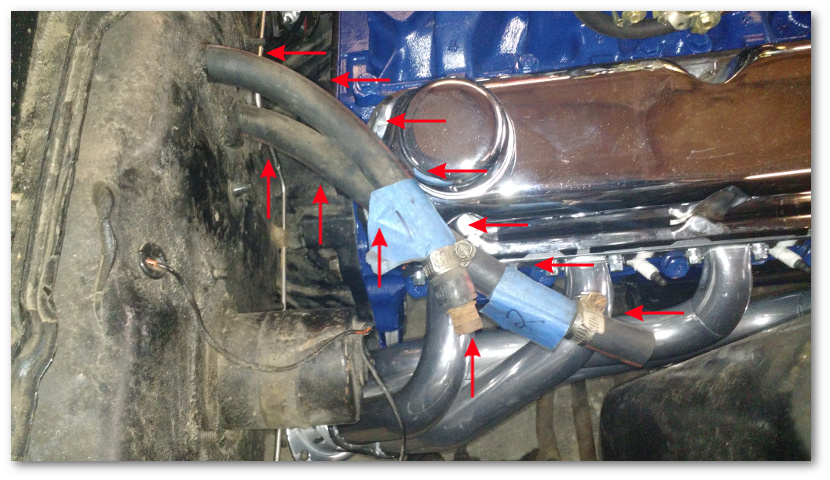
 The second heater core hose posed much more of a challenge. This hose routes into the intake manifold. Specifically, it routes into this fitting:
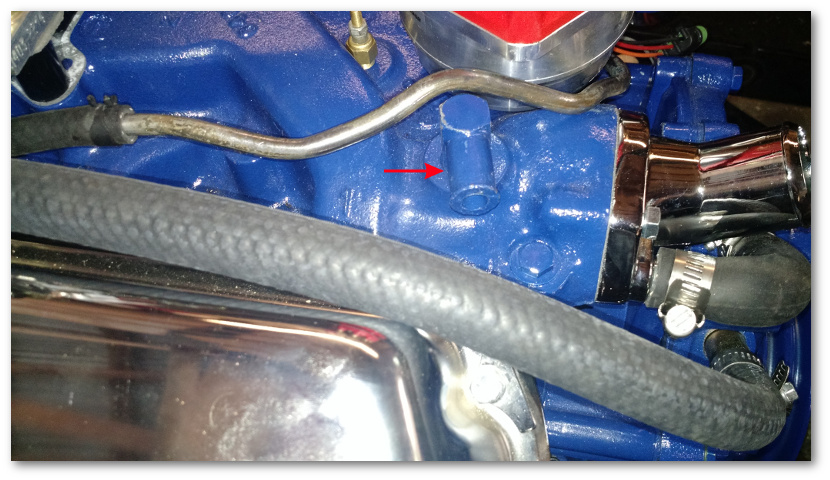 You might notice that the fitting isn’t exactly pointing in the most convenient direction to route a water line to the back of the engine. However, with the fuel line and distributor in the way, I couldn’t get a good grasp on it in order to turn it. I did try using a box wrench to turn it, but I couldn’t get it to budge with the amount of force I was willing to apply – and I did NOT want to break the thing.
I hate plumbing.
Finally, I decided that if I couldn’t turn the fitting, I’d turn the hose instead. A not-so-quick trip to the auto parts store provided the Right Hose For The Job(tm):
 and with a final turn of the hose clamp, the heater core plumbing was done:
 We didn’t get to the radiator installation today because of the fuel line installation and the extra trip to the parts store. However, that’s first on the list for next week.
Until then…
